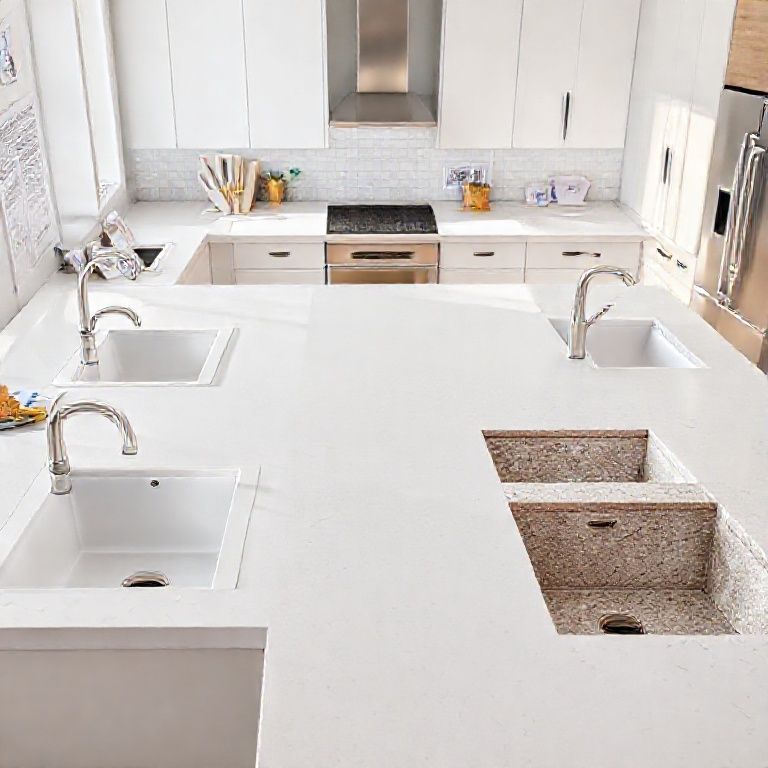
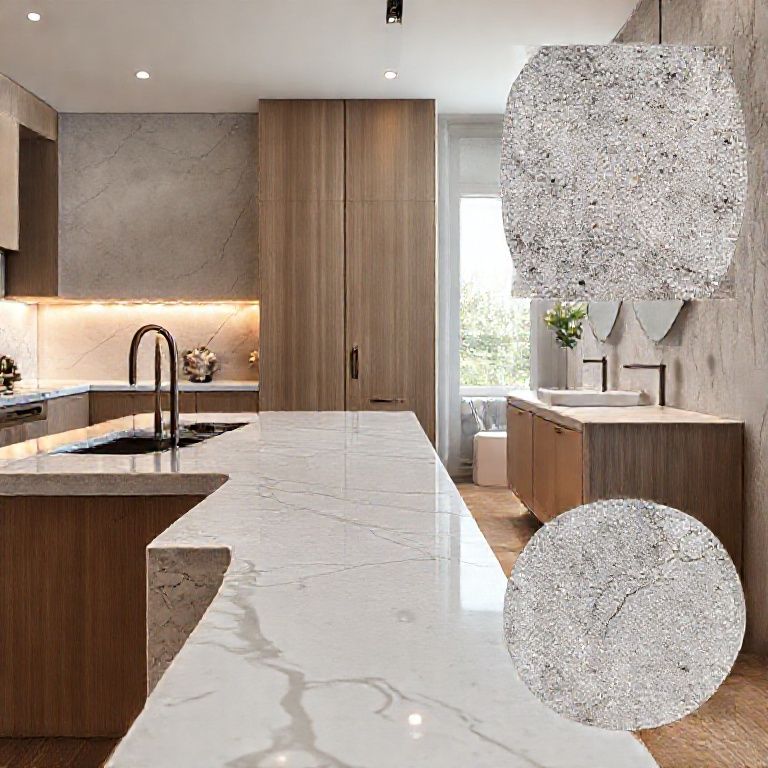
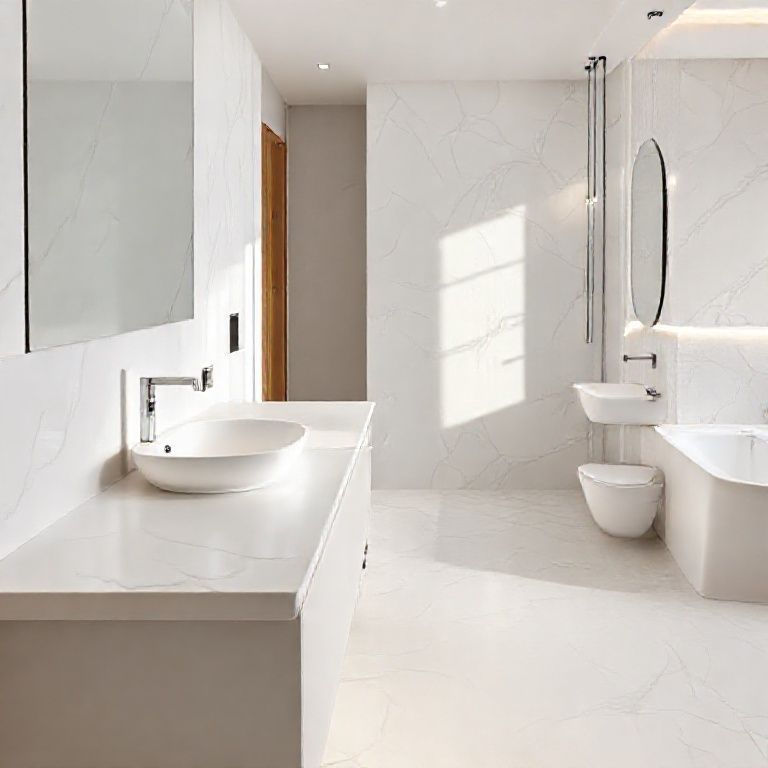
Introduction to Artificial Stone Countertop Repair
Artificial stone countertops are a popular choice for kitchens and bathrooms due to their durability, low maintenance, and aesthetic appeal. However, like any material, they are not immune to damage, particularly cracks that can develop over time due to impacts, improper installation, or aging. Understanding how to repair these cracks is crucial to maintaining the beauty and functionality of your countertops.

In this comprehensive guide, we will explore an extensive collection of video tutorials designed to help you master the art of repairing cracks in artificial stone countertops. Whether you’re a DIY enthusiast looking to save costs or a professional contractor seeking to enhance your skill set, these step-by-step tutorials will provide you with the knowledge and techniques you need to execute flawless repairs.
Understanding the Types of Cracks
Before diving into the repair process, it’s essential to understand the different types of cracks that can occur in artificial stone countertops. These can be categorized as follows:
Surface Cracks: These are superficial cracks that only affect the top layer of the stone. They are often caused by minor impacts or scratches.
Deep Cracks: These cracks penetrate deeper into the stone and can compromise its structural integrity. They are typically caused by more significant impacts or improper installation.
Hairline Cracks: These are thin, barely visible cracks that can sometimes be mistaken for surface imperfections. They often require careful attention to ensure proper repair.
Understanding the type of crack will help determine the appropriate repair method and materials needed.

Tools and Materials Required
Before starting the repair process, gather all the necessary tools and materials. Here is a list of essential items you will need:
Epoxy Resin: A two-part epoxy specifically formulated for stone repairs. Mixing Tools: A spatula or mixing stick for combining the epoxy resin. Sandpaper: Various grits for smoothing the repaired area. Cleaning Supplies: Isopropyl alcohol and a soft cloth for cleaning the surface. Masking Tape: To protect surrounding areas from epoxy seepage. Epoxy Hardener: Sometimes required depending on the product used.
Step-by-Step Repair Process
Now that we’ve covered the basics, let’s delve into the step-by-step process for repairing cracks in artificial stone countertops.
Step 1: Preparation
Clean the Area: Begin by thoroughly cleaning the cracked area using isopropyl alcohol to remove any dust, grease, or debris. This ensures the epoxy resin adheres properly to the stone.
Dry the Surface: Allow the surface to dry completely before proceeding to the next step.
Step 2: Inspect and Plan
Examine the Crack: Carefully inspect the crack to determine its depth and length. This will help you decide on the amount of epoxy resin needed.
Mark the Area: Use masking tape to mark the area around the crack that you will be repairing. This prevents epoxy from seeping into unintended areas.
Step 3: Apply Epoxy Resin
Mix the Epoxy: Follow the manufacturer’s instructions to mix the epoxy resin and hardener in the appropriate ratio. Use a spatula or mixing stick to ensure a smooth consistency.
Fill the Crack: Carefully apply the epoxy resin into the crack using a syringe or a small container. Fill the crack completely and avoid overfilling.
Smooth the Surface: Use a spatula or a spreading tool to smooth out the epoxy resin and ensure it fills the crack entirely.
Step 4: Clamp the Countertop
Use Clamps: Place clamps over the repaired area to apply gentle pressure and help the epoxy resin bond with the stone. Allow the clamps to stay for several hours or as per the manufacturer’s instructions.
Step 5: Clean and Polish
Remove Clamps: Once the epoxy has cured, carefully remove the clamps.
Clean the Surface: Wipe away any excess epoxy resin that may have seeped out using a soft cloth and isopropyl alcohol.
Sand the Area: Lightly sand the repaired area with fine-grit sandpaper to smooth out any uneven surfaces. Be gentle to avoid damaging the surrounding stone.
Polish: Finally, use a stone polish or sealant to restore the shine and protect the repaired area.
Conclusion of Part 1
Repairing cracks in artificial stone countertops can be a daunting task, but with the right tools, materials, and guidance, it is entirely achievable. This comprehensive tutorial collection provides you with the step-by-step instructions needed to tackle any crack and restore your countertops to their pristine condition. In the next part, we will explore more advanced repair techniques and tips for maintaining your artificial stone surfaces long-term.
Advanced Techniques and Maintenance Tips
Introduction to Advanced Repair Techniques
While the basic repair process outlined in Part 1 covers most common scenarios, there are more complex situations that require advanced techniques. These advanced methods are crucial for dealing with deep cracks, extensive damage, and ensuring a long-lasting repair. In this part, we will explore these advanced techniques and provide expert tips for maintaining your artificial stone countertops effectively.
Advanced Repair Techniques
Deep Crack Repair
For deep cracks that penetrate far into the stone, a more thorough repair method is necessary. Here’s how to approach it:
Clean and Dry: As with the basic repair, start by cleaning and drying the affected area thoroughly.
Epoxy Injection: Use an epoxy injection system specifically designed for deep cracks. This system involves drilling a small hole into the crack and inserting a syringe filled with epoxy resin. Apply the epoxy under pressure to fill the crack completely.
Clamping: After injecting the epoxy, apply clamps to the area to ensure proper bonding and curing. Allow it to cure for the recommended time.
Clean and Polish: Once cured, clean and polish the area to restore its appearance and protect the repaired section.
Multiple Crack Repair
When dealing with multiple cracks, it’s essential to address each one individually to ensure a comprehensive repair.
Isolate Each Crack: Carefully clean and prepare each crack separately, ensuring no epoxy from one crack seeps into another.
Apply Epoxy: Use the appropriate method for each crack, whether it’s direct application or epoxy injection, depending on the depth and severity.
Clamp and Cure: Apply clamps to each repaired area and allow sufficient curing time.
Final Touches: Once all cracks are cured, clean and polish the entire surface to restore uniformity and shine.
Color Matching
Artificial stone comes in various colors and finishes. Matching the epoxy resin color to the countertop is essential for a seamless repair.
Select Matching Epoxy: Choose an epoxy resin that closely matches the color of your artificial stone countertop. If a perfect match is not available, consider color-correcting epoxy options.
Mix Carefully: Mix the epoxy resin carefully to achieve the desired color match. Test on a small area before applying to the crack.
Repair and Cure: Follow the standard repair process, ensuring the color matches the surrounding stone.
Maintenance Tips
Proper maintenance is key to prolonging the life of your artificial stone countertops and preventing future cracks. Here are some expert tips for maintaining your countertops:
Regular Cleaning: Clean your countertops regularly using mild soap and water. Avoid using abrasive cleaners or harsh chemicals that can damage the stone surface.
Avoid Heavy Impacts: Place protective pads under heavy items to prevent direct impacts that can cause cracks. Be cautious when placing hot pots or pans on the surface.
Use Coasters and Placemats: To protect the surface from heat and spills, always use coasters under drinks and placemats under hot dishes.
Prompt Repair: Address any minor cracks or scratches promptly to prevent them from worsening. Regular maintenance can help avoid the need for extensive repairs.
Professional Servicing: Periodically have your countertops inspected by a professional to identify any potential issues early and ensure they are in optimal condition.
Conclusion of Part 2
Mastering the art of repairing cracks in artificial stone countertops can save you time, money, and the hassle of replacing your entire countertop. By following the step-by-step guides and advanced techniques provided in this comprehensive tutorial collection, you can confidently tackle any repair project. Additionally, adhering to proper maintenance practices will ensure your countertops remain beautiful and functional for years to come. Download the full collection today and transform your repair projects with expert guidance!
By following these detailed guides and utilizing the expert tips provided, you will be well-equipped to handle any crack repair on your artificial stone countertops effectively. Happy repairing!