The Basics of Artificial Stone Countertop Installation
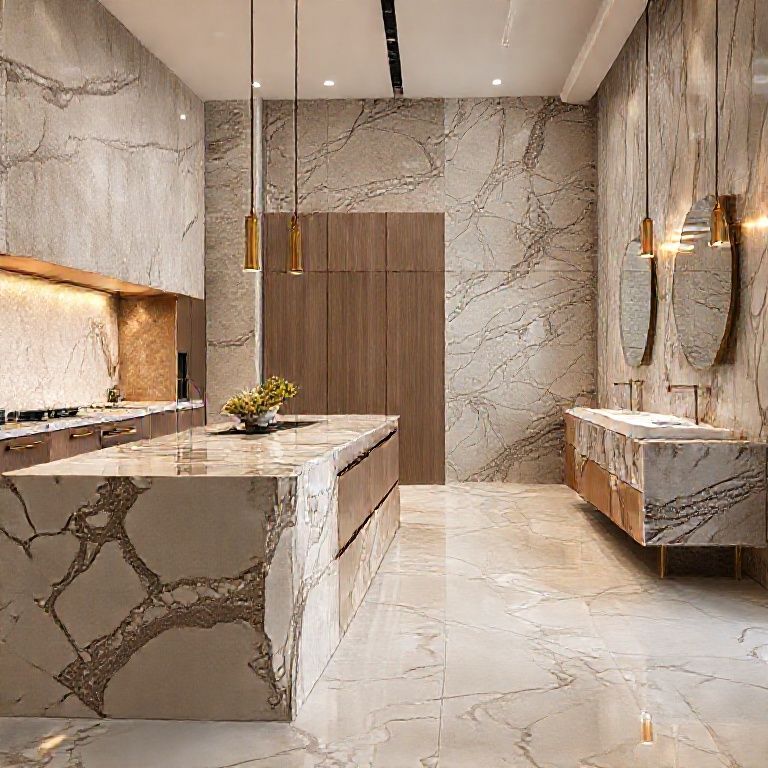
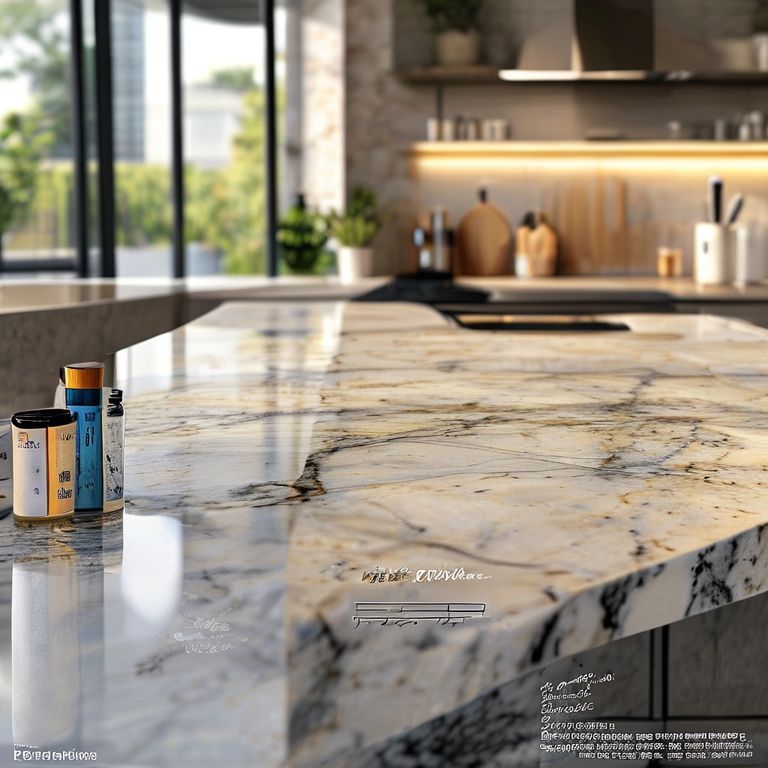
When it comes to upgrading your kitchen or bathroom with a luxurious yet durable surface, artificial stone countertops are an excellent choice. These modern materials offer a blend of natural beauty and longevity, making them a popular choice among homeowners and professionals alike. Here’s a comprehensive guide to help you understand the basics of installing artificial stone countertops.
1. Understanding Artificial Stone Countertops
Artificial stone, also known as engineered stone, is a composite material made from natural stone powder and polymer resins. This material is crafted under high pressure and temperature, resulting in a product that is as durable as natural stone but more flexible in terms of design and installation.
Key Features:
Durability: Artificial stone is highly resistant to scratches, stains, and impact, making it a low-maintenance option. Aesthetics: It comes in a wide range of colors and finishes, allowing for a bespoke design that matches any decor. Weight: Being significantly lighter than natural stone, it is easier to handle during installation.
2. Selecting the Right Material
Choosing the right type of artificial stone is crucial for the success of your installation. Here are some factors to consider:
Types of Artificial Stone:
Solid Surface Composites: Typically made from acrylic, polyurethane, or aluminum oxide, these materials offer high durability and flexibility. Natural Stone Composites: These combine natural stone dust with resin, providing a product that closely resembles natural stone.
Considerations:
Color and Finish: Choose colors that complement your existing decor and ensure the finish aligns with your vision. Thickness: Standard thicknesses range from 1 to 3 inches, depending on the application. Budget: While artificial stone is generally cost-effective, prices can vary based on the type and quality of the material.
3. Planning Your Installation
Before you begin the installation, thorough planning is essential to ensure a smooth process.
Steps to Plan Your Installation:
Measure Your Space: Accurate measurements of your countertop area will help you determine the quantity of material needed. Design: Sketch a design that incorporates your vision for color, pattern, and overall aesthetic. Budgeting: Factor in the cost of materials, tools, and professional labor if needed.
4. Tools and Materials Required
Having the right tools and materials on hand will make the installation process more efficient and successful.
Essential Tools:
Wet Saw: For cutting the artificial stone. Chisels and Hammer: For trimming and shaping the stone. Mixing Tools: To prepare adhesives and sealants.
Materials Needed:
Artificial Stone: The main material for your countertop. Adhesives: For securing the countertop to the cabinetry. Sealants: To protect against stains and moisture. Grouting Materials: If your design includes grout lines.

5. Step-by-Step Installation Process
With everything planned and materials ready, you can begin the installation process. Follow these steps to ensure a professional finish.
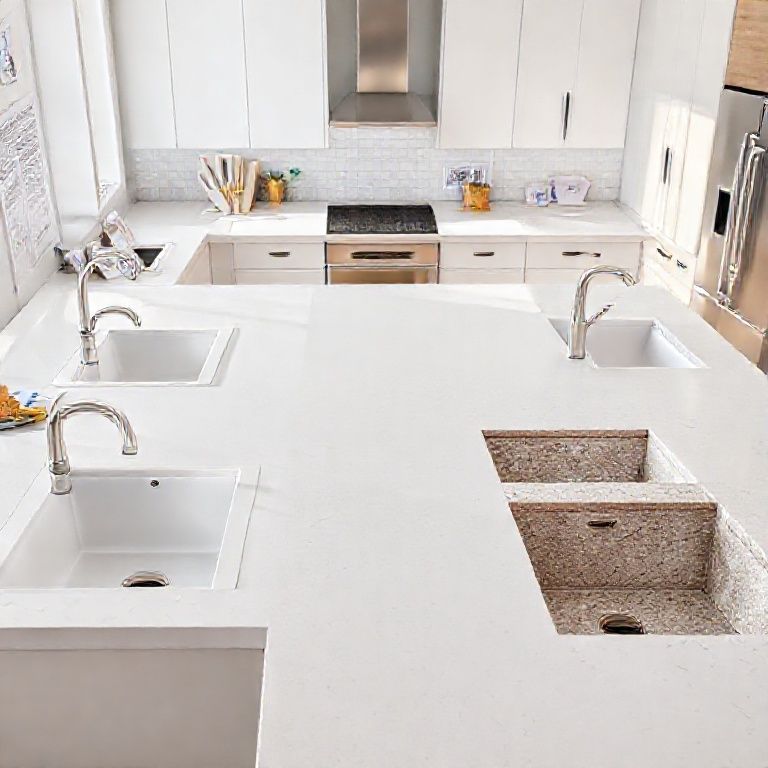
Step 1: Prepare the Surface
Clean the Area: Ensure the area where the countertop will be installed is clean and free of dust, grease, and debris. Remove Existing Cabinetry: If necessary, remove the existing cabinetry to prepare a clean surface.
Step 2: Cut the Artificial Stone
Measure and Mark: Using a pencil, mark where the stone will fit on the countertop. Cut with a Wet Saw: Use a wet saw to cut the stone to the appropriate size, ensuring precise cuts for a professional look.
Step 3: Secure the Stone
Apply Adhesive: Use a high-quality adhesive to secure the stone to the cabinetry. Spread the adhesive evenly using a notched trowel. Place the Stone: Carefully place the stone onto the adhesive and press down firmly to ensure a good bond. Clamp and Allow to Set: Use clamps to hold the stone in place while the adhesive sets, usually for several hours.
Step 4: Grout and Seal
Mix Grout: Prepare the grout according to the manufacturer’s instructions. Apply Grout: Once the adhesive has set, apply grout to the joints using a grout float. Clean Excess Grout: Wipe away excess grout with a damp sponge. Seal the Surface: Once the grout has dried, apply a high-quality sealant to protect against stains and moisture.
6. Finishing Touches
The final steps will ensure your artificial stone countertop looks polished and professional.
Step 5: Edge Finishing
Trim Edges: Use chisels and a hammer to trim any excess material around the edges. Seal Edges: Apply a sealant to the edges to protect them from damage.
Step 6: Clean and Maintain
Clean Surface: Use a mild soap and water solution to clean the countertop. Avoid using abrasive cleaners that can scratch the surface. Regular Maintenance: Regularly clean and seal the countertop to maintain its beauty and durability.
By following these steps, you can successfully install artificial stone countertops that will enhance the beauty and functionality of your kitchen or bathroom. In the next part, we will delve into more advanced techniques and tips to ensure a flawless installation.
Advanced Techniques and Finishing Touches
Continuing from the basics, this part will focus on advanced techniques and finishing touches to ensure your artificial stone countertop installation is not only durable but also visually stunning. Whether you’re a DIY enthusiast or a professional contractor, these tips will help you achieve a professional finish.
1. Advanced Cutting Techniques
While basic cutting is straightforward, mastering advanced cutting techniques can make a significant difference in the overall look and durability of your countertop.
Precision Cutting:
Use a Diamond Blade: For the cleanest cuts, use a diamond blade on your wet saw. Mark Clearly: Use a permanent marker to clearly mark where cuts need to be made. Cut Slowly: Take your time and cut slowly to avoid chipping the stone.
Edge Finishing:
Use an Edge Grinder: For a polished edge, use an edge grinder to smooth out any rough edges. Seal Edges: Apply a specialized edge sealant to protect the edges from damage and stains.
2. Advanced Adhesive Application
Proper adhesive application is crucial for ensuring a strong bond and a seamless installation.
Types of Adhesives:
Polyurethane Adhesive: Known for its strength and flexibility, polyurethane adhesive is ideal for artificial stone countertops. Epoxy Adhesive: For heavy-duty applications, epoxy adhesive provides a strong bond.
Application Tips:
Mix Thoroughly: Ensure adhesives are mixed thoroughly according to the manufacturer’s instructions. Spread Evenly: Use a notched trowel to spread the adhesive evenly on the surface. Clean Excess: Wipe away any excess adhesive immediately to avoid stains.
3. Perfecting the Fit
Achieving a perfect fit is essential for a seamless and professional-looking installation.
Step-by-Step Fit:
Dry Fit: Before applying adhesive, do a dry fit to ensure the stone fits perfectly. Adjust as Needed: Make any necessary adjustments to the stone or cabinetry during the dry fit. Apply Adhesive: Once the fit is perfect, apply adhesive and secure the stone.
4. Advanced Grouting Techniques
Grouting can enhance the appearance of your countertop and ensure a clean, professional finish.
Types of Grout:
Sanded Grout: Ideal for larger joints and provides a durable finish. Non-Sanded Grout: Best for smaller joints, offering a sleek and smooth appearance.
Application Tips:
Mix Thoroughly: Ensure grout is mixed to the right consistency for easy application. Apply Evenly: Use a grout float to apply the grout evenly across the joints. Clean Excess: Wipe away excess grout immediately with a damp sponge.
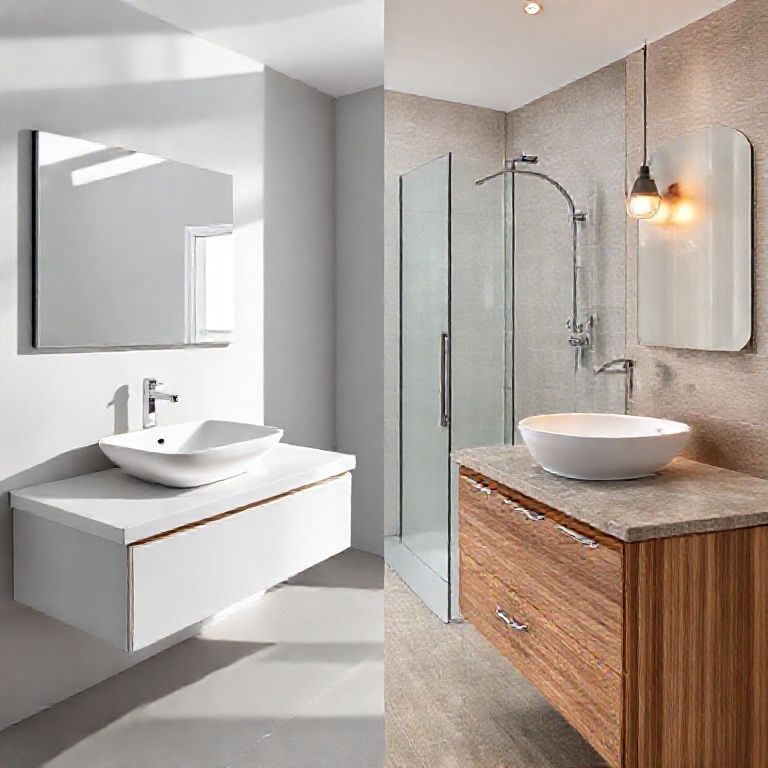
5. Finishing Touches for a Professional Look
The finishing touches are what set a professional installation apart from an amateur one.
Sealing:
Choose the Right Sealant: Use a high-quality sealant that matches the color of your countertop. Apply Evenly: Use a brush or roller to apply the sealant evenly across the surface. Allow to Cure: Ensure the sealant fully cures according to the manufacturer’s instructions before using the countertop.
Polishing:
Use a Polishing Pad: For a glossy finish, use a polishing pad to buff the surface. 当然,可以继续探讨关于人造石台面安装施工方案的更多细节和高级技术。以下内容将涵盖一些重要的细节和注意事项,以确保你的人造石台面安装成功并达到预期的美观和耐用效果。
6. 专业安装建议
预算管理:
详细预算计划:在开始之前,详细列出所有可能的费用,包括材料、工具、人工成本等。 选择高质量材料:虽然高质量材料可能会增加初始成本,但它们通常更耐用,从长远来看更为经济。
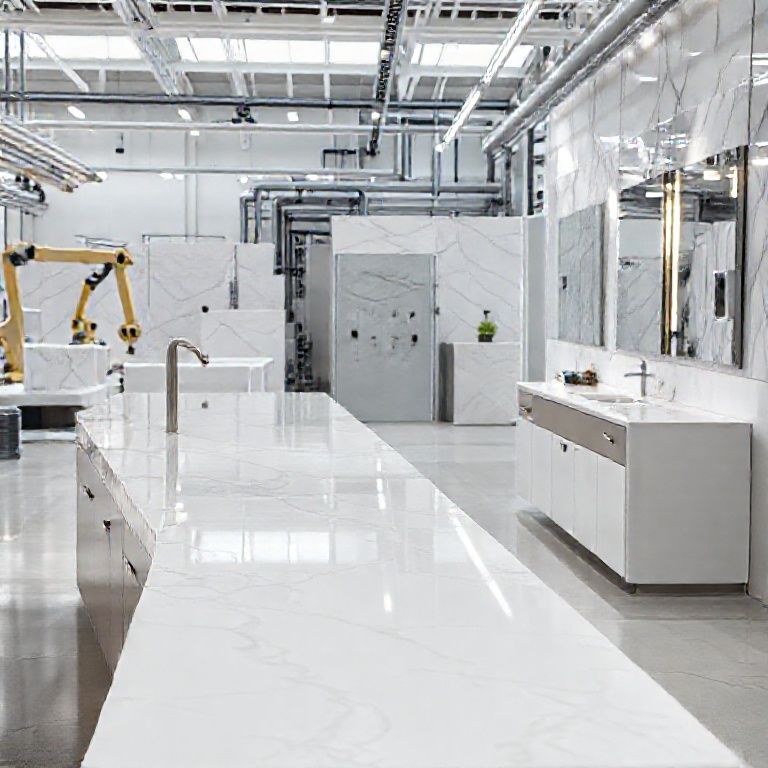
材料准备:
采购材料:提前采购所需材料,确保在安装过程中没有任何中断。 材料检验:在安装前检验材料的质量,确保无瑕疵或损坏。
安全措施:
工作环境安全:确保施工现场的安全,包括使用防护设备如手套、护目镜等。 防护措施:在切割和处理人造石时,注意防止石粉对呼吸道的影响,建议佩戴口罩和其他防护装备。
7. 安装过程中的常见问题与解决方法
问题一:台面不平整
原因:台面设计不合理或台面切割不精准。 解决方法:在切割之前,先进行精确的测量和标记,确保切割精度。可以使用水平仪在安装过程中检查台面的平整度。
问题二:接缝处开裂
原因:胶水未干透或施工过程中受到外力影响。 解决方法:确保胶水在适当温度和湿度下干透,避免在胶水未干透前施加外力。
问题三:表面不光滑
原因:抛光或打磨步骤缺失或不当。 解决方法:在安装完成后,进行必要的抛光和打磨,确保表面光滑。
8. 后续维护与保养
清洁:
日常清洁:使用中性清洁剂和软布进行日常清洁,避免使用酸碱性清洁剂。 深度清洁:每隔几个月进行一次深度清洁,以确保台面的长期美观和卫生。
保养:
避免使用钢丝球:钢丝球可能会划伤人造石表面。 定期检查:定期检查台面的各个接缝处,确保无裂缝和损坏。
9. 专业安装服务
如果你对自己的安装技能有任何疑虑,或者希望确保最佳的效果和耐用性,考虑聘请专业安装服务。专业安装团队通常具备丰富的经验和专业工具,可以确保安装质量和安全。
1. 选择经验丰富的安装公司
查看资质和评价:选择有资质且评价良好的安装公司。 参考案例:查看公司之前的安装案例,确保其经验符合你的需求。
2. 安装过程中的沟通
详细沟通:与安装团队详细沟通你的设计和美观要求。 现场指导:在安装过程中,安装团队应有专业人员现场指导,确保每一步都符合标准。
通过以上详细的指导和建议,希望能够帮助你成功完成人造石台面的安装,并确保其长期美观和耐用。如果有任何具体问题或需要进一步的帮助,请随时提问。