Identifying and Preparing for Repair
${part1}
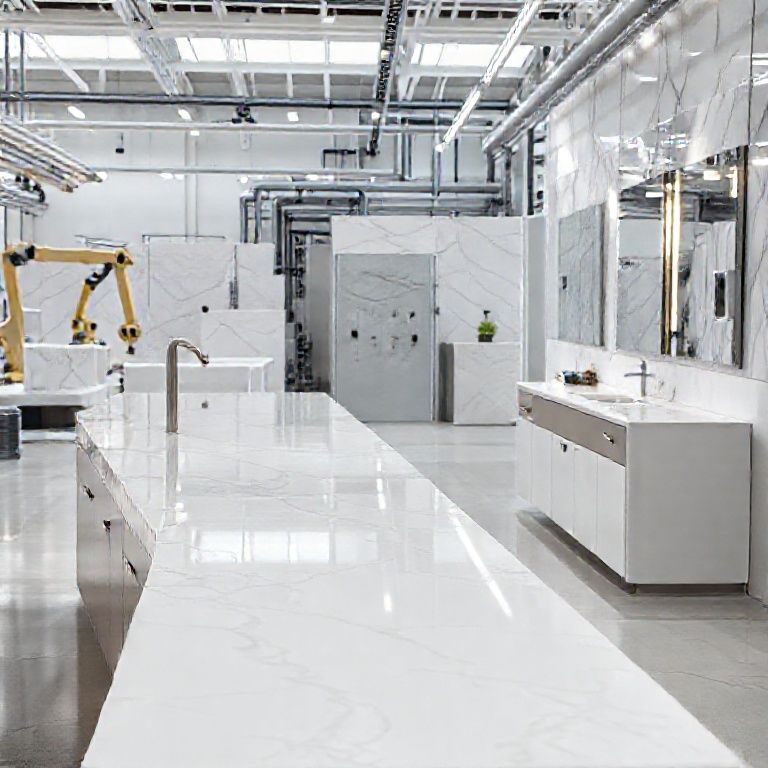
Welcome to our detailed tutorial on repairing artificial stone countertops, where we aim to make this process as straightforward and accessible as possible. In this first part, we’ll cover the initial steps of identifying the crack, preparing the surface, and gathering the necessary tools and materials. Whether you’re dealing with a minor chip or a more extensive crack, this guide will walk you through each step meticulously.

Identifying the Crack
The first step in repairing your artificial stone countertop is to carefully examine the crack. Here’s how to identify and assess the damage:
Visual Inspection: Start by thoroughly inspecting the countertop for any visible cracks. Pay close attention to areas that may have been subjected to more stress, such as edges or corners.
Assess the Damage: Determine the size and depth of the crack. A minor hairline crack is less daunting than a deep, wide fissure. Knowing the extent of the damage will guide you in choosing the right repair method.
Check for Movement: Gently probe the crack with a non-metallic tool to see if there’s any movement. This indicates that the crack may be unstable and needs immediate attention.
Preparing the Surface
Once you’ve identified the crack, it’s time to prepare the surface for repair. Proper preparation ensures that the repair material adheres well and lasts longer.
Clean the Area: Use a mild detergent and water to clean the area around the crack. Remove any grease, food particles, or other contaminants that could interfere with the repair process.
Dry the Surface: Ensure the area is completely dry before proceeding. Moisture can prevent the repair material from adhering properly.
Sand the Crack: Lightly sand the edges of the crack using fine-grit sandpaper (around 400-600 grit). This helps to create a better surface for the repair material to bond with.
Remove Loose Debris: After sanding, use a vacuum or a brush to remove any loose debris from the crack and the surrounding area.

Gathering Tools and Materials
Having the right tools and materials on hand is crucial for a successful repair. Here’s a list of what you’ll need:
Repair Kit for Artificial Stone: This typically includes a repair paste, a mixing tool, and a color-matched filler. Fine-grit Sandpaper: For smoothing the crack edges. Cleaning Supplies: Mild detergent, water, and a cloth or sponge. Protective Gear: Gloves and safety glasses to protect yourself during the repair process. Brushes and Spatulas: For applying the repair paste and filler. Mixing Bowl: To mix the repair paste.
Step-by-Step Preparation
Read the Instructions: Before starting, read the manufacturer’s instructions for your specific repair kit. Different kits may have slightly different procedures.
Prepare Your Workspace: Clear a space where you can work comfortably. Ensure good ventilation if you’re using any materials that emit fumes.
Mix the Repair Paste: Follow the instructions to mix the repair paste in the provided bowl. The consistency should be similar to toothpaste for easy application.
Color Matching: If necessary, match the repair paste to the existing stone color to ensure a seamless finish.
With the preparation complete, you’re now ready to move on to the next phase of the repair process. In the next part of this guide, we’ll dive into the application techniques for filling and smoothing the crack, ensuring a flawless finish. Stay tuned!
Filling and Smoothing the Crack
${part2}
In this part of our comprehensive guide, we’ll delve into the techniques for filling and smoothing the cracks in your artificial stone countertop. This step is critical to ensure that the repair looks seamless and blends perfectly with the rest of the surface. Let’s get into the details of how to achieve a professional finish.
Applying the Repair Paste
Once your surface is prepared and you have your repair paste mixed, it’s time to apply the paste to the crack.
Apply a Thin Layer: Using a brush or spatula, apply a thin layer of the repair paste into the crack. Avoid overfilling; you can always add more if necessary.
Press Firmly: Gently press the paste into the crack to ensure it fills all the crevices. Make sure the paste is evenly distributed along the length of the crack.
Smooth the Surface: Use a clean, damp cloth to smooth the surface of the paste. This helps to remove any excess and ensures a neat finish.
Letting the Paste Set
After applying the repair paste, it’s important to let it set for a period of time as per the manufacturer’s instructions.
Follow the Instructions: Different repair kits may have varying setting times, so be sure to follow the specific instructions provided. Typically, this can range from 15 minutes to several hours.
Avoid Pressure: During the setting time, avoid placing any weight or pressure on the repaired area to prevent displacing the paste.
Filling Deeper Cracks
For deeper cracks that may not be fully filled by the initial application, follow these steps:
Add More Paste: After the initial layer has set, add additional layers of repair paste to fill the crack completely. Each layer should be smoothed out as before.
Multiple Layers: Depending on the depth, you may need to apply multiple layers. Allow each layer to set before applying the next.
Smoothing the Surface
Once the repair paste has fully set, it’s time to smooth the surface to blend it seamlessly with the rest of the countertop.
Use Fine-grit Sandpaper: Lightly sand the filled area with fine-grit sandpaper (around 600-800 grit). This will help to smooth out any rough edges and create a uniform surface.
Sanding Technique: Move the sandpaper in small, circular motions to avoid creating new scratches or uneven surfaces.
Clean the Area: After sanding, clean the area with a damp cloth to remove any sanding dust.
Final Smoothing: For a perfect finish, use a polishing compound and a clean cloth to give the area a final smooth and glossy finish.
Polishing and Finishing Touches
To ensure your repair looks professional and blends perfectly with the surrounding countertop, follow these finishing steps:
Inspect the Repair: Carefully inspect the repaired area to ensure it’s smooth and blends seamlessly with the rest of the surface.
Touch Up Colors: If necessary, use a color-matched polish or sealant to touch up any areas that may not match perfectly. This will help to unify the repair with the original stone color.
Seal the Repair: Apply a clear sealant over the repaired area to protect it from future damage. This step is crucial to extend the life of your repair.
Expert Tips for a Flawless Finish
To achieve a flawless repair, consider these expert tips:
Consistent Thickness: Apply the repair paste in consistent, thin layers rather than one thick layer. This helps to avoid excess material and ensures a smooth finish.
Patience is Key: Allow sufficient time for each layer to set before applying the next. Rushing the process can lead to an uneven repair.
Practice Makes Perfect: If you’re new to countertop repair, practice on a small area first to get a feel for the techniques and materials.
Use Quality Tools: Invest in high-quality tools and repair kits to ensure the best results. Low-quality materials can lead to a less durable repair.
By following these detailed steps and tips, you’ll be able to repair your artificial stone countertop like a pro. Whether you’re dealing with a minor crack or a more extensive fissure, this guide provides you with all the information you need to restore your countertop to its original beauty.
Thank you for joining us in this comprehensive tutorial. We hope you find these steps helpful and that your countertop repair turns out beautifully. Happy repairing!
Feel free to share this guide with anyone looking to repair their artificial stone countertops.当然,我们将继续探讨如何更深入地了解和执行人工石台面的裂缝修补,确保您获得最佳的修复效果。
修补后的保养和维护
日常清洁: 使用中性清洁剂:每天用湿布和中性清洁剂轻轻擦拭台面,避免使用酸性或碱性清洁剂,这些可能会损害人工石材。 立即擦干:清洁后立即用干布擦干,以防止水分渗入裂缝并导致进一步的损坏。 处理溢出物: 立即清理:如果液体溢出在台面上,立即用干布擦干。
这是特别重要的,因为即使是小的液体渗透也可能对修复造成伤害。 避免尖锐物品: 使用砧板:在人工石台面上切割食物时,使用砧板而不是直接切割。这可以避免划伤台面表面。 定期检查: 检查裂缝:定期检查台面是否有新的裂缝或损坏,及时处理,以防止问题恶化。
避免过度加热: 使用隔热垫:在热锅具放置在台面上时,使用隔热垫以防止热量直接传导到台面,可能导致热膨胀或损坏修复。
如何预防裂缝
适当的安装: 专业安装:确保台面由专业人员安装,遵循制造商的安装指南,以确保正确的粘合和固定。 避免冲击力: 小心搬运:在搬运或安装台面时,避免对其施加冲击力或过度压力。 适当的保护: 保护边缘:在台面边缘安装保护条,避免物品直接碰撞边缘,这是裂缝最容易发生的区域。
防止溢出物积聚: 及时清理:保持台面清洁,避免食物残渣和液体长时间停留在表面。
如何识别需要修复的裂缝
裂缝深度: 小裂缝:浅小裂缝可以通过上述修复方法进行修复。 深裂缝:深裂缝可能需要专业修复,或者可能需要更换台面。 裂缝扩展: 观察变化:如果裂缝在短时间内明显扩展,这表明裂缝可能已经变得无法修复,需要及时处理。 裂缝位置: 高风险区域:边缘和角落是裂缝最容易发生的区域,需要特别关注。
专业修复建议
联系制造商: 保修服务:如果台面仍在保修期内,联系制造商或经销商,看是否有保修服务可以提供修复或更换。 专业修复服务: 专业人员:找专业的台面修复服务公司,他们有专业的设备和技术,可以进行深层次的修复。 预算考虑: 成本效益:在决定是否修复或更换台面时,考虑修复的成本和台面的整体价值。
通过以上详细的步骤和建议,您可以有效地修复和维护人工石台面,延长其使用寿命并保持其美观。希望这些信息对您有所帮助,如果有任何疑问,请随时提问。