Comprehensive Guide to Repairing Cracks in Artificial Stone Countertops with Visual Illustrations
Artificial stone countertops are a popular choice for both residential and commercial spaces due to their durability, aesthetic appeal, and low maintenance requirements. However, like any material, they can develop cracks over time due to various factors such as heavy objects, impacts, or even normal wear and tear. Fortunately, repairing these cracks is often a straightforward process, especially if you follow the right steps and use the appropriate tools. This guide will walk you through the most effective methods to repair cracks in artificial stone countertops, complete with visual illustrations to ensure you can follow along easily.
Understanding the Cracks
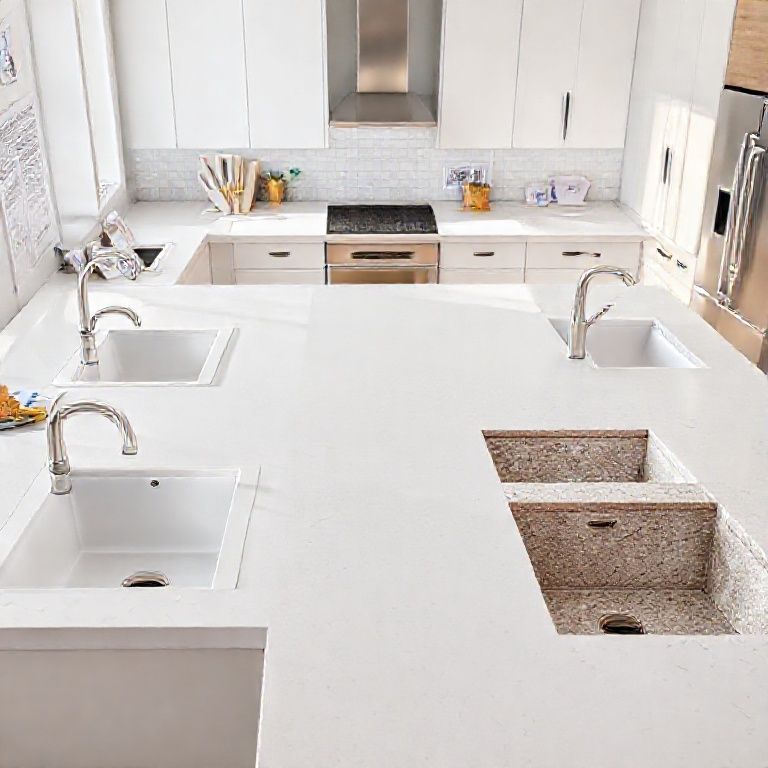
Before diving into the repair methods, it’s essential to understand the nature of the cracks. Artificial stone, though robust, can develop cracks due to:
Heavy objects placed on the countertop Sudden impacts or drops Thermal stress from boiling water or hot pots General aging and wear
Once you’ve identified the type and cause of the crack, you can proceed with the repair process.
Materials Needed for Repair
To repair cracks in your artificial stone countertop, you will need the following materials:
Epoxy Resin Kit: Specifically designed for stone, it provides a durable and aesthetic finish. Sandpaper or Stone Polishing Pad: To smooth out the crack edges. Cleaning Solution: To clean the surface before repair. Mixing Tools: For the epoxy resin. Cloth: To apply and smooth the epoxy. Protective Gear: Gloves and safety glasses.

Step-by-Step Repair Process
Preparation
Clean the Area: Start by thoroughly cleaning the cracked area with a mild cleaning solution and water. Ensure the surface is completely dry. Inspect the Crack: Examine the crack to determine its depth and width. This will help you choose the appropriate repair method.
Sanding the Crack
Smooth the Edges: Using sandpaper or a stone polishing pad, gently smooth the edges of the crack. This will create a clean surface for the epoxy to adhere to. Clean Again: After sanding, clean the area once more to remove any dust or debris.
Mixing the Epoxy Resin
Follow Instructions: Mix the epoxy resin according to the manufacturer’s instructions. Typically, this involves combining the resin and hardener in a mixing container. Consistency Check: Ensure the epoxy has the right consistency for easy application.

Applying the Epoxy
Fill the Crack: Using a cloth or a small applicator tool, fill the crack with the epoxy resin. Press it in firmly to ensure it fills all gaps. Smooth the Surface: Once the epoxy is in the crack, use a cloth to smooth it out and blend it with the surrounding countertop surface.
Curing the Epoxy
Allow Time to Cure: Let the epoxy cure as per the instructions on the kit. This usually takes several hours to a full day. Avoid Use: Do not use the countertop during the curing process to prevent any additional damage.
Final Touches
Final Cleaning: Once cured, clean the surface to remove any epoxy that may have spilled over. Polish if Necessary: If the repair area looks slightly different in texture or color, you may need to lightly polish it to blend it with the rest of the countertop.
Visual Illustrations
To better understand the repair process, here are some visual illustrations:
Figure 1: Cleaning the Crack Area
Figure 2: Sanding the Crack Edges
Figure 3: Mixing the Epoxy Resin
Figure 4: Applying the Epoxy to the Crack
Figure 5: Curing the Epoxy
Comprehensive Guide to Repairing Cracks in Artificial Stone Countertops with Visual Illustrations
Artificial stone countertops are widely admired for their durability, aesthetic appeal, and low maintenance requirements. However, despite their robustness, they can develop cracks over time due to various factors such as heavy objects, impacts, or even normal wear and tear. Fortunately, repairing these cracks is often a straightforward process, especially if you follow the right steps and use the appropriate tools. This guide will walk you through the most effective methods to repair cracks in artificial stone countertops, complete with visual illustrations to ensure you can follow along easily.
Advanced Repair Techniques
While the basic repair method using epoxy resin is effective for minor cracks, there are advanced techniques for more significant damage. These methods may require a bit more skill and sometimes professional help, but they ensure a long-lasting repair.
1. Using a Stone Repair Compound
For larger cracks or more extensive damage, a stone repair compound may be more suitable. These compounds are specifically designed to match the color and texture of your artificial stone countertop.
Materials Needed
Stone Repair Compound Mixing Tools Applicator Brush or Sponge Cleaning Cloth Protective Gear
Step-by-Step Process
Preparation Clean the cracked area thoroughly. Dry the area completely before proceeding. Mixing the Compound Mix the stone repair compound according to the instructions on the packaging. Applying the Compound Use an applicator brush or sponge to fill the crack with the compound. Ensure it goes deep into the crack. Smoothing the Surface Smooth the compound to blend it with the surrounding countertop. Curing and Cleaning Allow the compound to cure as per the instructions. Clean any excess material that may have spilled over.
2. Resurfacing the Countertop
In cases where the crack is extensive and has caused significant damage to the surface, resurfacing the countertop might be necessary. This involves removing the damaged layer and applying a new layer of artificial stone material.
Materials Needed
Diamond Grinding Wheel Protective Gear New Artificial Stone Material Epoxy Resin Mixing Tools
Step-by-Step Process
Preparation Clean and dry the countertop surface. Grinding the Surface Use a diamond grinding wheel to remove the damaged layer of the countertop. Ensure you do this carefully to avoid damaging the underlying structure. Cleaning the Surface Clean the ground surface to remove any dust or debris. Applying New Material Mix the new artificial stone material according to the instructions. Apply the material to the cleaned surface, ensuring it adheres well. Curing Allow the new material to cure as per the instructions.
Preventive Measures
While repairs are essential, taking preventive measures can go a long way in maintaining the integrity of your artificial stone countertops.
1. Use Protective Pads – Place protective pads under heavy objects like pots and pans to prevent direct impact on the countertop.
2. Avoid Sharp Objects – Do not use sharp objects on the surface, as they can easily cause cracks.
3. Regular Maintenance – Clean the countertop regularly with mild cleaning solutions to avoid buildup that can cause wear.
4. Immediate Repairs – Address small cracks immediately to prevent them from becoming larger over time.
Visual Illustrations
To better understand the advanced repair processes, here are some visual illustrations:
Figure 1: Using a Stone Repair Compound
Figure 2: Resurfacing the Countertop
Figure 3: Protective Pads for Heavy Objects
Conclusion
Repairing cracks in artificial stone countertops is not a daunting task if you follow the right methods and use the appropriate materials. Whether you opt for a simple epoxy resin fix or a more advanced resurfacing method, ensuring a clean and properly prepared surface is crucial for a successful repair. By incorporating preventive measures into your routine, you can extend the lifespan of your countertops and maintain their aesthetic appeal. With this comprehensive guide and the accompanying visual illustrations, you are now well-equipped to tackle any crack that comes your way, ensuring your artificial stone countertops remain in pristine condition for years to come.