Artificial stone countertops are a popular choice for both kitchens and bathrooms due to their durability, low maintenance, and aesthetic appeal. However, like any material, they are not immune to damage, especially when it comes to cracks. Fortunately, with the right tools and techniques, repairing cracks in artificial stone countertops can be a straightforward process. In this comprehensive guide, we’ll walk you through everything you need to know to fix those unsightly cracks and restore your countertop to its original beauty.

Understanding Artificial Stone Countertops
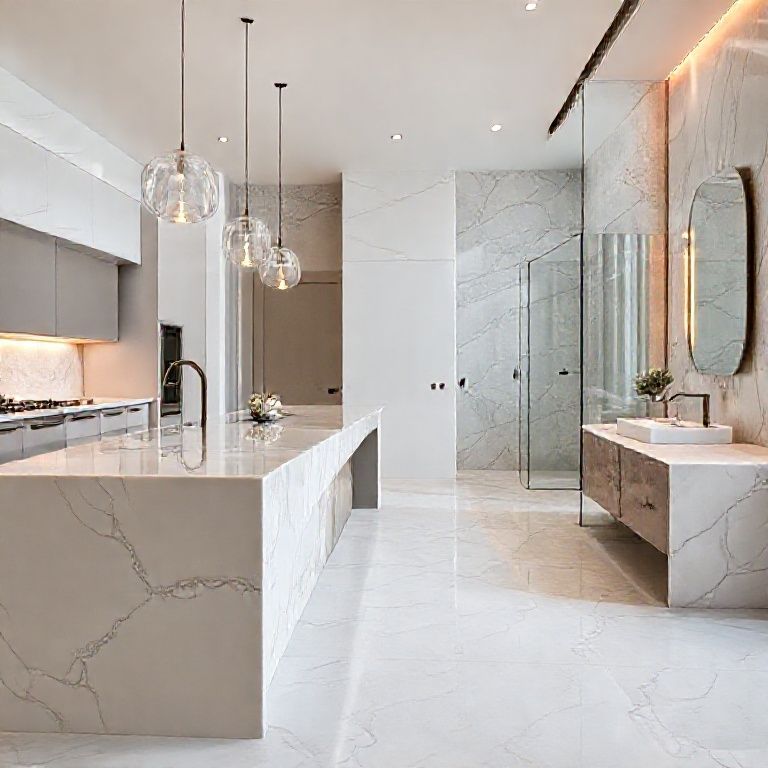
Artificial stone, often made from a blend of minerals, quartz, and resins, is known for its strength and resistance to stains. Despite these advantages, it can still develop cracks due to impacts, improper installation, or even natural wear and tear over time. Knowing how to address these issues is crucial for maintaining the longevity and appearance of your countertops.
Why Video Tutorials are Essential
Video tutorials provide a dynamic and visual way to understand repair techniques. They break down complex processes into manageable steps, making it easier to follow along and ensure accuracy. Our collection of video tutorials is designed to cater to both beginners and seasoned DIY enthusiasts, providing a range of difficulty levels to suit your expertise.
Tools and Materials Needed
Before diving into the repair process, it’s important to gather all the necessary tools and materials. Here’s a list of what you’ll need:

Fine-grit sandpaper Cleaning solution Protective gloves Crack repair filler or epoxy Mixing tools (trowel, spatula) A brush or roller for application A clean cloth Safety goggles
Having these materials on hand will make the repair process smoother and more efficient.
Step-by-Step Repair Process
Step 1: Preparation
First and foremost, safety is paramount. Wear protective gloves and safety goggles to shield yourself from any potential hazards during the repair process. Clean the cracked area thoroughly using a cleaning solution and a cloth to remove any dirt, grease, or debris. This step is crucial to ensure that the repair filler adheres properly to the surface.
Step 2: Sanding the Crack
Using fine-grit sandpaper, gently sand the edges of the crack. This will create a rough surface that allows the repair filler to bond better. Be careful not to over-sand, as this can make the crack larger and may damage the surrounding surface.
Step 3: Applying the Repair Filler
Choose a crack repair filler or epoxy that is compatible with artificial stone. Use a mixing tool to apply the filler into the crack. It’s important to fill the crack completely and ensure that no gaps remain. Smooth out the filler with a brush or roller to create a uniform surface.
Step 4: Drying and Curing
Allow the filler to dry completely as per the manufacturer’s instructions. This usually takes a few hours. Once dry, you may notice that the filler has shrunk slightly, leaving a small gap. This is normal and should be addressed in the final steps.
Step 5: Final Touches
To finish the repair, sand the area again with fine-grit sandpaper until the surface is smooth. Clean the area once more to remove any dust. For a professional finish, you can use a sealant to protect the repaired area from future damage.
Common Mistakes to Avoid
While repairing cracks in artificial stone countertops, there are a few common mistakes that can compromise the quality of your repair:
Using the wrong filler: Ensure that the filler is compatible with artificial stone to avoid further damage. Not cleaning the area properly: Dirt and debris can prevent the filler from adhering properly. Over-filling the crack: This can lead to an uneven surface that is difficult to sand smooth.
Benefits of Watching Our Video Tutorials
Our video tutorial collection offers several benefits:
Detailed demonstrations: Each video provides a clear, step-by-step demonstration of the repair process. Expert advice: Our experts offer tips and tricks to ensure the best results. Visual learning: Watching the process unfold in real-time helps in understanding the nuances of each step. Easy follow-along: The videos are structured to allow easy follow-along, regardless of your skill level.
By following our comprehensive guide and utilizing the video tutorials, you can confidently repair cracks in your artificial stone countertops, restoring their beauty and functionality.
Continuing from where we left off, this second part will delve deeper into advanced techniques, troubleshooting common issues, and additional tips to ensure the longevity of your repaired artificial stone countertops. Whether you’re a novice or an experienced DIYer, this detailed guide aims to equip you with the knowledge and confidence to tackle any crack repair project.
Advanced Repair Techniques
Matching the Color
One of the most crucial aspects of repairing cracks in artificial stone countertops is matching the color of the repair filler to the existing surface. Here’s how to ensure a seamless finish:
Sample Testing: Before applying the filler to the entire crack, mix a small amount and apply it to a hidden area. Allow it to dry and then compare the color to the surrounding countertop. Adjust the color mixture as needed until you achieve an exact match. Color Matching Kits: Consider using color matching kits specifically designed for artificial stone. These kits often come with colorants that can be mixed with the repair filler to achieve the perfect shade.
Dealing with Large Cracks
For larger cracks, the repair process can be more involved. Here’s a more detailed approach:
Reinforcement: For cracks that are deep or extensive, it might be necessary to reinforce the area before applying the filler. This can involve using a mesh or wire to provide additional support. Multiple Layers: Large cracks may require multiple layers of filler. Apply the first layer, let it dry, and then sand it smooth before adding additional layers until the crack is completely filled.
Troubleshooting Common Issues
Even with the best techniques, issues can arise. Here’s how to troubleshoot some common problems:
Uneven Surface
If the repaired area appears uneven after sanding:
Re-sanding: Lightly sand the area again to smooth out any bumps or dips. Re-filling: If necessary, add more filler and let it dry before sanding again.
Color Mismatch
If the color of the repair filler doesn’t match the countertop:
Color Adjustment: Mix a small amount of colorant into the filler and reapply. Professional Help: If you’re unable to match the color, consider seeking help from a professional repair service.
Filler Shrinkage
If the filler shrinks after drying:
Touch-up: Apply a small amount of filler to the gap and smooth it out. Reinforcement: If the gap is large, consider reinforcing the area with mesh or wire before reapplying filler.
Ensuring Longevity of Repairs
To ensure that your repair lasts as long as possible, follow these additional tips:
Regular Maintenance
Cleaning: Regularly clean your countertops with appropriate cleaning solutions to prevent future damage. Avoiding Sharp Objects: Try to avoid using sharp objects on the surface to prevent new cracks.
Protective Coatings
Sealants: Apply a protective sealant to the repaired area to shield it from stains and scratches. Regular Reapplication: Reapply the sealant periodically to maintain its protective properties.
Additional Tips for Professionals
For those who may be performing repairs as a profession, here are some additional tips:
Efficient Workflow
Preparation: Spend time on thorough preparation to ensure a smooth repair process. Tool Organization: Keep your tools organized and within easy reach to streamline the workflow.
Quality Control
Inspection: After each repair, inspect the area to ensure that it meets professional standards. Customer Feedback: Encourage feedback from customers to understand any issues they may notice and make necessary adjustments.
Conclusion
Repairing cracks in artificial stone countertops doesn’t have to be daunting. With the right approach, tools, and techniques, you can restore your countertops to their original beauty. Our comprehensive video tutorial collection is designed to guide you through every step, from preparation to finishing touches, ensuring a professional and lasting repair. Whether you’re a DIY enthusiast or a professional, these detailed guides and expert tips will empower you to tackle any crack repair project with confidence. So, get ready to transform your countertops and enjoy the pristine look and functionality of a perfectly repaired surface.
By following our detailed guide and utilizing our video tutorials, you’ll have all the knowledge and tools needed to make your repair job a success. Happy repairing!