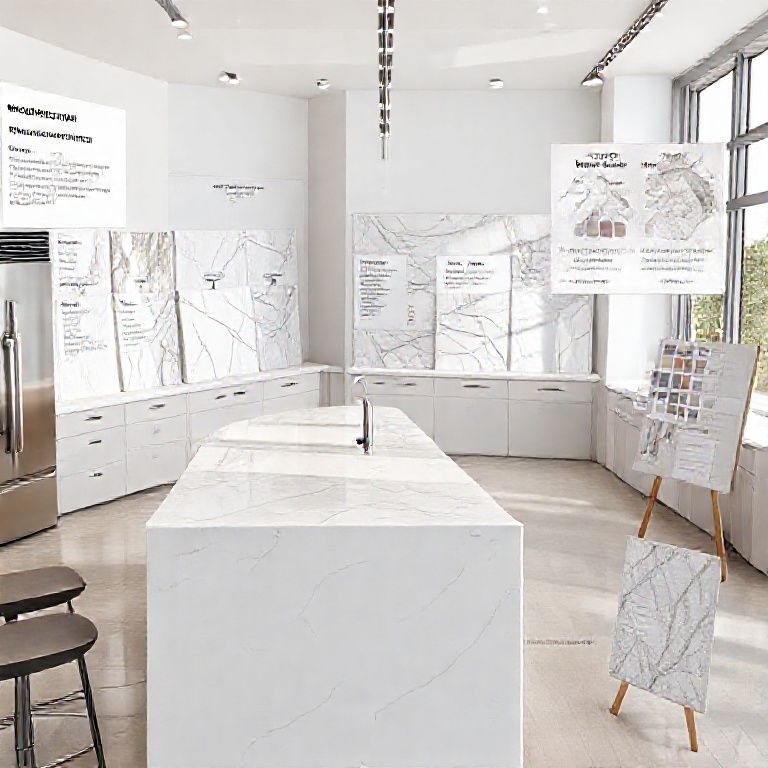
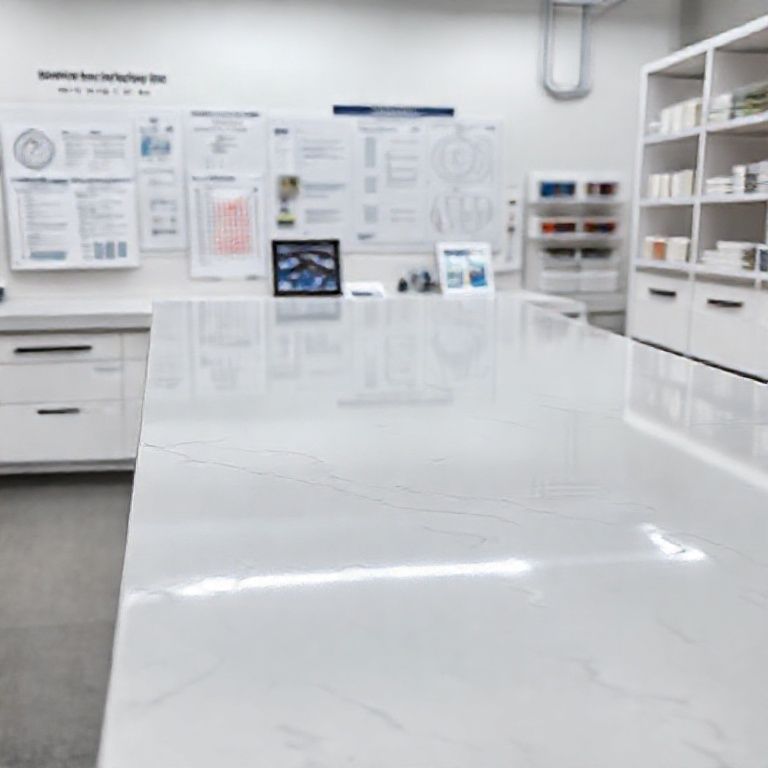
Introduction to Artificial Stone Countertop Repair
Artificial stone countertops have become a popular choice in modern kitchens and bathrooms due to their durability, aesthetic appeal, and ease of maintenance. However, despite their robust nature, they can still develop cracks over time due to various factors such as heavy impacts, improper installation, or even normal wear and tear. Repairing these cracks promptly is essential to maintain the integrity and appearance of your countertop.

In this part of the guide, we will explore the essential materials needed, the basic tools required, and the initial steps you need to follow to prepare for the repair process. Understanding these elements is crucial to ensure a successful and professional-looking repair.
Materials Required for Repair
When it comes to repairing cracks in artificial stone countertops, having the right materials is key to achieving a seamless finish. Here’s a list of the essential materials you will need:
Epoxy Resin and Hardener: This is the primary material used for filling and bonding the cracks. Ensure you choose a high-quality resin that is specifically designed for stone repairs. Mixing Tools: You will need a mixing container, a spatula, and a drill with a mixing attachment to blend the epoxy resin and hardener properly. Sandpaper and Polishing Pads: These are used for smoothing out the repaired area after the epoxy has cured. Cleaning Supplies: Mild soap, water, and a soft cloth will be necessary for cleaning the surface before and after the repair. Protective Gear: Safety goggles, gloves, and a dust mask are essential to protect yourself from the resin fumes and debris.

Tools Required
In addition to the materials, you’ll need some specific tools to facilitate the repair process:
Drill with Mixing Attachment: This will help you mix the epoxy resin and hardener properly. Epoxy Filler: A putty-like filler that can be used to fill in larger cracks. Utility Knife: For making precise cuts and removing any damaged material. Microfiber Cloth: To clean and polish the surface after the repair. Tape: Masking tape can be used to protect surrounding areas from epoxy splatter.
Preparation Steps
Before you begin the repair, it’s important to prepare both the countertop and your workspace to ensure the best results:
Clean the Area: Thoroughly clean the cracked area and the surrounding surface using mild soap and water. Make sure the area is completely dry before proceeding. Disassemble Appliances: If the countertop is beneath any appliances, ensure they are safely removed to give you ample space to work. Protect Surrounding Areas: Use masking tape to cover any areas you don’t want to get epoxy on. This includes edges, cabinet surfaces, and other fixtures. Wear Protective Gear: Put on your safety goggles, gloves, and dust mask to protect yourself from resin fumes and debris.
Initial Repair Steps
Once you have all your materials and tools ready, you can start the repair process:
Inspect the Crack: Examine the crack to determine its depth and width. This will help you decide whether to use epoxy resin or filler. Clean the Crack: Use a utility knife to remove any loose or damaged material from the crack. Clean the crack thoroughly to ensure the epoxy can adhere properly. Mix the Epoxy: Follow the manufacturer’s instructions to mix the epoxy resin and hardener in the drill mixing container. Use the drill with a mixing attachment to blend them until you achieve a smooth consistency.
Stay tuned for Part 2, where we’ll dive deeper into the detailed repair process, including filling the crack, sanding, polishing, and final touches to ensure your countertop looks as good as new!
Detailed Repair Process for Artificial Stone Countertops
Having covered the initial preparation steps and materials in Part 1, we’ll now delve into the detailed repair process for fixing cracks in artificial stone countertops. This part will guide you through filling the crack, smoothing the surface, and polishing the area to restore the countertop to its original beauty.
Filling the Crack
Once the crack is clean and free of debris, it’s time to fill it with epoxy:
Apply the Epoxy: Using a putty knife or epoxy filler, apply the mixed epoxy into the crack. Ensure it fills the crack completely and extends slightly beyond the edges. Smooth the Surface: Use a putty knife to smooth the epoxy over the crack, making sure it’s level with the surrounding surface. Wipe away any excess epoxy that may have splattered onto the countertop. Allow to Cure: Let the epoxy cure according to the manufacturer’s instructions. This usually takes a few hours, during which you should avoid disturbing the area.
Sanding the Repaired Area
After the epoxy has cured, it’s time to smooth out the repaired area:
Select the Right Sandpaper: Start with a coarser grit sandpaper (around 80-100 grit) to remove any unevenness or excess epoxy. Sand Gently: Sand the repaired area gently to avoid damaging the countertop. Move in a consistent direction to ensure an even finish. Switch to Finer Grit: Once the surface is relatively smooth, switch to a finer grit sandpaper (around 220 grit) to refine the surface. Clean the Area: Wipe the surface with a microfiber cloth to remove any sanding dust.
Polishing the Countertop
The final step in repairing your artificial stone countertop is polishing the area to restore its shine and appearance:
Choose a Polishing Pad: Use a polishing pad specifically designed for stone surfaces. This will help you achieve a smooth, glossy finish. Apply Polishing Compound: Lightly apply a stone polishing compound to the repaired area using the polishing pad. Polish in Circular Motions: Use circular motions to polish the area, applying even pressure. Ensure you cover the entire repaired section. Buff the Surface: Once the area is polished, use a clean microfiber cloth to buff the surface, removing any streaks and revealing a shiny finish.
Final Touches
To ensure your repair is seamless and professional-looking, follow these final steps:
Inspect the Repair: Examine the repaired area under good lighting. Look for any imperfections or uneven spots that may need additional attention. Touch Up if Necessary: If there are any minor imperfections, use a small amount of epoxy to touch up the area, then repeat the sanding and polishing process. Clean the Entire Countertop: Once you’re satisfied with the repair, clean the entire countertop to remove any dust or residue. Use a damp microfiber cloth followed by a dry wipe to ensure no moisture is left behind.
Preventive Measures
To prevent future cracks and maintain your artificial stone countertop, consider these preventive measures:
Avoid Sharp Objects: Use cutting boards and avoid placing sharp objects directly on the countertop. Use Coasters: Place hot items and beverages on coasters to prevent heat damage. Clean Properly: Use mild soap and water to clean the surface, avoiding abrasive cleaners that can scratch the stone. Regular Maintenance: Regularly inspect your countertop for any signs of wear or damage and address them promptly.
Conclusion
Repairing cracks in artificial stone countertops doesn’t have to be a daunting task. With the right materials, tools, and techniques, you can restore your countertop to its original beauty and extend its lifespan. Remember, patience and precision are key to achieving a professional-looking repair. Follow this detailed guide, and you’ll be able to confidently tackle any crack that appears on your artificial stone surface.
Stay tuned for more home improvement tips and tutorials on how to maintain and repair your kitchen and bathroom essentials!
This comprehensive guide covers the essential steps and techniques for repairing cracks in artificial stone countertops, ensuring you have all the information needed for a successful DIY repair project.