Introduction
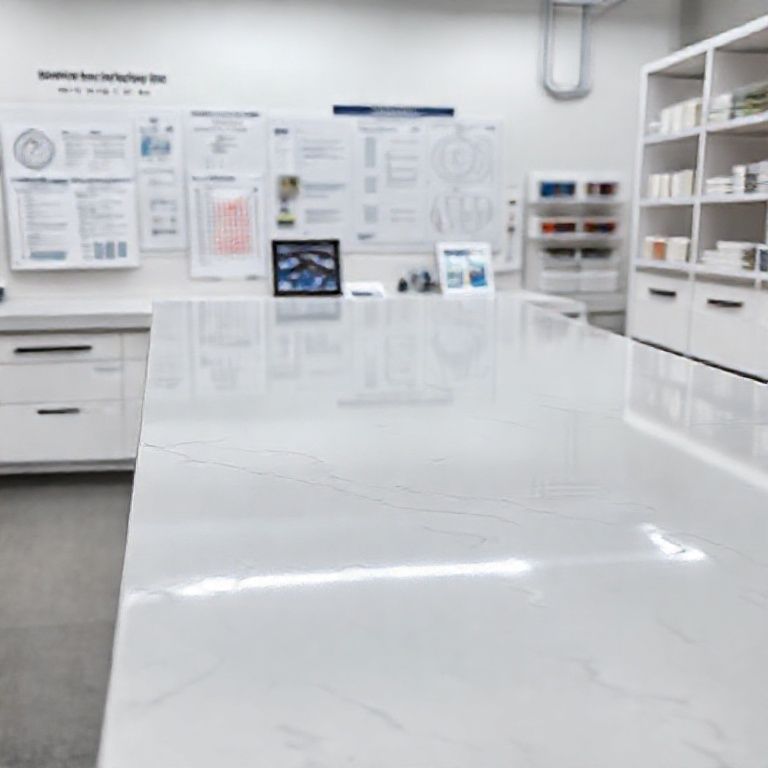
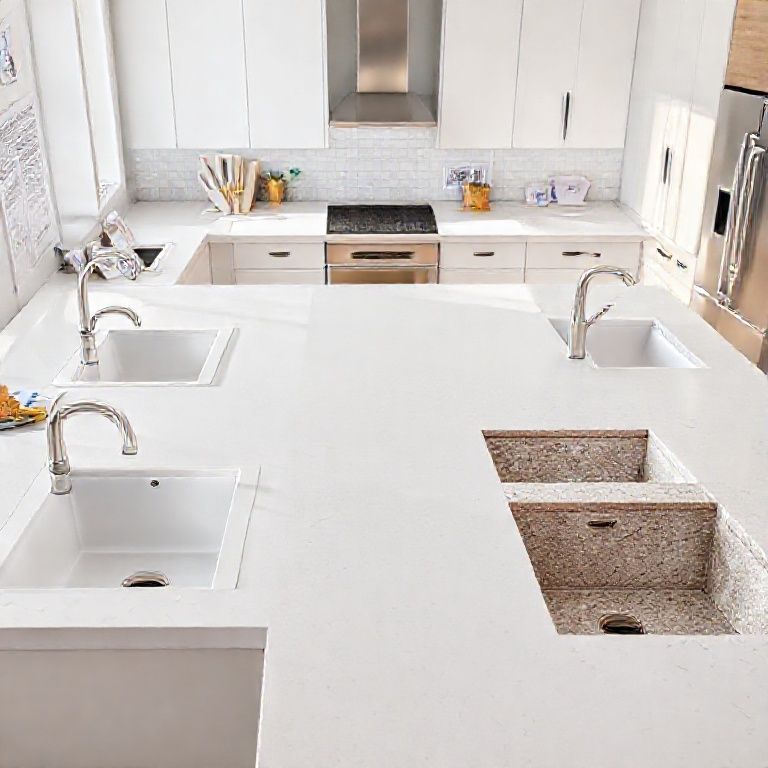
Welcome to our detailed guide on repairing cracks in artificial stone countertops! Artificial stone, known for its durability and aesthetic appeal, is a popular choice for kitchen and bathroom countertops. However, even the most robust materials can develop cracks over time due to various factors like accidental drops or general wear and tear. Thankfully, with the right tools and techniques, you can restore your countertops to their pristine condition. In this first part of our tutorial, we will cover the initial preparation, tools you will need, and some basic techniques to get you started on the path to countertop rejuvenation.

Initial Preparation
Before diving into the repair process, it’s crucial to prepare adequately. Preparation ensures that you can tackle the repair with confidence and precision. Here’s what you need to do:
Clean the Area: Start by thoroughly cleaning the affected area. Use a mild detergent and warm water to remove any grime, food particles, or grease. A clean surface will ensure better adhesion of the repair material.
Inspect the Crack: Examine the crack carefully. Determine its length and depth. This will help you choose the right repair method and materials.

Dry the Surface: Ensure that the area is completely dry before proceeding. Moisture can compromise the integrity of the repair material.
Essential Tools and Materials
Having the right tools and materials is key to a successful repair. Here’s a list of essentials you will need:
Epoxy Resin: A high-quality epoxy resin is the most common material used for repairing cracks in artificial stone countertops. It provides a durable and aesthetically pleasing finish.

Mixing Container: A disposable container to mix the epoxy resin. Ensure it’s clean and free of any contaminants.
Epoxy Mixing Stick: A stick or spatula to mix the epoxy resin.
Masking Tape: To protect surrounding areas from epoxy splatters.
Sandpaper: Medium-grit sandpaper to lightly sand the crack edges. This helps the epoxy resin to adhere better.
Cleaning Brush: To remove dust from the crack after sanding.
Cloth: For wiping down the surface after the repair.
Epoxy Hardener: Always use the correct hardener that comes with the epoxy resin you have purchased.
Basic Repair Techniques
Now that you’re prepared, let’s dive into the basic techniques for repairing cracks in artificial stone countertops:

Mix the Epoxy Resin: Follow the instructions on the epoxy resin packaging to mix the epoxy and hardener in the appropriate ratio. Use a consistent motion to ensure a smooth mixture.
Apply the Epoxy Resin: Using the epoxy mixing stick, apply the epoxy resin into the crack. Fill the crack completely and smooth out the surface with the stick. Make sure there are no air bubbles.
Clean Excess Epoxy: Wipe away any epoxy resin that has seeped out of the crack with a clean cloth. This will ensure a clean finish.
Sand the Crack Edges: Lightly sand the edges of the crack with medium-grit sandpaper to roughen the surface slightly. This will help the epoxy to adhere better.
Curing Time: Allow the epoxy to cure as per the manufacturer’s instructions. This usually takes several hours to a full day.
Final Touches: Once cured, clean the surface again to remove any residue. You can now proceed to apply a sealant if desired to protect the repair.
Conclusion
Repairing cracks in artificial stone countertops doesn’t have to be a daunting task. With the right preparation, tools, and techniques, you can restore your countertops to their former beauty. In Part 2, we’ll explore more advanced techniques and provide tips on finishing touches to ensure a flawless repair. Stay tuned for the next section of our comprehensive guide!
Advanced Techniques and Finishing Touches
Welcome back! In the first part of our tutorial, we covered the basics of preparing your artificial stone countertop and the fundamental techniques for repairing cracks. Now, let’s delve into more advanced techniques and provide finishing touches to ensure your repair looks professional and lasts long. Whether you’re looking to add a polished finish or want to enhance the durability, this part will guide you through the next steps.
Advanced Repair Techniques
Using a Crack Filler: For larger cracks or those that are particularly deep, a crack filler might be more effective than epoxy resin. Crack fillers are designed to fill in larger gaps and provide a stronger bond.
Application: Follow the instructions on the crack filler to mix it. Apply it into the crack using a small spatula or a crack filler tool. Smooth it out to ensure a seamless blend with the countertop surface.
Curing Time: Allow the crack filler to cure completely as per the manufacturer’s guidelines.
Composite Repair: For extensive repairs, consider using a composite repair material. Composites are stronger and provide a more durable repair.
Application: Mix the composite repair material according to the instructions. Apply it to the crack using a syringe or a similar tool to ensure precise application.
Curing Time: Follow the curing time recommended by the product manufacturer.
Color Matching: To ensure the repair matches the countertop’s color perfectly, use a color-matched epoxy or filler. These products come in various shades to match different types of artificial stone.
Application: Mix the color-matched epoxy or filler with the appropriate hardener. Apply it to the crack and smooth it out with a stick.
Curing Time: Allow the material to cure as per the instructions.
Finishing Touches
Once the repair has cured, it’s time to add the finishing touches to ensure the repair looks seamless and lasts long. Here’s how to do it:
Polishing the Surface: To give your countertop a polished look, use a fine-grit sandpaper to lightly sand the repaired area. Follow up with a polishing compound to bring out the shine.
Steps: Lightly sand the area with fine-grit sandpaper. Wipe away any dust with a clean cloth. Apply a polishing compound to the area and buff it with a soft cloth until it shines.
Sealing the Repair: To protect the repair and extend its longevity, apply a high-quality countertop sealant. This will not only protect the repaired area but also the rest of the countertop.
Application: Follow the instructions on the sealant to apply it to the repaired area. Use a soft cloth or a sealant applicator to ensure an even application.
Curing Time: Allow the sealant to cure as per the manufacturer’s instructions before using the countertop.
Final Cleaning: After the sealant has cured, give your countertop a final clean. Use a damp cloth to wipe away any residue and dry it thoroughly.
Tips for Long-Lasting Repairs
To ensure your repairs last as long as possible, follow these tips:
Avoid Heavy Impacts: Try to avoid placing heavy objects directly on the repaired area. If unavoidable, use a protective mat or pad.
Regular Maintenance: Clean your countertop regularly to prevent the buildup of grime and food particles that can cause further damage.
Prompt Repairs: Address any new cracks as soon as they appear to prevent them from worsening. Early repairs are less invasive and easier to fix.
Use Quality Products: Invest in high-quality repair materials and sealants. Cheaper products may not provide the durability and aesthetic appeal you need.
Conclusion
Repairing cracks in artificial stone countertops is a manageable task with the right approach and tools. From basic epoxy resin repairs to advanced techniques and finishing touches, this guide has covered everything you need to know. Remember, preparation, precision, and quality materials are key to a successful repair. With these steps, you can restore your countertops to their original beauty and ensure they last for years to come. If you found this tutorial helpful, don’t hesitate to share it with others who might benefit from it. Happy repairing!
Thank you for joining us in this comprehensive guide on repairing cracks in artificial stone countertops. We hope this detailed tutorial helps you achieve professional-looking results in your home renovation projects. Stay tuned for more DIY tips and tutorials!