Introduction to Repairing Artificial Stone Countertops
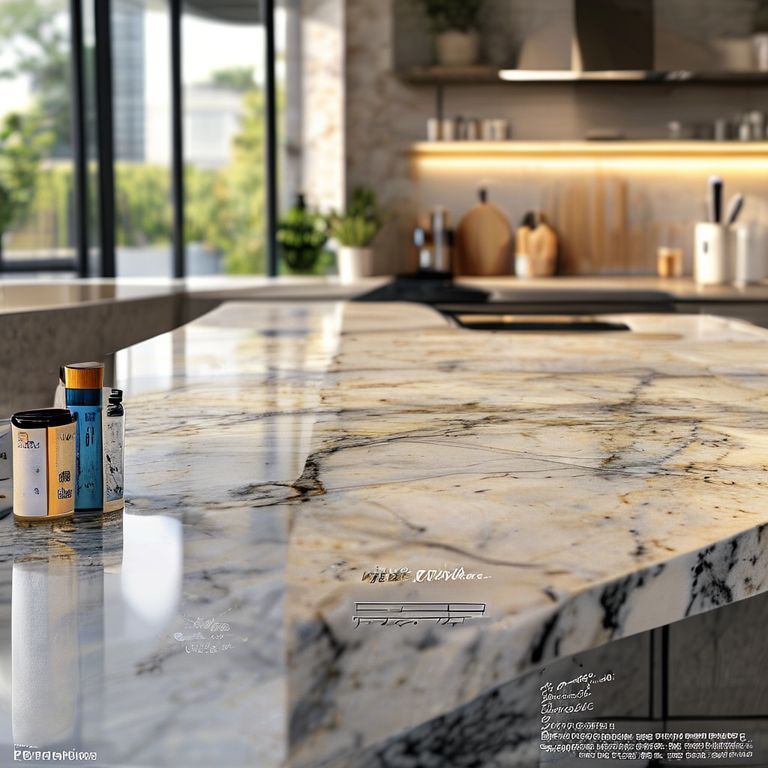
Artificial stone countertops have become a popular choice for kitchens and bathrooms due to their durability, aesthetic appeal, and relatively low maintenance. However, like any material, they can develop cracks over time due to wear and tear, improper handling, or even minor accidents. Fortunately, repairing these cracks is often easier than it seems, especially with the right guidance and tools. In this first part of our comprehensive guide, we will cover the basics of identifying cracks, selecting the appropriate repair materials, and setting the stage for a successful repair project.
Understanding the Types of Cracks
Before diving into the repair process, it’s essential to understand the different types of cracks that can occur in artificial stone countertops. These cracks can vary in size, shape, and location, and understanding their nature will help in choosing the best repair method. Common types of cracks include:
Surface Cracks: These are minor cracks that only affect the surface layer of the countertop. They are typically caused by minor impacts or scratches. Deep Cracks: These are more severe and penetrate deeper into the countertop. They may result from significant impacts or pressure. Hairline Cracks: These are thin, barely visible cracks that can sometimes be mistaken for surface scratches.
Materials and Tools Needed for Repair
To effectively repair cracks in artificial stone countertops, you will need a few essential materials and tools. Here’s a list of what you might require:

Epoxy Resin: A high-quality epoxy resin is often the best choice for repairing artificial stone countertops. It is strong, durable, and provides a seamless finish. Filler: Depending on the size and depth of the crack, you might need a filler to ensure the repair area is level with the surrounding surface. Grinding Tools: Small grinding tools or a Dremel with a grinding bit can help clean out the crack and prepare the surface for repair. Cleaning Supplies: Isopropyl alcohol or a similar solvent is crucial for cleaning the area around the crack to ensure a proper bond. Brushes and Spatulas: These will be useful for applying the epoxy and filler materials. Masking Tape: To protect adjacent areas from getting filled with epoxy or filler.
Preparation Steps
Preparation is key to a successful repair. Follow these steps to ensure the countertop is ready for repair:
Clean the Area: Thoroughly clean the area around the crack using isopropyl alcohol to remove any dust, grease, or debris. This step is critical to ensure a strong bond between the repair material and the existing countertop. Dry the Surface: Allow the area to dry completely before proceeding with the repair. Inspect the Crack: Use a magnifying glass or a small flashlight to inspect the crack thoroughly. This will help you determine the depth and extent of the damage. Clean Out the Crack: Use a grinding tool to clean out the crack, removing any loose debris and ensuring a clean surface for the epoxy to adhere to.

Setting the Stage for Repair
Now that you have identified the type of crack, gathered your materials, and prepared the surface, you’re ready to move on to the repair process. By taking these preparatory steps, you set the foundation for a successful and lasting repair.
Stay tuned for part 2, where we will delve into detailed video tutorials and visual guides to walk you through each step of the repair process, from mixing and applying epoxy to finishing touches and maintenance tips.
Step-by-Step Repair Process and Maintenance Tips
Welcome back to our comprehensive guide on repairing cracks in artificial stone countertops. In part 2, we will provide detailed visual guides and expert video tutorials to walk you through each step of the repair process. From mixing and applying the epoxy to achieving a seamless finish, this section covers everything you need to know to restore your countertops to their original beauty.
Mixing and Applying Epoxy Resin
One of the most crucial steps in repairing cracks in artificial stone countertops is correctly mixing and applying the epoxy resin. Here’s how to do it:
Mix the Epoxy: Follow the manufacturer’s instructions to mix the epoxy resin. Typically, this involves combining two components in a specific ratio. Use a mixing stick to ensure a uniform mixture.
Apply the Epoxy: Using a brush or spatula, apply the epoxy into the crack. Work slowly and carefully to ensure the epoxy fills the crack completely without overflow.
Smooth the Surface: Once the epoxy is in the crack, use a spatula to smooth the surface of the epoxy. This will help ensure a seamless finish once it dries.
Cleaning and Preparing the Repair Area
After applying the epoxy, it’s important to clean and prepare the area for the final steps:
Clean Excess Epoxy: Use a damp cloth to wipe away any excess epoxy that may have spilled onto the countertop surface. Be careful not to disturb the epoxy in the crack.
Dry the Area: Allow the epoxy to dry according to the manufacturer’s instructions. This usually takes a few hours but can vary depending on the product used.
Finishing Touches
Once the epoxy has dried, it’s time to give your repair the finishing touches:
Grind and Sand: Use a grinding tool to smooth the surface of the epoxy where it meets the countertop. Sand the area lightly to ensure a smooth and even surface.
Clean Again: Wipe the area with a damp cloth to remove any sanding dust.
Seal the Repair: To protect the repair and extend its longevity, apply a countertop sealant. This will help prevent future cracks and maintain the aesthetic appeal of your countertop.
Video Tutorials and Visual Guides
To help you through each step of the repair process, we’ve compiled a series of video tutorials and visual guides. These resources provide detailed, step-by-step instructions and visual demonstrations to ensure you can follow along easily. Here are some of the key videos:
Epoxy Mixing and Application: This video demonstrates the correct way to mix epoxy resin and apply it to cracks in artificial stone countertops. Grinding and Sanding Techniques: Learn the best techniques for grinding and sanding the epoxy to achieve a seamless finish. Sealing and Finishing: Watch this video to understand how to apply a countertop sealant effectively and maintain your repaired countertop.
Maintenance Tips
Proper maintenance is key to ensuring your repaired countertop lasts as long as possible. Here are some maintenance tips to keep in mind:
Regular Cleaning: Clean your countertops regularly with mild soap and water. Avoid using abrasive cleaners or scouring pads that can scratch the surface.
Immediate Repair of Minor Cracks: Address any minor cracks immediately to prevent them from becoming more significant over time.
Avoid Heavy Objects: Try to avoid placing heavy objects directly on the countertop to reduce the risk of new cracks.
Use Cutting Boards: Use cutting boards or pads when cutting food to prevent scratches and potential cracks from sharp objects.
By following these steps and maintenance tips, you can ensure your artificial stone countertops remain beautiful and functional for years to come. Whether you’re a DIY enthusiast or a professional renovator, our comprehensive guide, complete with expert video tutorials and visual guides, will help you achieve a flawless repair.
Thank you for joining us on this journey to restore the beauty and functionality of your artificial stone countertops. Stay tuned for more home renovation tips and guides in the future!