Comprehensive Guide to Restoring Your Artificial Stone Countertops: Expert Video Tutorials
Introduction to Artificial Stone Countertop Repair
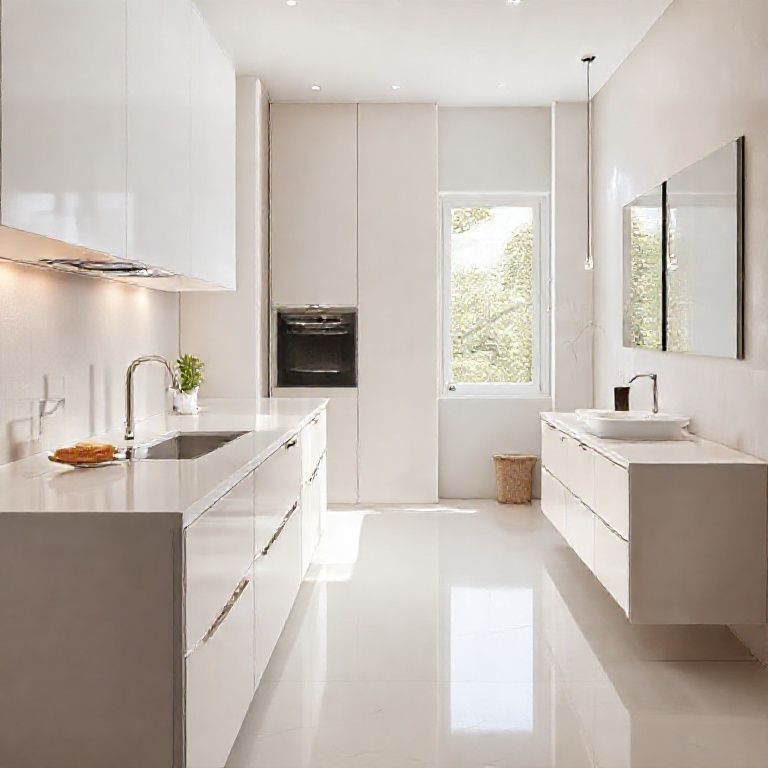
Artificial stone countertops are a popular choice for both residential and commercial kitchens and bathrooms due to their durability, low maintenance, and aesthetic appeal. However, like any material, they can sustain scratches, chips, and other damage over time. Fortunately, with the right techniques and tools, you can restore your artificial stone countertops to like-new condition. This part of our guide will introduce you to the fundamentals of countertop repair and the types of issues you might encounter.

Understanding Artificial Stone Countertops
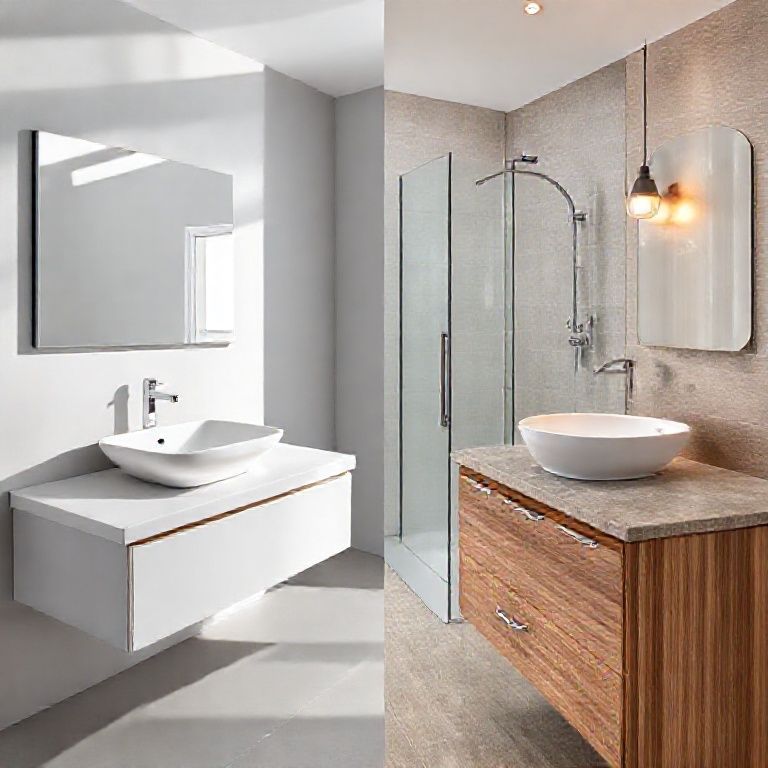
Artificial stone, often referred to as cultured stone, is a composite material made from a mixture of minerals, water, and resin. This material is known for its high strength, durability, and ability to mimic the appearance of natural stone. Common types include Corian, Silestone, and Quartz. Despite their robustness, these materials can still be affected by wear and tear, requiring periodic maintenance and repair.
Common Issues with Artificial Stone Countertops
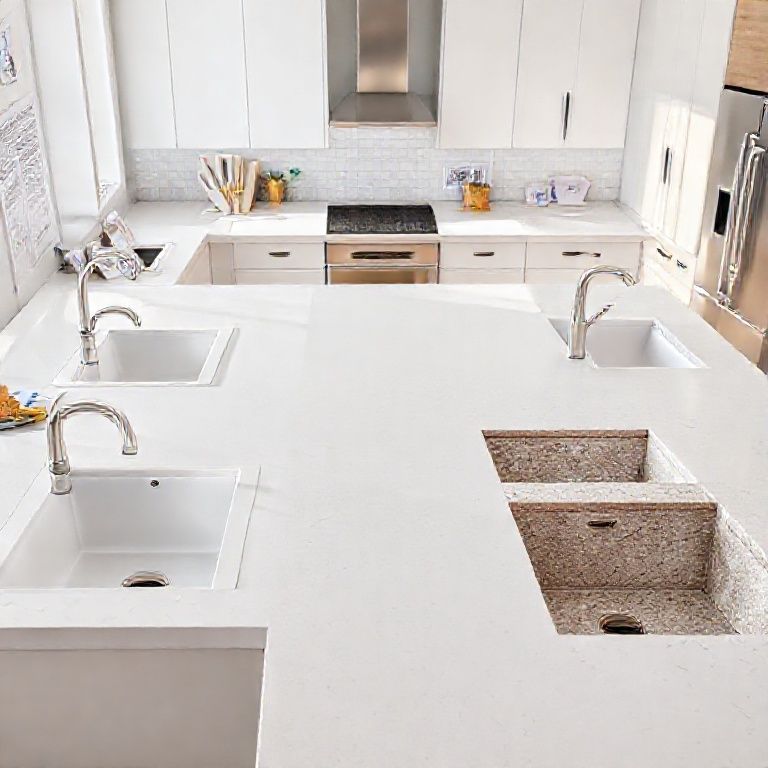
Artificial stone countertops can suffer from several types of damage, including:
Scratches and Chips: These are common due to the use of sharp utensils, abrasive cleaners, or even careless movement of heavy objects. Discoloration: Spills and exposure to certain chemicals can cause stains and discoloration. Surface Cracks: These can occur due to heavy impacts or thermal shock. Etching: Prolonged exposure to acidic substances can etch the surface of the countertop.
Tools and Materials Needed
To effectively repair your artificial stone countertops, you’ll need specific tools and materials. Here’s a basic list to get you started:
Fine-grit sandpaper (1000-1500 grit) Polishing compound Cleaning solution Microfiber cloths Protective gloves Mixing spatula Repair resin kit (specific to your countertop material)
Safety First: Safety Precautions
Before you start any repair work, it’s essential to ensure you’re working in a safe environment. Wear protective gloves to avoid direct contact with chemicals and sanding materials. Clear the workspace of any items that could be damaged by cleaning solutions or sanding dust.
Step-by-Step Repair Process
Step 1: Clean the Area
Start by thoroughly cleaning the damaged area with a suitable cleaning solution. Use a microfiber cloth to wipe away any dirt, grease, or debris. Ensure the surface is completely dry before proceeding.
Step 2: Sanding
For minor scratches and chips, use fine-grit sandpaper to gently sand the affected area. Sanding helps to smooth out imperfections and prepares the surface for polishing. Be careful not to apply too much pressure to avoid further damage.
Step 3: Polishing
Once the surface is sanded, apply a polishing compound using a microfiber cloth. Gently rub the compound into the surface in a circular motion. This step will help to restore the shine and smooth out any remaining imperfections.
Step 4: Addressing Deeper Damage
For deeper scratches or cracks, you’ll need a repair resin kit. Follow the manufacturer’s instructions to mix the resin and apply it to the damaged area. Use a mixing spatula to ensure an even application. Allow the resin to cure as per the instructions before proceeding.
Conclusion
Restoring artificial stone countertops can be a straightforward DIY project if you follow the right steps and use the appropriate tools and materials. By understanding the nature of the material and the common types of damage, you can effectively bring your countertops back to their original beauty. In the next part of our guide, we’ll dive deeper into advanced repair techniques and explore video tutorials to provide you with a comprehensive understanding of countertop restoration.
Advanced Techniques and Expert Video Tutorials for Artificial Stone Countertop Restoration
Having covered the basics of countertop repair, it’s time to delve into more advanced techniques. This part will explore in-depth methods for tackling more complex issues and highlight expert video tutorials that will guide you through each step. With these resources, you’ll be equipped to restore your artificial stone countertops to their best condition.
Advanced Repair Techniques
1. Etching Repair
Etching occurs when acidic substances cause the surface of the stone to deteriorate. To repair etched areas:
Clean the Area: Thoroughly clean the damaged area with a pH-neutral cleaner to remove any residue. Sanding: Use fine-grit sandpaper to lightly sand the etched surface. This step will help to smooth out the affected area. Polishing: Apply a high-quality polishing compound to restore the shine and smooth the surface.
2. Crack Repair
For deeper cracks, follow these steps:
Clean the Area: Clean the damaged area to remove any dirt or debris. Crack Filling: Use a repair resin kit to fill the cracks. Apply the resin using a mixing spatula and follow the manufacturer’s instructions for curing. Sanding and Polishing: Once the resin has cured, lightly sand the area to blend the repaired section with the surrounding surface. Finish with a polishing compound to restore the texture and shine.
3. Stain Removal
To remove stubborn stains, use the following method:
Blot the Stain: Gently blot the stain with a clean, dry cloth to remove any surface residue. Apply Stain Remover: Use a commercial stain remover suitable for artificial stone countertops. Apply according to the manufacturer’s instructions. Scrub Gently: Use a soft-bristle brush to gently scrub the stain. Avoid using abrasive materials that could scratch the surface. Rinse and Polish: Rinse the area with clean water and dry it thoroughly. Apply a polishing compound to restore the shine.
Expert Video Tutorials
To provide you with a more visual understanding of the repair process, we’ve curated a selection of expert video tutorials. These videos will guide you through each step, ensuring you achieve professional results.
Video 1: Basic Scratch and Chip Repair
This tutorial demonstrates how to repair minor scratches and chips on your artificial stone countertop. The video covers cleaning, sanding, and polishing techniques, offering a step-by-step guide to restore the surface to its original condition.
Watch Here: Basic Scratch and Chip Repair
Video 2: Advanced Etching Repair
In this advanced tutorial, the expert shows how to address etching caused by acidic spills. The video includes detailed instructions on cleaning, sanding, and polishing to restore the countertop’s appearance.
Watch Here: Advanced Etching Repair
Video 3: Comprehensive Crack Repair
This comprehensive tutorial covers the full process of repairing deep cracks in artificial stone countertops. The video includes tips on crack filling, sanding, and polishing to ensure a seamless repair.
Watch Here: Comprehensive Crack Repair
Video 4: Stain Removal Techniques
Learn the best techniques for removing stubborn stains from your artificial stone countertop. This video provides expert advice on selecting the right stain remover and the proper method for effective stain removal.
Watch Here: Stain Removal Techniques
Tips for Long-Term Maintenance
To keep your artificial stone countertops looking their best, follow these maintenance tips:
Use Soft Utensils: Avoid using sharp or metal utensils that can scratch the surface. Immediate Cleanup: Clean up spills immediately to prevent stains and etching. Avoid Harsh Cleaners: Use pH-neutral cleaners to avoid damaging the surface. Regular Polishing: Regularly polish the countertop to maintain its shine and texture.
Conclusion
By mastering advanced repair techniques and utilizing expert video tutorials, you can restore your artificial stone countertops to their pristine condition. Whether you’re dealing with minor scratches or more extensive damage, the right tools, materials, and guidance will ensure a successful repair. Remember to always prioritize safety and follow the manufacturer’s instructions for the best results. With these resources at your disposal, your artificial stone countertops will look as good as new for years to come.
Feel free to adapt the content further to suit your specific audience or brand voice!