Cracked Countertops Repair: Expert Tips and Step-by-Step Video Guide
Are you dealing with a cracked countertop and wondering how to go about the repair process? Don’t worry—we’ve got you covered! In this guide, we will provide you with a detailed look at the various methods to repair cracked countertops, along with a comprehensive video tutorial that will walk you through each step. Whether your countertop is made of granite, quartz, marble, or any other material, our expert tips will help you restore its beauty and functionality.
Understanding Countertop Materials
Before diving into the repair methods, it’s essential to understand the material of your countertop. Different materials require different repair techniques. Here’s a quick overview:
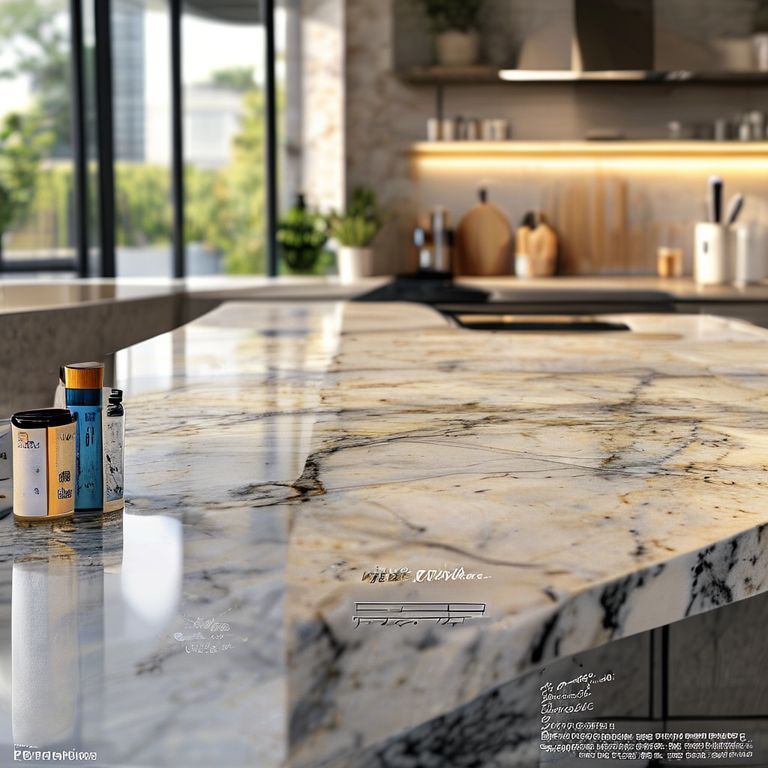
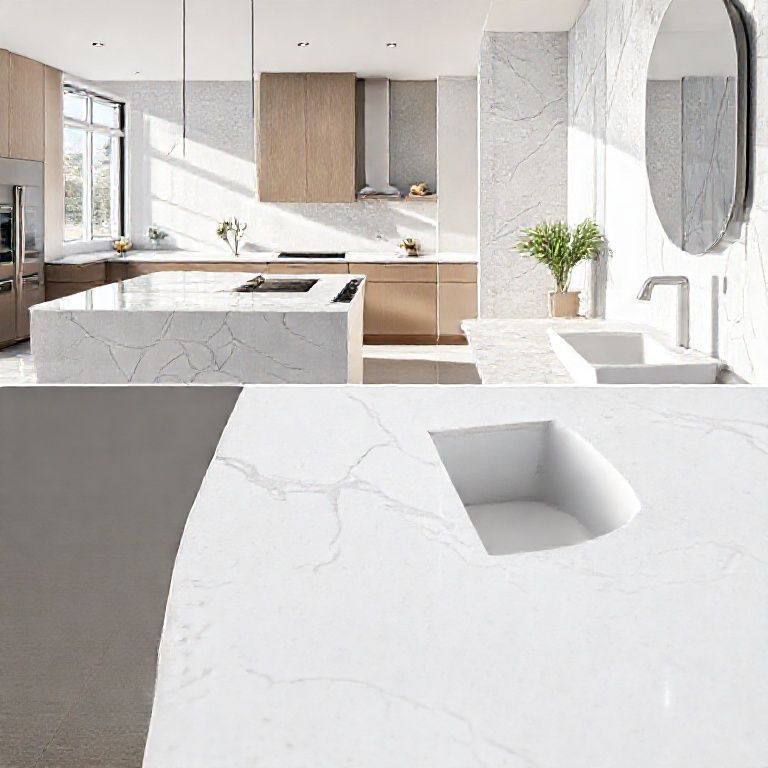
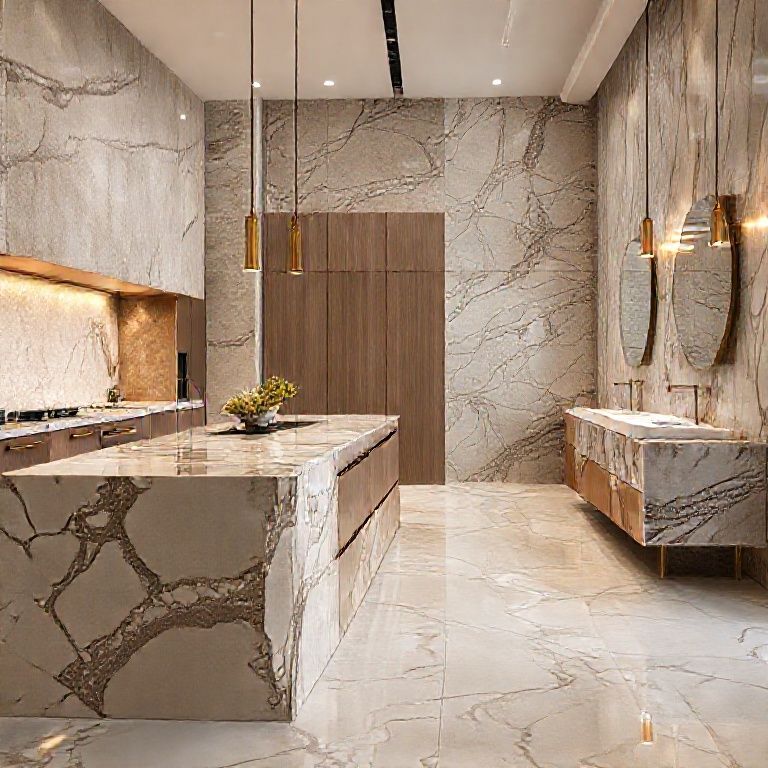
Granite: Known for its durability, granite countertops often develop hairline cracks due to heavy impacts or thermal changes. Quartz: Quartz is a composite material made from 90% silica and 10% bonding agents. Cracks in quartz are usually caused by sharp impacts or pressure. Marble: Marble is a natural stone that can crack due to heavy impacts or abrasive cleaning agents. Silestone and Corian: These materials also require specific repair methods, often involving epoxy resins or specialized fillers.
Step-by-Step Repair Process
Assess the Crack: Start by examining the crack to determine its size, depth, and location. Small hairline cracks can often be repaired with fillers, while larger cracks may require more extensive methods.

Clean the Area: Thoroughly clean the cracked area to remove any dirt, dust, or debris. Use a mild detergent and water, or a specialized countertop cleaner, depending on the material.
Choose the Right Repair Method: Depending on the size and type of crack, select the appropriate repair method. For minor cracks, a filler or epoxy resin might be sufficient. For larger or deeper cracks, consider using a crack repair kit or consulting a professional.
Using Fillers and Epoxy Resins
For minor cracks, using a countertop crack filler or epoxy resin is a straightforward and cost-effective solution. Here’s how to do it:
Select the Right Product: Choose a filler or epoxy resin that matches the color of your countertop material. Ensure the product is suitable for the specific type of countertop you have.
Apply the Filler: Using a syringe or a small applicator, fill the crack with the selected product. Make sure to fill it completely, ensuring no air bubbles are trapped.
Smooth the Surface: Once the filler has been applied, use a damp cloth or a special smoothing tool to smooth the surface and blend it with the surrounding countertop.
Cure the Filler: Allow the filler to cure according to the manufacturer’s instructions. This usually involves leaving the area undisturbed for several hours or even overnight.
Crack Repair Kits
For more extensive damage, crack repair kits can be a practical solution. These kits usually include specialized resins, hardeners, and application tools. Here’s a simplified process:
Prepare the Area: Clean the crack thoroughly and remove any loose debris. Sand down the edges if necessary to create a smooth surface for the repair material.
Mix the Resin: Follow the instructions on the repair kit to mix the resin and hardener. Ensure you have all the necessary tools and safety equipment on hand.
Apply the Resin: Using the applicator from the kit, apply the resin into the crack. Make sure it fills the crack completely.
Smooth and Cure: Smooth the surface and let the resin cure according to the kit’s instructions. This often involves keeping the area undisturbed for several hours or overnight.
Professional Repair Services
For large, deep, or complex cracks, it might be best to consult a professional repair service. Professionals have the expertise and tools to handle extensive damage and ensure a seamless repair.
Contact a Specialist: Look for a reputable countertop repair service in your area. Ask for recommendations or check online reviews to find a reliable professional.
Prepare for Repair: Clean the area thoroughly as instructed by the professional. Remove any items that may obstruct the repair process.
Follow Professional Instructions: Professionals will use advanced techniques and high-quality materials to repair the crack. Follow their instructions carefully to ensure the best results.
Preventing Future Cracks
To prevent future cracks, follow these maintenance tips:
Use Cutting Boards: Always use a cutting board when chopping or cutting on your countertop to protect it from sharp impacts. Avoid Abrasive Cleaners: Use mild, non-abrasive cleaners to avoid damaging the surface of your countertop. Heat Management: Avoid placing hot pots or pans directly on the surface. Use trivets or heat-resistant pads instead. Seal Regularly: Depending on the material, regular sealing might be necessary to maintain the integrity of the surface.
Cracked Countertops Repair: Expert Tips and Step-by-Step Video Guide
Continuing from where we left off, this part of our guide will provide more in-depth information on repairing cracked countertops, along with a detailed video tutorial. By the end of this guide, you’ll be equipped with the knowledge and confidence to handle any countertop crack that comes your way.
Detailed Video Tutorial
Watch our comprehensive video tutorial to see the repair process in action. The video will cover the following steps in detail:
Assessment and Preparation: The video will start with a thorough assessment of the crack, followed by preparing the area for repair. This includes cleaning, sanding, and any preliminary steps necessary for a successful repair.
Choosing the Right Repair Material: The video will demonstrate how to select the appropriate filler or epoxy resin based on the countertop material and the severity of the crack.
Application Process: Step-by-step instructions on how to apply the repair material, ensuring it fills the crack completely and smoothly blends with the surrounding surface.
Curing and Finishing: Detailed instructions on how to cure the repair material properly and finish the surface to ensure a seamless and durable repair.
Advanced Repair Techniques
For more extensive or complex cracks, here are some advanced techniques that professionals use:
Crack Bridging: For larger cracks, professionals might use a crack bridging technique. This involves inserting a thin, flexible material (like fiber mesh) into the crack and covering it with a high-strength resin. This method provides additional support and prevents the crack from widening further.
Epoxy Injection: For deep or extensive cracks, epoxy injection is a highly effective method. Professionals use a specialized syringe to inject epoxy resin directly into the crack, filling it from the inside out. This method is particularly useful for cracks that cannot be easily accessed from the surface.
Surface Restoration: After repairing the crack, professionals often perform surface restoration to ensure the countertop looks as good as new. This might involve polishing, sanding, or even resurfacing the damaged area to match the surrounding surface.
Common Mistakes to Avoid
To ensure a successful repair, avoid these common mistakes:
Inadequate Cleaning: Failing to clean the crack thoroughly before applying the repair material can lead to incomplete repairs and poor adhesion.
Using Incorrect Materials: Using the wrong filler or resin can result in a repair that doesn’t match the countertop’s color or texture, leading to an unsightly repair job.
Overfilling or Underfilling: Applying too much or too little repair material can cause issues like bubbles or an uneven surface.
Improper Curing: Not allowing the repair material to cure properly can lead to a weak repair that might crack again.
Maintenance Tips for Longevity
To extend the life of your countertop and reduce the risk of future cracks, follow these maintenance tips:
Use Coasters and Trivets: Protect the surface from heat, liquids, and sharp impacts by using coasters and trivets. Regular Cleaning: Clean the countertop regularly with appropriate cleaning solutions to avoid buildup that could cause damage. Avoid Abrasive Tools: Use non-abrasive cleaning tools and cloths to avoid scratching the surface. Seal Periodically: Depending on the material, periodic sealing can help maintain the countertop’s integrity and protect it from stains and scratches.
Conclusion
Repairing a cracked countertop doesn’t have to be a daunting task. With the right knowledge, tools, and techniques, you can restore your countertop’s beauty and functionality. Whether you opt for a simple filler or epoxy resin for minor repairs or seek professional help for extensive damage, following the steps outlined in this guide will ensure a successful repair. Remember to always clean and prepare the area properly, choose the right repair material, and allow adequate time for curing. By taking these steps, you can keep your countertops looking pristine and extending their lifespan for years to come.
For a visual walkthrough and more detailed instructions, be sure to check out our comprehensive video tutorial. It’s a valuable resource that will guide you through each step of the repair process, ensuring you achieve最佳结果。
额外的修复技巧和注意事项
选择合适的工具和材料: 确保选择高质量的修复材料,如专门为台面设计的填充剂或修复剂。市面上有许多品牌提供专业的修复产品,确保其适用于你的具体台面材料。 使用干净的工具和容器,以避免污染修复材料。 准备工作: 清洁台面,确保没有油污、灰尘或其他杂质。
可以使用温和的清洁剂和清水。 如果有必要,用砂纸轻轻打磨裂缝的边缘,这有助于修复材料更好地附着。 应用修复材料: 根据产品说明,准确混合修复材料。如果使用的是双组分产品(如 epoxy 树脂和硬化剂),确保按照比例正确混合。 使用细小的填充器或小刷子将修复材料小心地填入裂缝中。
确保材料完全填满裂缝,并尽量避免气泡。 修复材料的抛光和处理: 修复材料干燥后,使用细砂纸或抛光工具将修复部分细致打磨光滑,使其与原始台面表面融为一体。 对于大型或深层裂缝,可能需要多次填充和打磨,以达到平滑的表面。 后续保养: 修复完成后,耐心等待修复材料完全固化(通常需要几小时到一整天时间,具体依据产品说明)。
修复区域完成固化后,可以考虑对整个台面进行重新密封处理,以增强耐用性和防污能力。
预防措施
为了避免台面再次出现裂缝,可以采取以下预防措施:
避免重物冲击: 使用台面保护垫或垫子来保护台面免受重物直接冲击。 适当清洁: 使用温和的清洁剂,避免使用含有强腐蚀性化学物质的清洁剂,以免损害台面表面。 避免热传导: 使用垫子或热隔离垫,避免热锅、热饮直接放置在台面上。 定期检查和维护: 定期检查台面是否有小裂缝或损伤,及时进行维修,防止问题恶化。