Cracked Kitchen Countertop: What To Do and How To Repair It Elegantly
A cracked kitchen countertop can be more than just an unsightly blemish; it can also pose a safety hazard and signal the start of further deterioration if not addressed promptly. Fortunately, there are several effective ways to repair a cracked countertop, bringing back the beauty and functionality of your kitchen space. This comprehensive guide will walk you through the essential steps and techniques to repair your cracked kitchen countertop elegantly.

Understanding the Severity of the Crack
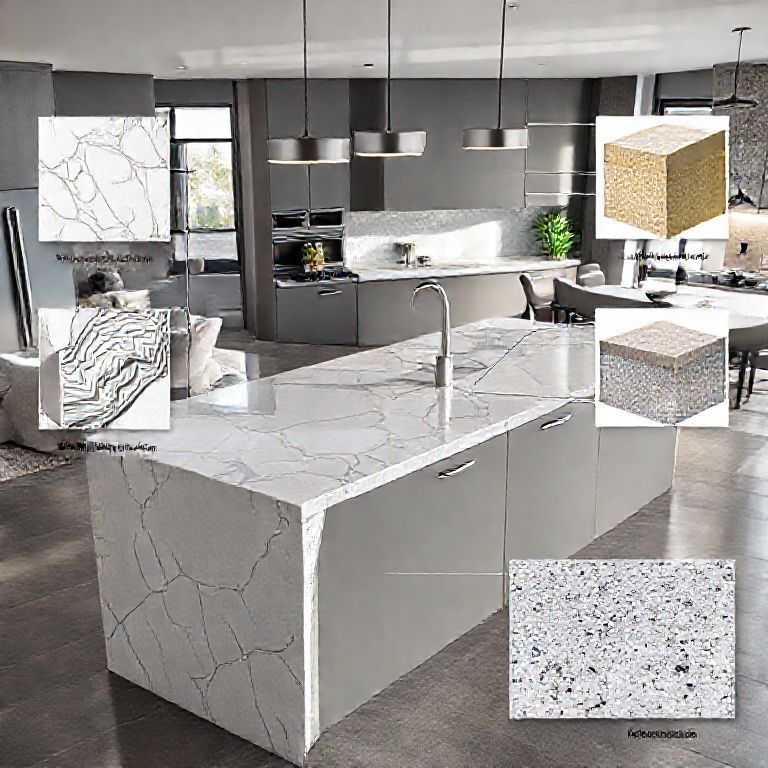
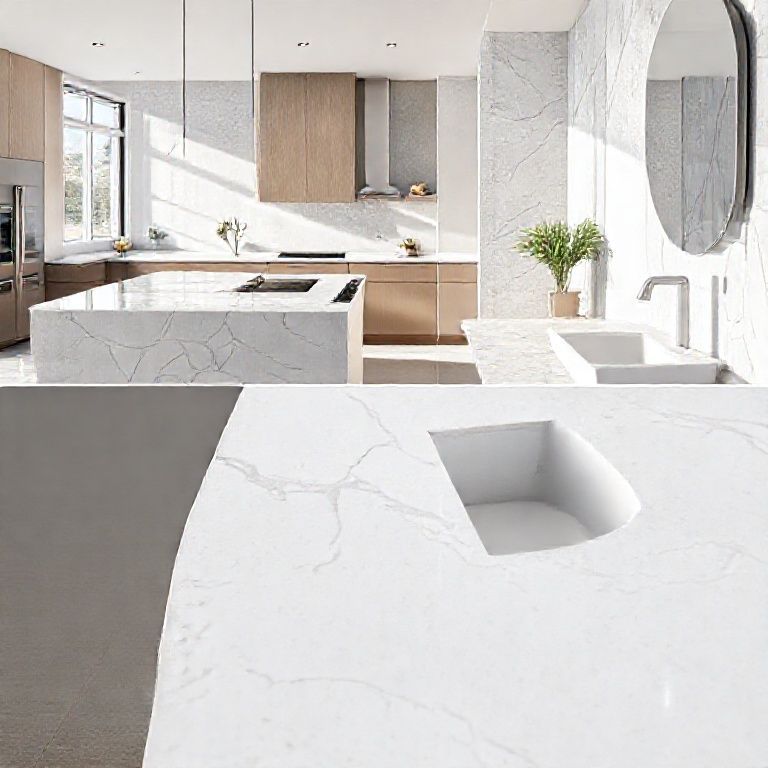
Before diving into the repair process, it’s crucial to assess the extent of the damage. Kitchen countertops are typically made from various materials, such as granite, quartz, marble, or composite materials, each requiring a different approach to repair.
Granite and Quartz: These are among the most durable options but can still develop cracks. Often, the damage is minor and can be fixed with specialized resins. Marble: More susceptible to cracking and staining, marble requires more delicate handling. Epoxy or other fillers might be necessary. Composite Countertops: These are often made from a mixture of wood, resin, and other materials and can be repaired using adhesives or fillers.
Immediate Steps to Take
Safety First: Ensure that the cracked countertop poses no immediate safety risks. Avoid using the area where the crack is present until it’s repaired. Clean the Area: Before starting any repair work, clean the cracked area thoroughly to remove any debris, oils, or food particles that could interfere with the repair process. Dry the Surface: Make sure the countertop is completely dry before applying any repair materials.
Repair Techniques for Different Countertop Materials
Repairing Granite and Quartz
Granite and quartz countertops can often be repaired using specialized epoxy resins. These resins are designed to match the color of the countertop and can effectively fill in cracks.
Step-by-Step Repair Process:
Mix the Resin: Follow the manufacturer’s instructions to mix the epoxy resin according to the package guidelines. Apply the Resin: Using a putty knife or a specialized applicator, carefully fill the crack with the mixed resin. Make sure to fill the crack completely. Smooth the Surface: Once the resin has been applied, use a damp cloth or a resin-specific smoothing tool to blend the resin into the countertop surface, ensuring it’s level with the rest of the surface. Cure the Resin: Allow the resin to cure as per the manufacturer’s instructions. This usually involves leaving it undisturbed for a specific period.
Repairing Marble
Marble requires more delicate repair methods due to its softer nature and susceptibility to staining. Using an epoxy filler or marble repair kit is often the best approach.

Step-by-Step Repair Process:
Clean the Crack: Thoroughly clean the area around the crack with a mild soap solution and let it dry completely. Apply the Filler: Using a small applicator, fill the crack with the marble filler. Make sure to fill the crack completely and smooth the filler to blend it with the surrounding surface. Cure the Filler: Allow the filler to cure as per the product instructions, which may involve leaving it undisturbed for a certain period. Polish the Area: Once cured, use a marble polish or a specific marble filler polish to smooth and blend the repaired area.
Repairing Composite Countertops
Composite countertops can often be repaired using adhesives or fillers that match the countertop color.
Step-by-Step Repair Process:
Prepare the Crack: Clean and dry the cracked area thoroughly. Apply Adhesive: Use a suitable adhesive to fill the crack. Follow the manufacturer’s instructions for mixing and application. Smooth the Area: Once the adhesive is applied, smooth it out to blend with the rest of the countertop surface. Cure the Adhesive: Allow the adhesive to cure completely as per the instructions.
Long-Term Maintenance and Prevention
Preventing future cracks is just as important as addressing existing ones. Here are some tips to maintain your kitchen countertops:
Use Cutting Boards: Always use a cutting board when cutting hard foods like vegetables or meats to prevent scratches and cracks. Avoid Sharp Objects: Refrain from using sharp objects or utensils to scrape or clean your countertop. Use Coasters: Place coasters under items that generate heat to prevent thermal shock, which can cause cracks. Regular Cleaning: Regularly clean your countertop with appropriate cleaning solutions to remove spills and stains promptly.
When to Call a Professional
While many cracks can be repaired at home, some damage may be beyond DIY repair. If the crack is deep, extensive, or if the countertop material is not suitable for home repair, it’s best to consult a professional.
Signs You Need Professional Help:
Cracks that go deep into the countertop material. Multiple cracks or a spider web pattern. Damage that affects the structural integrity of the countertop. If the countertop is made of a material not recommended for DIY repair.
Conclusion
A cracked kitchen countertop doesn’t have to be a permanent blemish. With the right tools and techniques, you can restore your countertop’s beauty and functionality. Whether you opt for a DIY repair or seek professional help, addressing the crack promptly will prevent further damage and keep your kitchen looking pristine.
Cracked Kitchen Countertop: What To Do and How To Repair It Elegantly
In the previous part, we delved into the various methods to repair different types of kitchen countertops when they crack. Now, let’s explore more in-depth techniques and additional tips to ensure your kitchen countertop repair is both effective and aesthetically pleasing.
Advanced Repair Techniques
For those who prefer a more hands-on approach or have a particularly stubborn crack, here are advanced techniques to achieve a flawless repair.
Epoxy Resin for Granite and Quartz
Epoxy resin is a versatile and durable solution for repairing granite and quartz countertops. To ensure the best results, follow these detailed steps:
Preparation: Thoroughly clean and dry the cracked area. Use a degreaser to remove any oils or residues. Mixing: Carefully mix the epoxy resin according to the manufacturer’s instructions. Epoxy typically comes in two parts that need to be mixed together. Application: Use a putty knife or a specialized applicator to fill the crack with the mixed epoxy resin. Apply it generously to ensure the crack is fully filled. Smoothing: Once the resin is applied, use a damp cloth or a resin-specific smoothing tool to blend the epoxy into the countertop surface, ensuring it’s level with the rest of the surface. Cure Time: Allow the epoxy to cure completely. This usually takes several hours to overnight, depending on the product. Finishing Touches: Once cured, you can use a countertop polish to smooth and blend the repaired area.
Marble Restoration Kits
Marble restoration kits provide a detailed repair solution for marble countertops. These kits typically include fillers, polishes, and other necessary tools. Here’s a more detailed approach:
Surface Preparation: Clean the cracked area with a mild soap solution and let it dry completely. Filling the Crack: Using a small applicator, fill the crack with the marble filler. Apply it generously to ensure the crack is completely filled. Smoothing: After the filler has been applied, use a marble-specific smoothing tool to blend the filler with the surrounding surface. Cure Time: Allow the filler to cure as per the manufacturer’s instructions, which usually involves leaving it undisturbed for a specified period. Polishing: Once cured, use a marble polish or a specific marble filler polish to smooth and blend the repaired area.
Adhesive Repair for Composite Countertops
Composite countertops can be repaired using adhesives that bond the crack and restore the surface. Here’s how to do it:
Clean the Area: Thoroughly clean and dry the cracked area. Mix the Adhesive: Follow the manufacturer’s instructions to mix the adhesive. Apply the Adhesive: Use a putty knife or a specialized applicator to fill the crack with the adhesive. Make sure to fill it completely. Smooth the Surface: Once the adhesive is applied, smooth it out to blend with the rest of the countertop surface. Cure Time: Allow the adhesive to cure completely as per the instructions. Final Polishing: Use a countertop polish to smooth and blend the repaired area.
Enhancing the Repaired Area
After the repair has set and cured, it’s essential to enhance the repaired area to make it blend seamlessly with the rest of the countertop.
使用高光抛光剂
高光抛光剂可以帮助恢复台面的自然光泽,使修复区域更加自然。抛光过程包括以下几步:
清洁台面:在抛光之前,确保台面干净无尘,可以使用温和的清洁剂和水。 涂抹抛光剂:使用抛光剂专用的抛光布,均匀地涂抹在修复区域和周围的台面上。 抛光过程:用抛光布在台面上轻轻打磨,直到你看到光泽恢复。通常需要几分钟。 清洁残留物:使用干布擦拭干净台面,去除抛光剂的残留物。
定期保养
使用专用清洁剂:选择适合台面材料的清洁剂,避免使用腐蚀性强的清洁产品。 避免重物冲击:尽量避免在台面上放置重物,以免再次产生裂痕。 使用防护垫:在放置热锅或碎屑物时,使用硅胶垫或其他防护垫,防止热量和物理冲击损坏台面。
使用蜡或抛光油
对于木质或人造石台面,可以使用蜡或抛光油进行定期护理,以增加光泽和保护效果。
涂抹蜡或油:使用专用的抛光布,均匀涂抹蜡或抛光油于台面。 擦拭干净:待蜡或油吸收后,用干布轻轻擦拭,去除多余的蜡或油。
专业维护
如果修复后的台面仍然有不自然的地方,或者你对DIY方法不是很满意,可以考虑寻求专业的维护服务。专业人员通常有更高级的工具和技术,能提供更持久和自然的修复效果。
避免常见误区
不要用过热水或强力清洁剂:高温和强力清洁剂可能会加速材料的老化和裂痕扩展。 避免频繁修复:尽量避免频繁的小修复,这可能导致台面变得不协调。 选择合适的修复材料:确保修复材料与原材料匹配,以保持一致的外观和质感。