DIY Repair for Cracked Artificial Stone Countertops: An Affordable and Do-It-Your-Self Guide
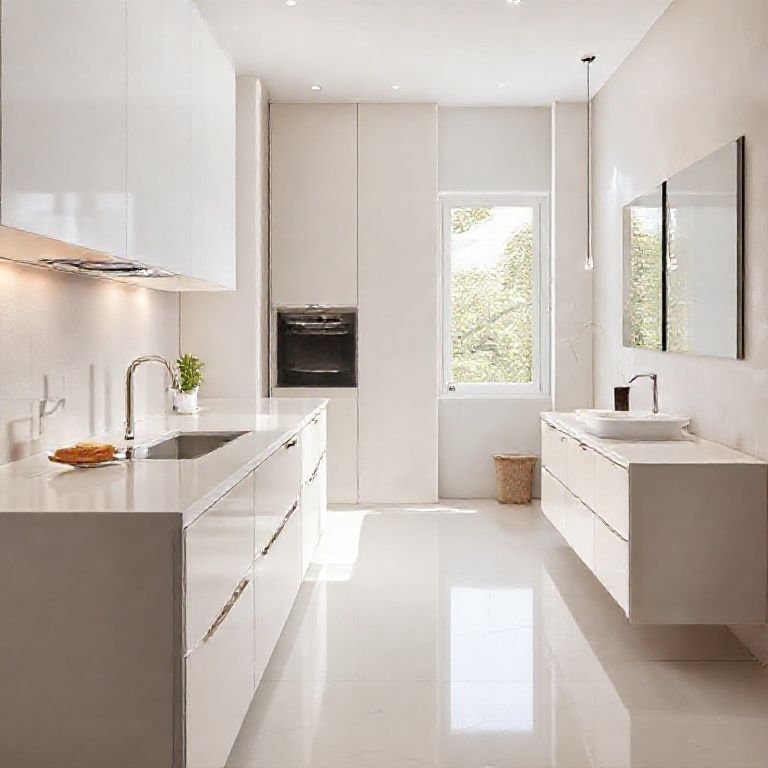
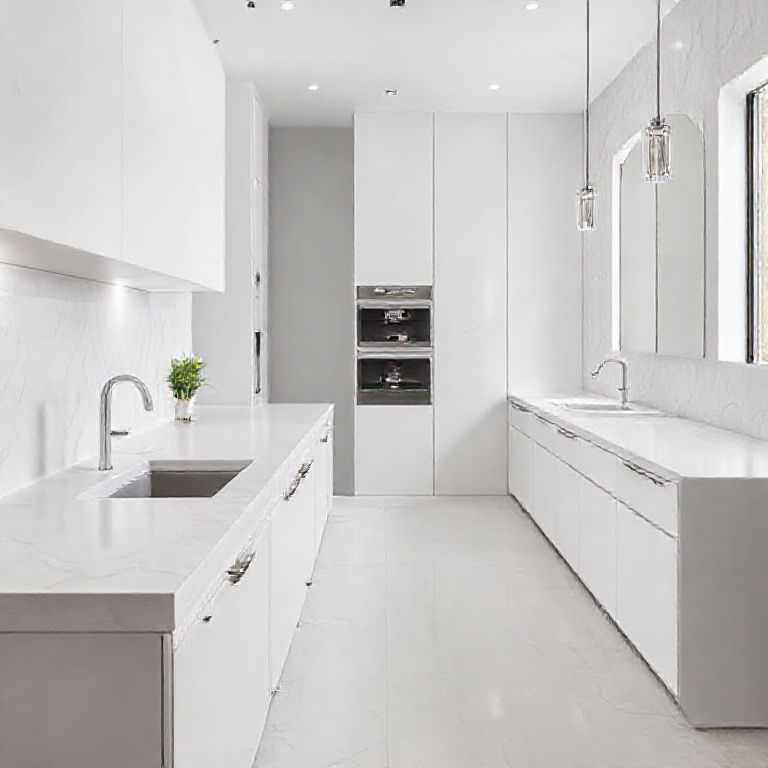
Artificial stone countertops are a popular choice for modern kitchens and bathrooms due to their durability, aesthetic appeal, and relatively low maintenance. However, like all materials, they are not immune to damage. Cracks can occur due to heavy impacts, improper installation, or even wear and tear over time. If you find yourself facing cracked artificial stone countertops, you might be wondering how much it will cost to repair them. Surprisingly, you may find that fixing these cracks yourself can be an affordable and feasible option.

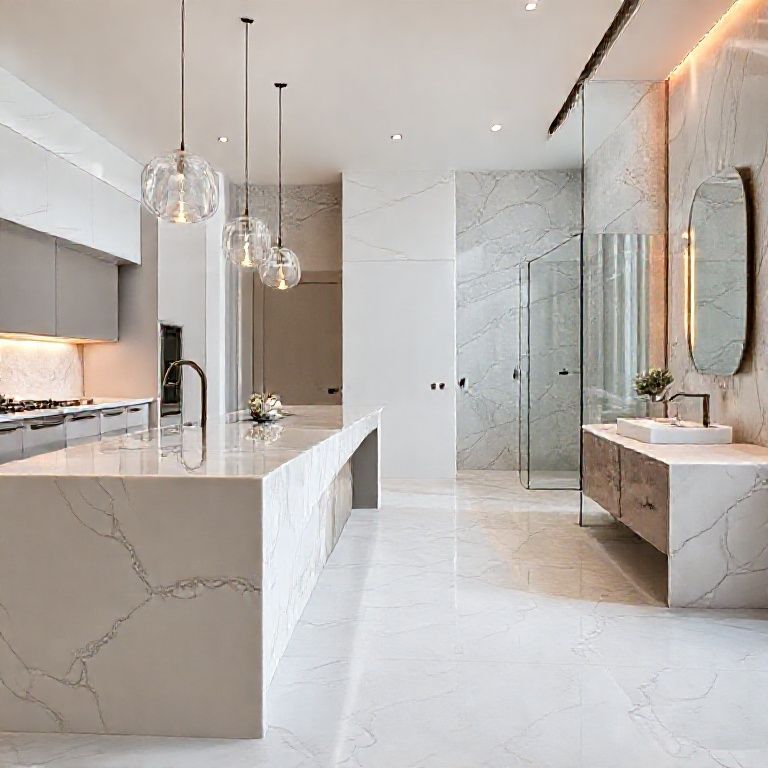
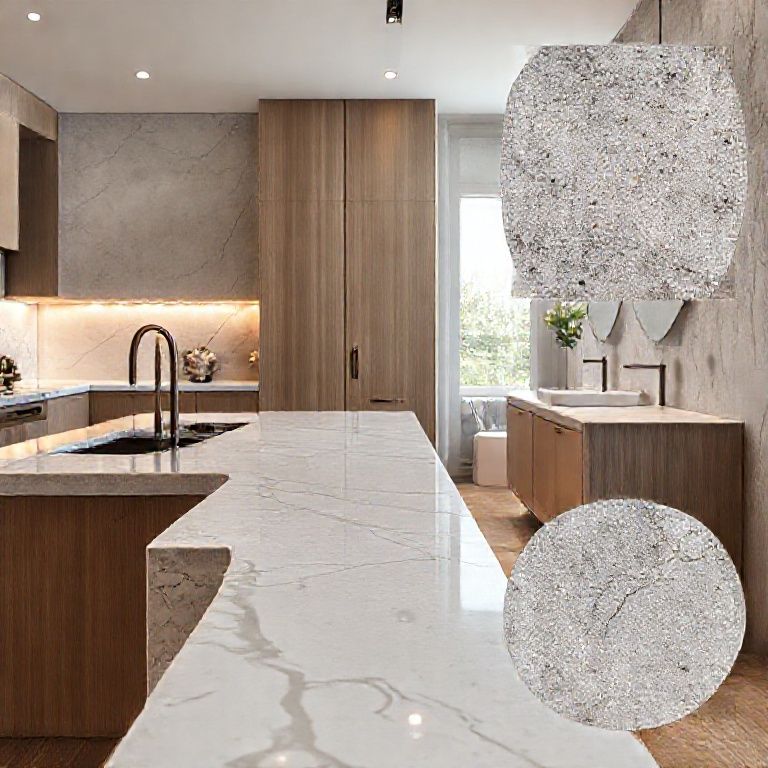
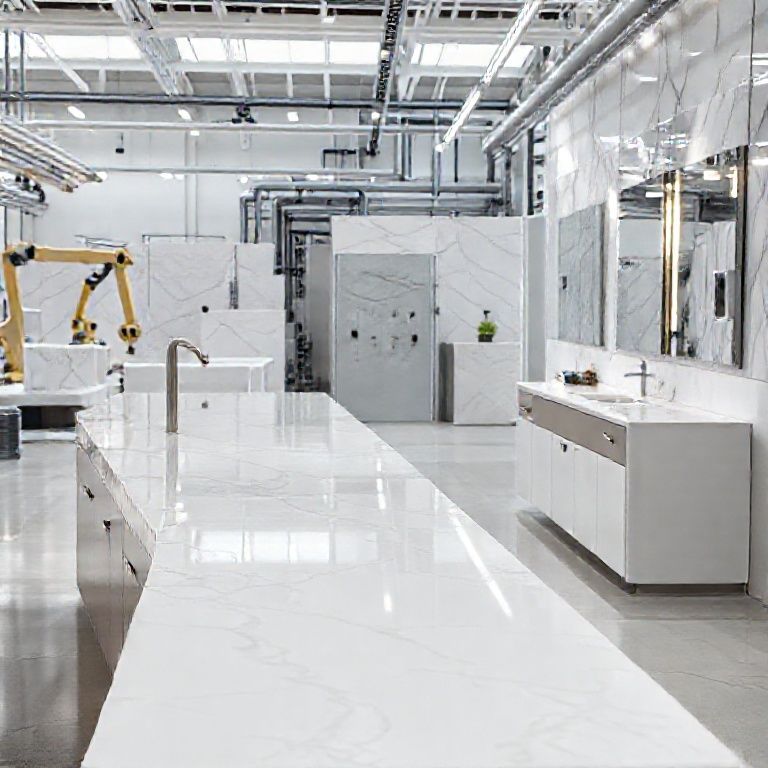
Understanding Artificial Stone Countertops
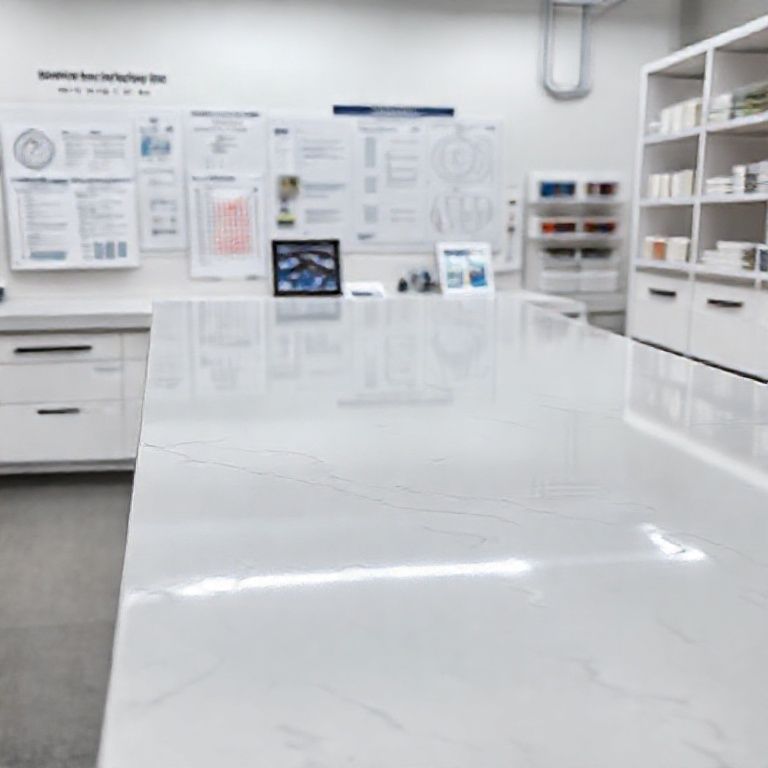
Artificial stone, also known as cultured stone, is a composite material made from a mixture of minerals, resin, and pigments. This material is known for its durability and resistance to scratches, stains, and high temperatures. Despite these advantages, it can still crack under certain conditions. Understanding the nature of the material helps in determining the best repair methods.
Identifying the Crack
The first step in any repair project is to assess the extent of the damage. Cracks in artificial stone can vary in size and complexity. Small hairline cracks are often easier to repair compared to larger, more complex fractures. Pay attention to the location and depth of the crack, as this will influence your repair strategy.
Tools and Materials Needed
Before you begin, gather the necessary tools and materials:
Fine-grit sandpaper or a sanding block Epoxy resin specifically designed for stone repair Mixing container Spatula Clean cloth Safety goggles and mask Paintbrush or stir stick

Having the right tools and materials on hand will make the repair process smoother and more efficient.
Step-by-Step Repair Process
Step 1: Clean the Area
Start by thoroughly cleaning the cracked area. Use a clean cloth to remove any dust, grease, or debris. A mild detergent and water solution can be used to ensure the surface is spotless. Allow the area to dry completely before proceeding.
Step 2: Sand the Crack
Using fine-grit sandpaper or a sanding block, gently sand the edges of the crack. This step helps to create a clean, rough surface that will better accept the epoxy resin. Be careful not to sand too deeply, as this could weaken the countertop further.
Step 3: Mix the Epoxy Resin
Follow the manufacturer’s instructions to mix the epoxy resin. Typically, this involves combining the resin and hardener in a mixing container using a spatula. Mix until the components are thoroughly combined and achieve a consistent texture.
Step 4: Apply the Epoxy Resin
Using a paintbrush or stir stick, apply the epoxy resin into the crack. Ensure that the resin fills the crack completely. You may need to apply multiple coats for larger cracks, allowing each coat to cure before applying the next.
Step 5: Smooth the Surface
Once the epoxy resin has cured (as per the manufacturer’s instructions), use fine-grit sandpaper to smooth the surface around the repaired area. This will give your countertop a uniform appearance.
Step 6: Clean Up
Finally, clean the countertop with a damp cloth to remove any dust or residue left from sanding and epoxy application. Allow it to dry completely before using the countertop again.
Cost-Effectiveness of DIY Repair
One of the most compelling reasons to undertake the repair yourself is the cost savings. Professional repair services can be expensive, often costing several hundred dollars depending on the extent of the damage and the size of the countertop. By following the steps outlined above, you can repair your artificial stone countertop for a fraction of that cost. Typically, the materials needed for a small to medium-sized crack can be purchased for less than $20.
Preventing Future Cracks
While DIY repair can be an excellent solution for existing damage, taking preventive measures can save you from future repairs. Here are some tips to prolong the life of your artificial stone countertops:
Use Cutting Boards: Avoid placing heavy objects directly on the countertop. Use cutting boards for food preparation to prevent scratches and dents.
Avoid Sharp Objects: Do not use sharp objects to scrape off food or clean the surface. Instead, use appropriate cleaning tools designed for stone countertops.
Heat Protection: Place trivets or heat-resistant pads under hot pots and pans to prevent thermal shock, which can cause cracks.
Regular Cleaning: Clean your countertops regularly to prevent the buildup of grease and food particles, which can lead to scratches and stains.
By incorporating these practices into your daily routine, you can significantly extend the lifespan of your artificial stone countertops.
DIY Repair for Cracked Artificial Stone Countertops: An Affordable and Do-It-Your-Self Guide
Continuing from where we left off, this second part will delve deeper into the intricacies of repairing cracked artificial stone countertops. We’ll cover advanced repair techniques, troubleshooting common issues, and additional tips to ensure your repair is both effective and long-lasting.
Advanced Repair Techniques
For larger or more complex cracks, the basic repair steps might need to be augmented with some advanced techniques to ensure a durable fix.
Technique 1: Using a Fiberglass Mesh
For cracks that are more than a few inches long, using a fiberglass mesh can provide additional reinforcement. Here’s how:
Prepare the Crack: Follow the initial steps of cleaning and sanding the crack.
Apply Mesh: Cut a piece of fiberglass mesh to fit the crack. Apply a thin layer of epoxy resin over the crack, then place the mesh over it. Press it firmly to ensure it adheres well.
Fill the Crack: Apply additional epoxy resin over the mesh, ensuring it fills the crack completely.
Cure and Smooth: Allow the epoxy to cure as per the manufacturer’s instructions, then sand the surface smooth.
Technique 2: Using a Putty Knife
For very deep or jagged cracks, a putty knife can be used to fill the crack before applying epoxy resin.
Fill Crack with Putty: Using a putty knife, fill the crack with a stone countertop repair putty. Smooth the surface and let it dry as per the product instructions.
Sand the Putty: Once the putty is dry, sand it smooth with fine-grit sandpaper.
Apply Epoxy: Proceed with the epoxy application as described in the basic repair steps.
Troubleshooting Common Issues
Even with careful preparation, some issues may arise during the repair process. Here are some common problems and how to address them:
Problem 1: Epoxy Not Adhering
If the epoxy resin isn’t adhering well to the countertop, ensure that the surface was properly cleaned and sanded. Sometimes, applying a thin layer of epoxy to the surface before adding the main repair can help improve adhesion.
Problem 2: Cracks Not Filling Completely
If the cracks do not seem to fill completely, it might be due to the crack being too deep. In such cases, use the putty knife method as described above to fill the crack before applying epoxy resin.
Problem 3: Epoxy Residing on the Surface
Excess epoxy on the surface can be sanded off once it has cured. Use fine-grit sandpaper to smooth out any excess material, ensuring a clean finish.
Long-Term Maintenance
To ensure your repair lasts as long as possible, follow these long-term maintenance tips:
Regular Cleaning: Clean your countertop regularly with a stone-safe cleaner to prevent the buildup of grime that could lead to scratches and stains.
Avoid Acidic Substances: Avoid placing acidic foods or cleaning agents directly on the countertop, as these can cause discoloration and damage over time.
Use Coasters and Trivets: Always use coasters for hot drinks and trivets for hot pots and pans to prevent thermal shock and scratches.
Inspect Regularly: Regularly inspect your countertop for any signs of wear, scratches, or cracks. Addressing small issues early can prevent them from becoming larger problems.
Environmental and Cost Considerations
When opting for DIY repair, it’s also important to consider the environmental impact and cost-effectiveness. Using high-quality, eco-friendly materials can ensure that your repair is not only effective but also sustainable. Additionally, repairing your countertop yourself can save money and reduce waste, as you avoid the need for professional services and potentially unnecessary replacements.
Conclusion
Repairing cracked artificial stone countertops on your own is a cost-effective and feasible solution that can save you money and extend the life of your kitchen or bathroom. By following the detailed steps and tips outlined in this guide, you can achieve a professional-looking repair with minimal effort and expense. Remember to use the right tools, take your time to ensure a thorough clean and preparation, and follow the manufacturer’s instructions for the best results. With the right approach, your artificial stone countertop can look as good as继续之后,我们可以深入探讨一些更高级的技巧和注意事项,以确保修补工作的质量和耐久性。
高级修复技巧
技巧1:使用多层次修复
对于特别严重的裂缝,可以采用多层次修复技术,以确保修补效果更加持久。例如,首先使用石材修复膏填充裂缝,然后再使用纤维玻璃网进行加固,最后再进行最终的修补。
填充裂缝:使用专用的石材修复膏填充裂缝,确保填充物完全填满裂缝。 加固:使用纤维玻璃网覆盖修补区域,并涂上更多修复膏,以增强结构强度。 最终修补:在修复膏完全干燥后,使用砂纸进行打磨,使修补区域与原表面更加平滑。
技巧2:色彩匹配
如果修补区域的颜色需要与整体保持一致,可以使用专业的色彩匹配工具和试色卡进行精确的颜色选择。这样可以确保修补后的颜色与原始表面完美一致。
试色:在修补区域周围取一小块石材样品,并使用色彩调色板进行匹配。 调色:如果需要,可以调整颜色,使其与周围表面完全一致。
注意事项
注意事项1:材料选择
选择高质量的修复材料至关重要。劣质的修复材料可能无法与石材的自然特性匹配,从而导致修补效果不佳或材料在未来脱落。
品牌:选择知名品牌的修复材料,这些品牌通常有更好的产品质量和耐久性。 成分:确保材料的成分与石材本身兼容,避免因化学成分不匹配而导致的进一步损坏。
注意事项2:环境条件
环境条件,如湿度和温度,对修复效果有直接影响。因此,在进行修复工作前,应确保环境条件适宜。
湿度:湿度过高或过低都会影响修复材料的干燥速度和效果。 温度:温度过高或过低也会影响材料的性能。
注意事项3:操作技巧
操作技巧和技巧的掌握也是修复成功的关键。
工具使用:确保使用的工具干净且锋利,以便精确操作。 工作环境:保持工作区域整洁,避免材料污染或损坏。
结论
通过以上的详细步骤和注意事项,您可以有效地修复人造石台面的裂缝,确保修补后的台面既美观又耐用。记住,修复工作的关键在于细节的处理和材料的选择。在进行修复之前,建议先进行小面积的试验,以确保方法和材料的效果满意。
如果您对这些技巧有任何疑问或需要更多具体的建议,欢迎继续提问。