Discover how to tackle cracked granite countertops with this in-depth, step-by-step guide. Learn the essential techniques and tools needed to restore your kitchen or bathroom to its former glory. Perfect for DIY enthusiasts looking to save time and money while maintaining a sleek, modern look.

DIY repair, cracked granite countertops, countertop repair, home improvement, granite repair, kitchen renovation, bathroom renovation, crack repair, repair tools, restoration guide
Part 1
DIY Repair for Cracked Granite Countertops: A Comprehensive Guide
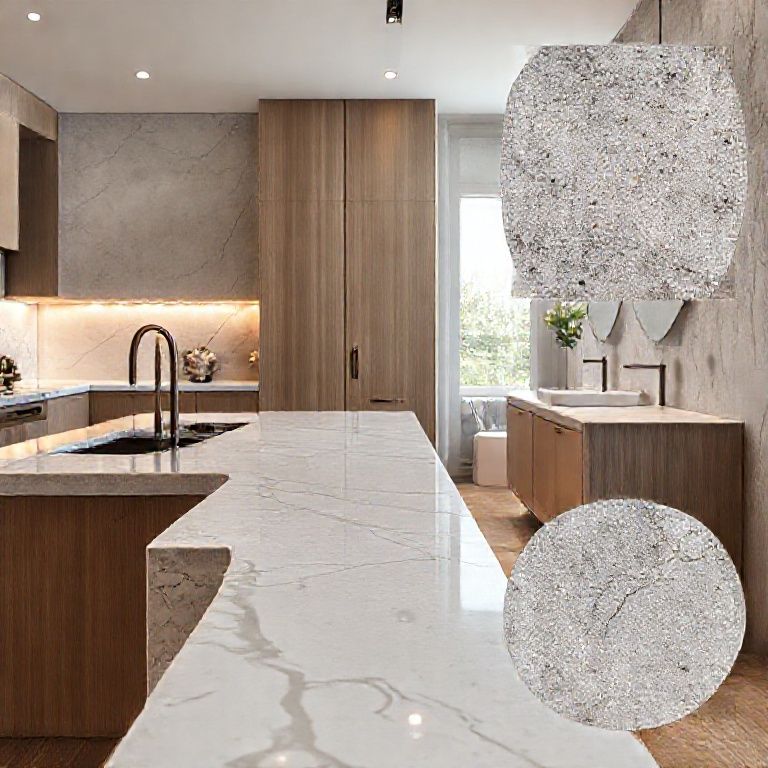
When it comes to kitchen and bathroom renovation, granite countertops are renowned for their durability, elegance, and low maintenance. However, despite their resilience, granite can sometimes crack due to heavy impacts or other unforeseen circumstances. Fortunately, repairing a cracked granite countertop doesn’t have to be a daunting task. With the right approach and tools, you can restore your countertops to their pristine condition. Here’s how to do it.
Understanding the Types of Cracks
Before diving into the repair process, it’s important to understand the different types of cracks that can occur in granite countertops. These can generally be categorized into three main types:
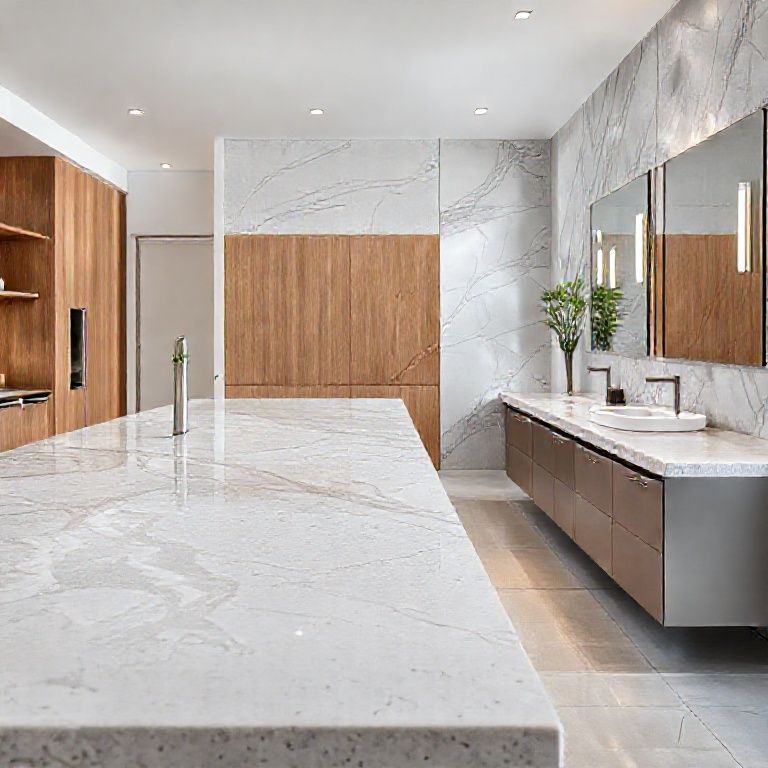
Surface Cracks: These are superficial cracks that only affect the top layer of the granite. They are often caused by minor impacts and can usually be repaired without much trouble.
Deep Cracks: These extend deeper into the granite and can sometimes be caused by significant impacts or even the natural aging process. They may require more advanced repair techniques.
Hairline Cracks: These are very fine, barely visible cracks that might not pose an immediate threat but can potentially worsen over time.

Essential Tools and Materials
To repair a cracked granite countertop, you’ll need a few specific tools and materials. Here’s a list to get you started:
Epoxy Resin: This is the most common material used for repairing cracks in granite. It is available in two parts—a resin and a hardener—which you mix together before application. Mixing Bowls: For thoroughly combining the epoxy resin and hardener. Spatula: To apply the epoxy and smooth it out. Scraper: To clean and prepare the crack area. Masking Tape: To protect surrounding areas from epoxy splatters. Cleaning Supplies: For cleaning the countertop before and after repair.
Step-by-Step Repair Process
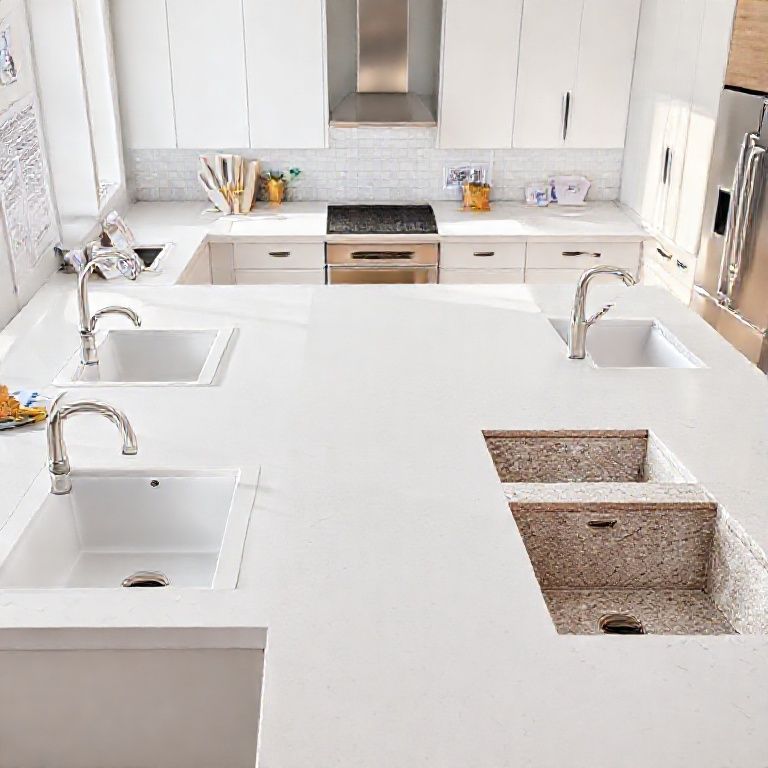
Step 1: Preparation
Clean the Area: Start by thoroughly cleaning the cracked area with a suitable cleaner. This removes any grease, dirt, or other contaminants that could interfere with the epoxy’s adhesion.
Dry the Surface: Make sure the area is completely dry before proceeding. Moisture can weaken the repair and cause the epoxy to fail.
Protect Surrounding Areas: Use masking tape to cover any parts of the countertop you don’t want to get epoxy on. This ensures clean, precise repairs.
Step 2: Preparing the Crack
Scrape the Crack: Use a scraper to clean out the crack, removing any loose fragments and debris. This step is crucial for creating a clean, deep crack that will allow the epoxy to bond properly.
Smooth the Edges: After scraping, smooth the edges of the crack using a fine-grit sandpaper. This helps the epoxy to adhere better.
Step 3: Mixing the Epoxy
Measure the Resin and Hardener: Follow the manufacturer’s instructions for the correct ratio of resin to hardener. Typically, you’ll mix equal parts of each.
Mix Thoroughly: Use a spatula to mix the epoxy until it’s smooth and homogenous. Make sure there are no air bubbles.
Step 4: Applying the Epoxy
Fill the Crack: Using the spatula or a syringe, fill the crack with epoxy resin. You may need to apply multiple layers, allowing each to set before adding the next.
Smooth the Surface: Once the crack is filled, use the spatula to smooth the surface of the countertop. This ensures a seamless finish.
Step 5: Curing Time
Allow to Cure: Let the epoxy cure for the time specified by the manufacturer. This can range from a few hours to overnight.
Check for Complete Cure: Once cured, inspect the repair. The epoxy should be rock-solid and seamlessly integrated with the countertop.
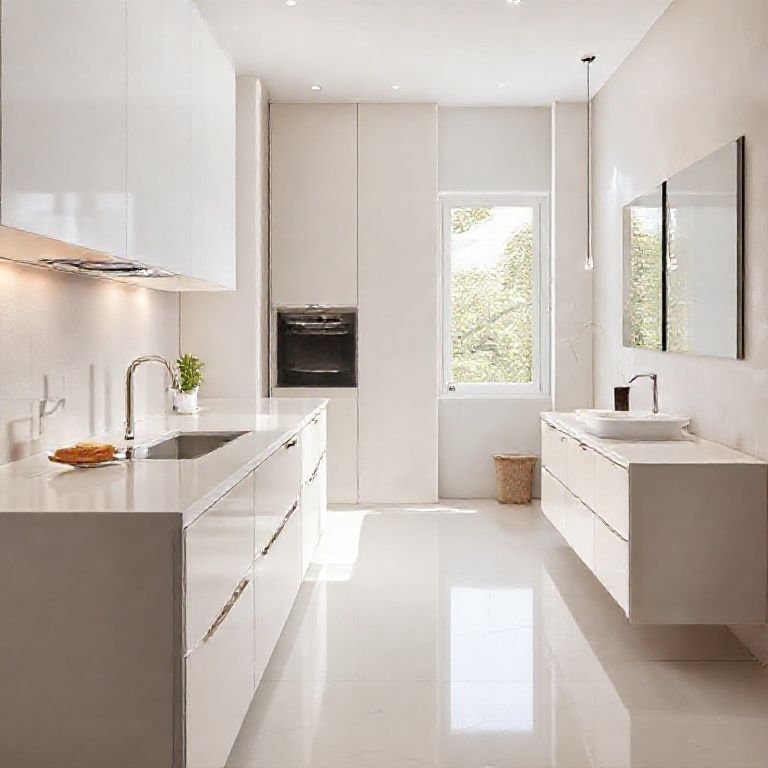
Step 6: Finishing Touches
Remove Masking Tape: Carefully remove any masking tape used during the repair.
Clean the Surface: Clean the countertop with a suitable cleaner to remove any epoxy residue.
Maintenance Tips
To ensure your repaired granite countertop lasts as long as possible, follow these maintenance tips:
Use Coasters: Always use coasters or protective pads under items that generate heat to prevent thermal shock.
Clean Regularly: Regular cleaning with mild soap and water can keep your countertop looking new.
Avoid Sharp Objects: Try to avoid using sharp objects on the countertop, as they can cause scratches and chips.
Professional Help: For deep cracks or extensive damage, consider consulting a professional for a more durable repair.
Part 2
DIY Repair for Cracked Granite Countertops: A Comprehensive Guide
Continuing from our detailed guide on how to repair cracked granite countertops, this part will delve deeper into advanced techniques, potential pitfalls, and additional tips to ensure your repairs are as seamless and long-lasting as possible.
Advanced Repair Techniques
Step 1: Deeper Crack Repair
For deeper cracks that extend beyond the surface, a more involved technique may be required:
Grinding the Crack: Use a grinder with a small diamond bit to carefully grind out the crack. This ensures a clean, deep channel for the epoxy to bond to.
Reinforcement: For very deep cracks, consider reinforcing the area with a metal sleeve or pin. This provides additional support and prevents the crack from worsening.
Epoxy Injection: After grinding, apply epoxy directly into the crack using a syringe. This fills the crack completely and ensures maximum adhesion.
Step 2: Filling Large Gaps
When dealing with larger gaps or significant damage, the following steps can be useful:
Use a Filler: For large gaps, use a granite filler specifically designed for countertops. This provides a more substantial fill and can better withstand pressure.
Mix and Apply: Mix the filler according to the instructions and apply it to the crack using a putty knife. Smooth the surface to blend with the countertop.
Cure and Grind: Allow the filler to cure completely, then grind the surface smooth with a grinder and fine-grit sandpaper.
Potential Pitfalls and How to Avoid Them
Common Mistakes:
Incorrect Mixing Ratio: One of the most common mistakes is using the wrong ratio of epoxy resin and hardener. Always follow the manufacturer’s instructions carefully.
Insufficient Curing Time: Another frequent error is not allowing sufficient time for the epoxy to cure. This can result in a weak repair that doesn’t last.
Poor Surface Preparation: Failing to clean and prepare the crack properly can lead to weak adhesion and an ineffective repair.
Solutions:
Double-Check Ratios: To avoid incorrect mixing ratios, measure carefully and double-check your measurements.
Adequate Curing Time: Ensure you follow the curing time instructions precisely. If unsure, it’s better to err on the side of caution and give extra time.
Thorough Cleaning: Make sure the crack is clean and dry before applying the epoxy. Use a degreaser if necessary to remove any oils or contaminants.
Additional Tips
Using Filler for Smooth Finishes
Granite fillers can provide a smooth, seamless finish that blends well with the countertop. Here’s how to use them effectively:
Select the Right Color: Choose a filler that closely matches the color of your granite countertop.
Mix Thoroughly: Mix the filler according to the manufacturer’s instructions until it’s smooth and free of lumps.
Apply and Smooth: Apply the filler to the crack using a putty knife and smooth it out with a damp sponge or cloth.
Regular Maintenance
To keep your repaired granite countertop looking pristine:
Use Coasters: Always use coasters to protect the surface from heat and scratches.
Clean with Mild Detergents: Use mild soap and water for regular cleaning. Avoid harsh chemicals that can damage the granite.
Inspect Regularly: Regularly inspect the countertop for any new cracks or damage. Early intervention can prevent minor issues from becoming major repairs.
Conclusion
Repairing a cracked granite countertop can be a straightforward process if you approach it with the right tools, techniques, and a bit of patience. Whether you’re dealing with a minor surface crack or a more significant issue, following the steps outlined above will help you achieve a professional-looking repair that lasts. Remember to always prepare the surface thoroughly, use the correct materials, and allow adequate time for curing. With these tips, you can restore your countertop to its former glory and enjoy its beauty and functionality for years to come.
For deeper or more extensive damage, don’t hesitate to consult a professional to ensure the best possible outcome. Happy repairing!