DIY Repair of Cracked Quartz Countertops: A Comprehensive Guide
Quartz countertops are known for their durability, resistance to scratches, and easy maintenance, making them a popular choice for modern kitchens and bathrooms. However, like any surface, they can develop cracks over time due to various reasons such as heavy objects being dropped on them or even minor accidents. The good news is that cracked quartz countertops can often be repaired with some basic DIY techniques. This guide will walk you through the process step-by-step, ensuring that your quartz surface looks as good as new without the need for professional intervention.
Understanding Quartz Countertops
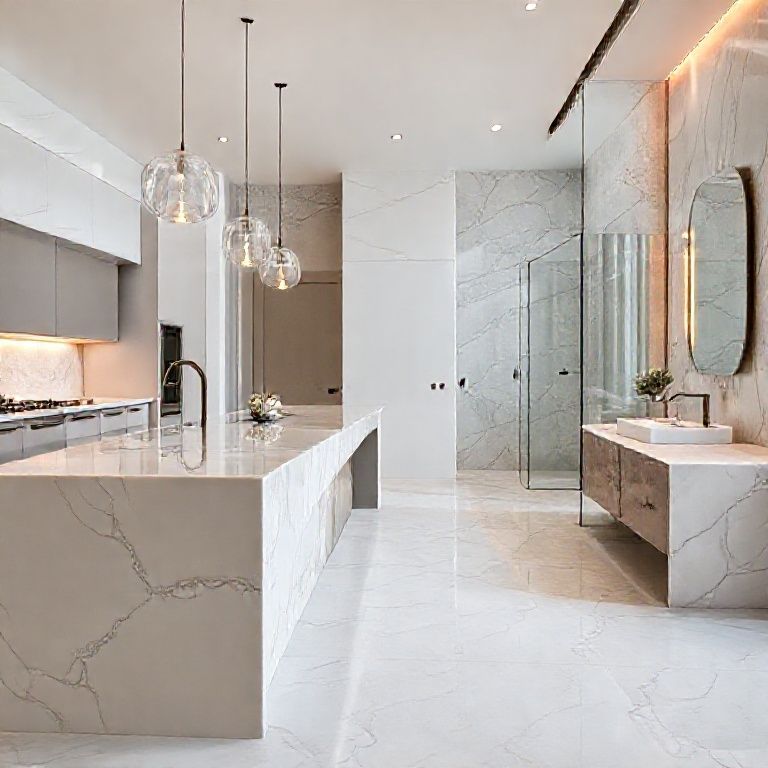
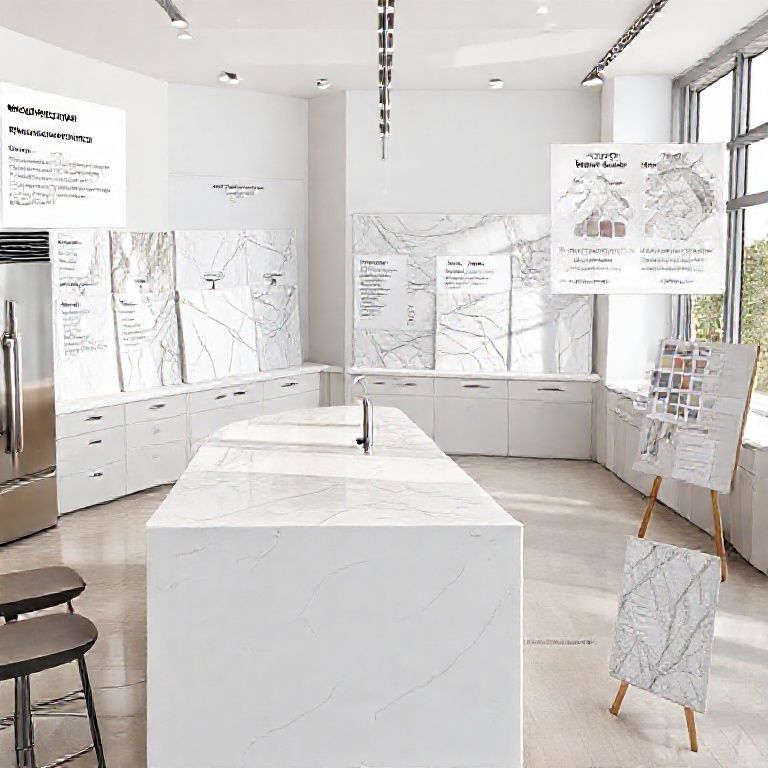
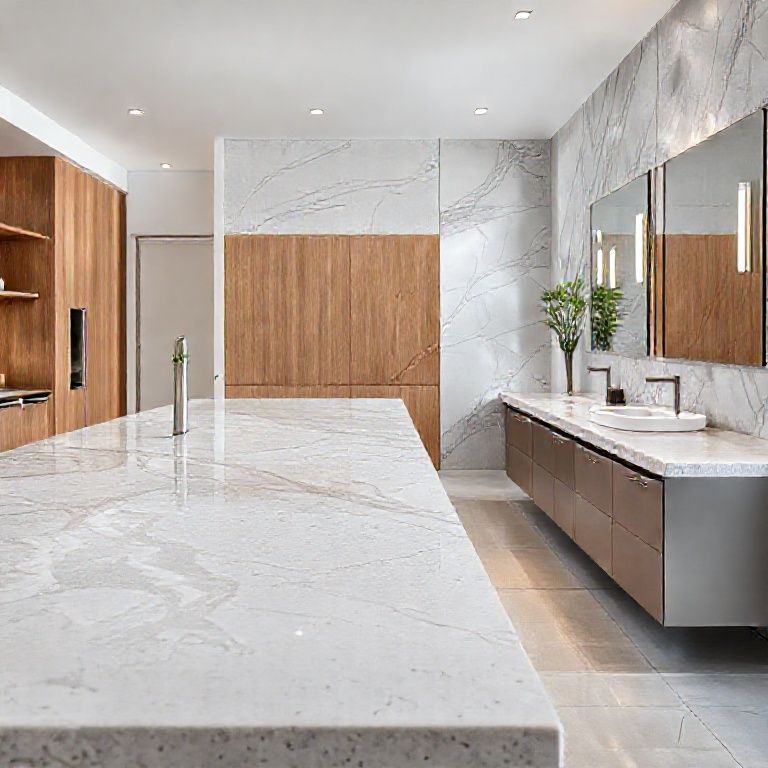
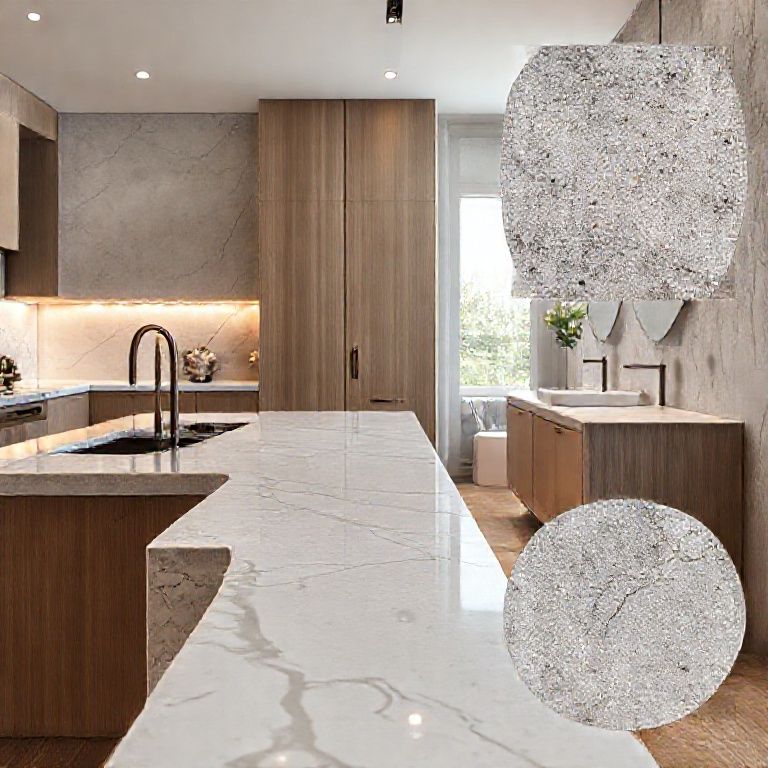
Before diving into the repair process, it’s important to understand what quartz is and why it’s so popular. Quartz is a composite material made from 93% natural quartz aggregates and 7% resin binders. This combination makes it incredibly durable and resistant to stains, making it an excellent choice for kitchen and bathroom countertops.
Quartz countertops are also known for their seamless look, which enhances the aesthetic appeal of your space. Despite their durability, they can still crack, and it’s crucial to address these cracks promptly to prevent further damage.
Common Causes of Quartz Cracks
Cracks in quartz countertops can occur due to several reasons:
Impact Damage: Dropping heavy objects on the countertop can cause immediate cracks. Thermal Stress: Sudden temperature changes, such as placing a hot pot on a cold surface, can cause cracks. Structural Issues: Poor installation or underlying structural problems can lead to cracks over time. Overuse: Excessive use without proper maintenance can weaken the surface over time.
Materials Needed for Repair
To repair a cracked quartz countertop, you will need the following materials:
Quartz Countertop Repair Kit: These kits contain epoxy resin, a mixing tool, and a syringe for precise application. Sandpaper: Medium-grit sandpaper is ideal for smoothing out the edges of the crack. Cleaning Supplies: A mild detergent and a soft cloth or sponge for cleaning the surface. Masking Tape: To protect surrounding areas from getting epoxy on them. Latex Gloves: To protect your hands from the epoxy resin. Mixing Bowl: To mix the epoxy resin and hardener.
Step-by-Step Repair Process
Step 1: Preparation
Clean the Area: Start by thoroughly cleaning the cracked area with a mild detergent and a soft cloth. Make sure to remove any dirt, grease, or debris that might interfere with the repair. Dry the Surface: Allow the area to dry completely to ensure that the epoxy resin adheres properly. Protect Surrounding Areas: Use masking tape to cover any areas you don’t want to get epoxy on. This includes edges, seams, and nearby fixtures.
Step 2: Sanding the Crack
Sand the Crack: Use medium-grit sandpaper to gently sand the edges of the crack. This will help to create a smooth surface for the epoxy to adhere to. Clean Again: After sanding, clean the area again with a damp cloth to remove any dust or debris.
Step 3: Mixing the Epoxy Resin
Mix the Epoxy: Follow the instructions on your quartz countertop repair kit to mix the epoxy resin and hardener. Typically, you will need to mix them in a specific ratio, usually 2:1. Use a Mixing Bowl: Pour the epoxy and hardener into a mixing bowl and use the provided mixing tool to combine them thoroughly.
Step 4: Applying the Epoxy
Apply the Epoxy: Use the syringe provided in the repair kit to apply the epoxy along the crack. Make sure to fill the crack completely. Smooth the Surface: Use a clean cloth or the mixing tool to smooth out the epoxy and ensure it fills the crack entirely.
Step 5: Curing the Epoxy
Let it Cure: Allow the epoxy to cure as per the instructions on the repair kit. This usually takes a few hours to a day, depending on the product. Check the Cure: Once cured, check the repair to ensure there are no gaps or uneven surfaces.
Step 6: Final Touches
Clean Up: Remove the masking tape and clean any excess epoxy that might have spread to surrounding areas. Polish the Area: Use a soft cloth to polish the repaired area, ensuring it matches the rest of the countertop.
Preventive Measures
While DIY repair is effective for minor cracks, it’s important to take preventive measures to avoid future damage:
Use Protective Pads: Always use cutting boards, pots, and pans with protective pads to prevent scratches and dents. Avoid Extreme Temperature Changes: Gradually heat or cool items before placing them on the countertop. Regular Maintenance: Clean and maintain your quartz countertop regularly to keep it in top condition.
Conclusion
Repairing cracked quartz countertops on your own is a feasible and cost-effective solution. With the right materials and a bit of patience, you can restore the beauty and functionality of your quartz surface. Remember to follow the steps carefully and take preventive measures to avoid future cracks. With this guide, you’re well-equipped to tackle any minor repairs yourself.
DIY Repair of Cracked Quartz Countertops: A Comprehensive Guide
In the previous part, we explored the basics of repairing cracked quartz countertops, from understanding the material to the step-by-step repair process. Now, we will delve deeper into advanced techniques and tips to ensure your repair looks seamless and lasts longer. Additionally, we will discuss common mistakes to avoid and troubleshooting tips for any issues that might arise during the repair process.
Advanced Repair Techniques
Step 7: Matching the Color
Color Matching: Quartz countertops come in various colors and shades. To ensure the repair blends seamlessly with the rest of the surface, it’s important to match the color as closely as possible. Sampling: Use a small amount of epoxy to create a sample on a hidden area, such as the backsplash, to test the color match. Once satisfied, proceed with the actual repair.
Step 8: Using a Fine Tip Syringe
Precision Application: For intricate repairs or smaller cracks, use a fine-tip syringe to apply the epoxy precisely. This ensures a clean and professional finish. Control: With a fine-tip syringe, you have better control over the amount of epoxy used, reducing the risk of overfilling or spillage.
Step 9: Using a Heat Gun
Heat Activation: Some epoxy repair kits come with a heat-activated component. Using a heat gun can help to activate the epoxy faster, ensuring a quicker cure time. Uniform Curing: Applying gentle heat can help to achieve a more uniform cure, reducing the chances of uneven surfaces.
Troubleshooting Common Issues
Issue 1: Epoxy Not Setting
Check the Instructions: Ensure you are following the manufacturer’s instructions for mixing and curing the epoxy. Room Temperature: Make sure the room temperature is within the recommended range for curing. Epoxy Consistency: If the epoxy is too thick or too thin, it may not set properly. Adjust the consistency by adding a small amount of hardener or epoxy as needed.
Issue 2: Cracks Reappearing
Underlying Issues: If the cracks reappear, there might be an underlying issue such as structural weakness or poor installation. Consider consulting a professional if this is the case. Reapply: Sometimes a second application of epoxy can reinforce the area and prevent further cracking.
Issue 3: Epoxy Spillage
Clean Up: If epoxy spills onto areas you don’t want to repair, clean it off immediately with a damp cloth before it dries. Containment: Use masking tape to contain the epoxy within the crack area to prevent spillage.
Maintenance Tips for Lasting Results
Tip 1: Regular Cleaning
Mild Detergent: Use a mild detergent and a soft cloth to clean your quartz countertop regularly. Avoid harsh chemicals that can damage the surface. Baking Soda Paste: For stubborn stains, create a paste with baking soda and water. Gently scrub the area with the paste and rinse thoroughly.
Tip 2: Avoid Sharp Objects
Cutting Pads: Always use cutting pads when chopping or cutting on the countertop to prevent scratches. Pot and Pan Pads: Place pot and pan pads under heavy objects to prevent dents and scratches.
Tip 3: Proper Drying
Dry Immediately: After washing dishes or cleaning the countertop, ensure it dries completely to prevent water spots and damage.
Expert Tips and Tricks
Tip 4Expert Tips and Tricks
Tip 4: Use Protective Covers
Cutting Boards: Always use cutting boards with protective pads to avoid scratches on the surface. Pot and Pan Pads: Place pot and pan pads under heavy objects to prevent dents and scratches. Countertop Guards: Consider using countertop guards or pads for areas that frequently come into contact with heavy objects.
Tip 5: Proper Storage
Avoid Direct Sunlight: Prolonged exposure to direct sunlight can cause fading or discoloration. Store items that might be affected in a cooler, shaded area. Use Heat-Resistant Pads: When storing pots and pans, use heat-resistant pads to prevent thermal damage.
Tip 6: Immediate Repair
Act Quickly: Address small cracks or chips immediately to prevent them from spreading. Minor repairs are easier and less noticeable than larger repairs. Regular Inspections: Regularly inspect your quartz countertops for any signs of damage to catch issues early.
DIY Repair: Long-Term Solutions
While DIY repairs can handle minor cracks, for more significant damage or structural issues, it’s best to consider long-term solutions:
1. Professional Consultation
Structural Issues: If the cracks are extensive or seem to be recurring, it might be time to consult a professional to assess the structural integrity of your countertop. Advanced Repair Techniques: Professionals have access to advanced repair techniques and materials that can provide a more durable fix.
2. Replacement
Full Replacement: In cases where the damage is too extensive to repair, replacing the countertop might be the best option. Modern quartz countertops are relatively easy to install, and new designs and colors are always available. Partial Replacement: For large sections of damage, a partial replacement might be feasible. Professionals can cut and install new sections seamlessly.
Conclusion
Repairing cracked quartz countertops on your own is a practical and cost-effective solution for minor damage. With the right materials, careful attention to detail, and preventive measures, you can maintain the beauty and functionality of your quartz surface. Remember to act promptly on any damage to prevent it from worsening and consider professional help for significant or recurring issues. By following these guidelines, you can ensure that your quartz countertops remain a stunning focal point in your home for years to come.
By addressing both immediate and long-term needs, you’ll keep your quartz countertops looking pristine and extending their lifespan. With a bit of care and the right techniques, you’ll be well-equipped to handle any cracks that come your way.