Introduction to Dry-Fit Marble and Its Aesthetic Appeal
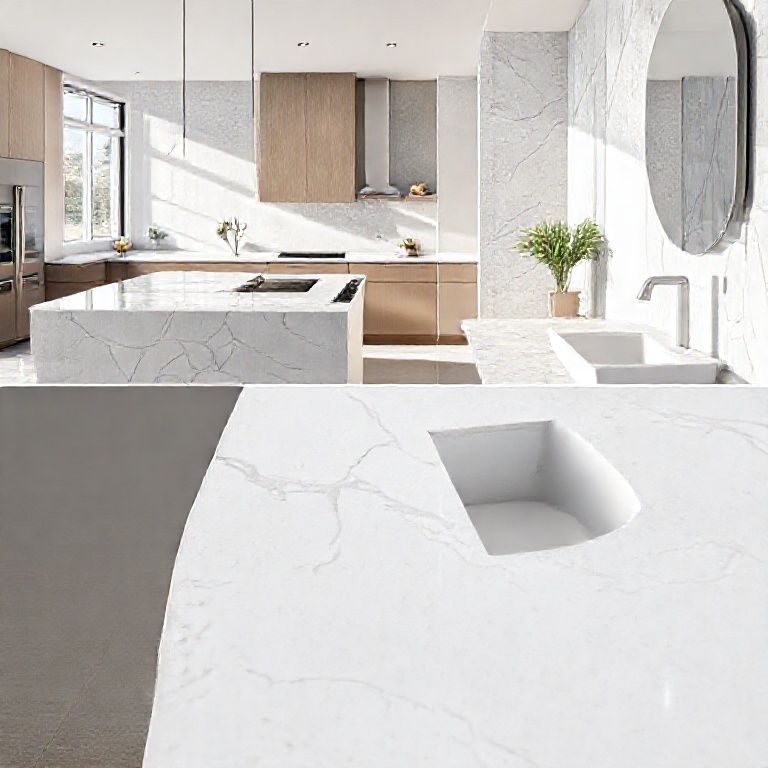
In the world of interior design, the allure of marble is unparalleled. Its timeless beauty, coupled with versatility, makes it a favorite among designers and homeowners alike. Dry-fit marble, in particular, has emerged as a revolutionary technique, offering an exquisite solution for achieving marble-like aesthetics without the complexities and costs of traditional marble installation. When applied to a single square meter, dry-fit marble transforms ordinary spaces into extraordinary realms of elegance and sophistication.

Understanding Dry-Fit Marble
Dry-fit marble is a technique that simulates the appearance of real marble using specially designed tiles or panels. These tiles are arranged without adhesive, allowing for precise placement and alignment. Once the design is perfected, a flexible adhesive is applied, securing the tiles in place while maintaining the ability to make adjustments if needed. This method not only saves time and money but also ensures a flawless finish with minimal waste.
The Process of Applying Dry-Fit Marble to One Square Meter
Planning and Design: The first step in applying dry-fit marble to a single square meter is careful planning and design. Measure the area to be covered and determine the layout of the marble design. Use software or sketch on paper to visualize the final outcome. Consider the color, pattern, and size of the tiles to complement the existing decor.
Preparation of the Surface: Ensure the surface is clean, dry, and free of any imperfections. Use a primer if necessary to enhance the adhesion of the tiles. The surface should be level and smooth to ensure an even application.
Laying Out the Dry-Fit Tiles: Begin by placing the tiles on the surface without adhesive. Arrange them according to your design, ensuring precise alignment. Dry-fitting allows for adjustments, so take your time to get the placement just right. Use spacers if needed to maintain even gaps between tiles.
Applying the Adhesive: Once the tiles are perfectly aligned, apply a flexible, high-quality adhesive to the back of the tiles. Use a notched trowel to create ridges in the adhesive, which will help the tiles to stick securely without bulging out. Spread the adhesive evenly over the surface.
Securing the Tiles: Carefully press the tiles into the adhesive, ensuring they are firmly in place. Use a rubber squeegee or a similar tool to smooth out the adhesive and remove any air bubbles. Follow the manufacturer’s instructions for drying time.
Finishing Touches: After the adhesive has dried completely, clean the surface to remove any residual adhesive. Optionally, you can apply a sealant to protect the marble finish and enhance its durability.
Benefits of Dry-Fit Marble Installation
Cost-Effective: Dry-fit marble is significantly more affordable than traditional marble installation. It eliminates the need for professional labor and reduces material costs, making it an attractive option for homeowners and designers.
Ease of Installation: The simplicity of the dry-fit technique makes it accessible to DIY enthusiasts. With careful planning and attention to detail, anyone can achieve professional-looking results without extensive expertise.
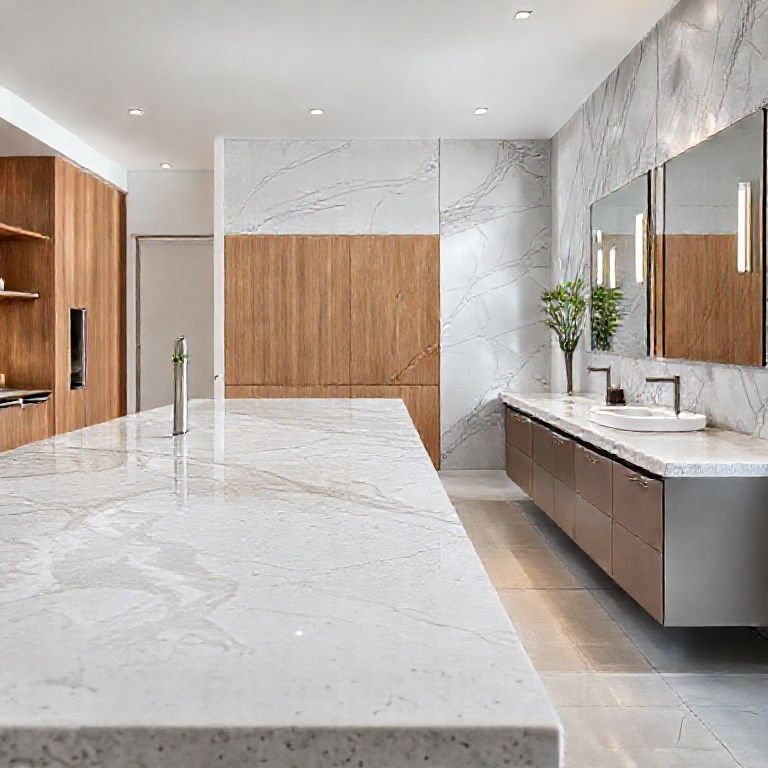
Customizability: Dry-fit marble allows for endless design possibilities. You can mix and match different colors, patterns, and sizes to create a unique design that perfectly suits your space.
Durability and Maintenance: While dry-fit marble does not offer the same level of durability as real marble, it is still a durable and low-maintenance option. Proper care and occasional sealing will ensure its longevity and beauty.
Conclusion
Dry-fit marble is a transformative technique that brings the elegance of marble to any interior space without the complexities of traditional installation. By understanding the process and following detailed steps, you can achieve a stunning marble-like finish on a single square meter. Embrace the beauty and versatility of dry-fit marble to elevate your space and add a touch of timeless sophistication.
Advanced Tips and Techniques for Perfecting Dry-Fit Marble Installation
Selecting the Right Tiles and Patterns
Choosing the right tiles and patterns is crucial for achieving a cohesive and stunning marble design. Here are some tips to help you select the perfect tiles:
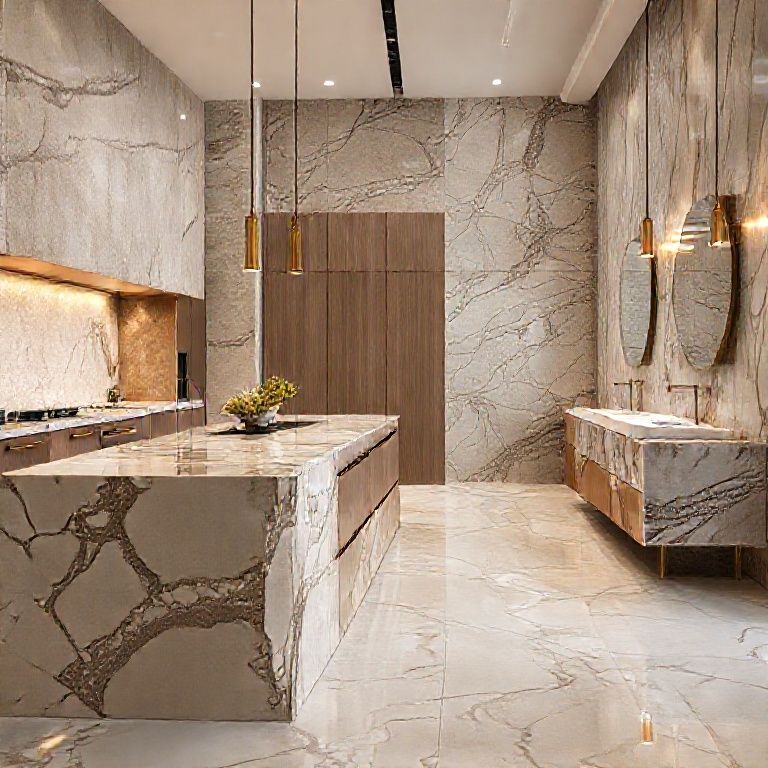
Color and Pattern: Select tiles that complement the existing color scheme and patterns in your space. Consider using tiles with similar veining and color variations to create a seamless look. For a more dramatic effect, choose contrasting colors and patterns.
Tile Size: The size of the tiles can significantly impact the overall look of the design. Larger tiles create a more luxurious and continuous marble effect, while smaller tiles offer a more intricate and detailed appearance. Consider the size of the space and the desired aesthetic when selecting tiles.
Material Quality: Invest in high-quality tiles that offer durability and resistance to scratches and stains. Look for tiles made from materials such as porcelain or stoneware, which provide a realistic marble appearance and superior durability.
Techniques for Flawless Dry-Fit Installation
Precision Alignment: Achieving precise alignment is key to a flawless dry-fit marble installation. Use a laser level or a string line to ensure straight and level placement of the tiles. Regularly check the alignment as you lay out the tiles to maintain consistency.
Using Spacers: To create uniform gaps between the tiles, use spacers during the dry-fit phase. Spacers help maintain consistent spacing and prevent tiles from being too close together or too far apart. Remove the spacers before applying the adhesive for a seamless finish.
Adhesive Application: Apply the adhesive evenly and in thin layers to avoid creating ridges or bubbles. Use a notched trowel to create ridges in the adhesive, which will help the tiles to stick securely. Follow the manufacturer’s instructions for the drying time to ensure proper adhesion.
Smoothing and Removing Air Bubbles: After pressing the tiles into the adhesive, use a rubber squeegee or a similar tool to smooth out the adhesive and remove any air bubbles. Smooth the surface to ensure a clean and professional finish.
Troubleshooting Common Issues
Uneven Tiles: If the tiles appear uneven after applying the adhesive, carefully remove them and reapply the adhesive. Ensure that the tiles are firmly pressed into the adhesive and that the surface is level.
Misaligned Tiles: If the tiles become misaligned after the adhesive has dried, carefully remove them and reapply the adhesive. Realign the tiles during the dry-fit phase to ensure perfect placement.
Adhesive Bleeding: If adhesive bleeds through the tiles, carefully clean the surface with a damp cloth. Apply a sealant to protect the finish and prevent further bleeding.
Maintenance and Longevity of Dry-Fit Marble
To ensure the longevity and beauty of your dry-fit marble installation, follow these maintenance tips:
Regular Cleaning: Clean the surface regularly using a mild soap and water solution. Avoid using harsh chemicals or abrasive cleaners, which can damage the finish.
Sealing: Apply a high-quality sealant to protect the marble finish from stains and scratches. Follow the manufacturer’s instructions for the recommended sealing frequency.
Avoiding Heat Sources: To prevent damage from heat, avoid placing hot objects directly on the surface. Use trivets or coasters to protect the finish.
Immediate Spot Cleaning: Clean up spills and stains immediately to prevent them from setting into the finish. Use a soft cloth to gently blot and clean the affected area.
Conclusion
Dry-fit marble installation offers a cost-effective and versatile solution for achieving stunning marble aesthetics on a single square meter. By selecting the right tiles and patterns, mastering precise alignment techniques, and following maintenance best practices, you can create a beautiful and durable marble finish that enhances the elegance of any space. Embrace the beauty of dry-fit marble to transform your interior design and add a touch of timeless sophistication.
Final Thoughts
The transformative potential of dry-fit marble lies in its ability to bring the elegance of real marble to any space without the complexities of traditional installation. With careful planning, precise techniques, and regular maintenance, you can achieve a flawless and durable marble finish that will captivate and inspire for years to come. Whether you’re a DIY enthusiast or a professional designer, the art of dry-fit marble offers endless possibilities for creating stunning and sophisticated interiors.