Introduction to Artificial Stone Countertops and Common Issues
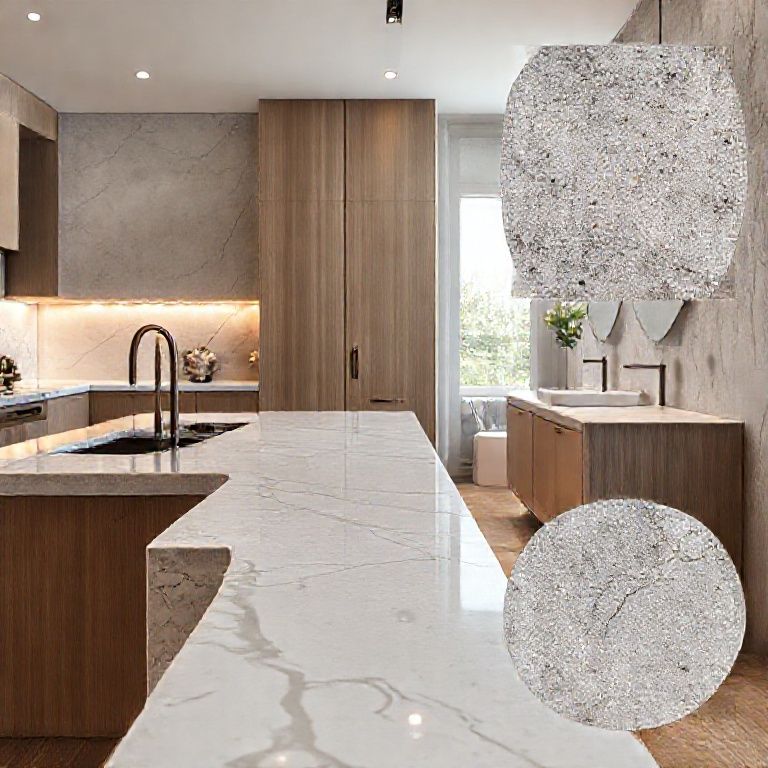
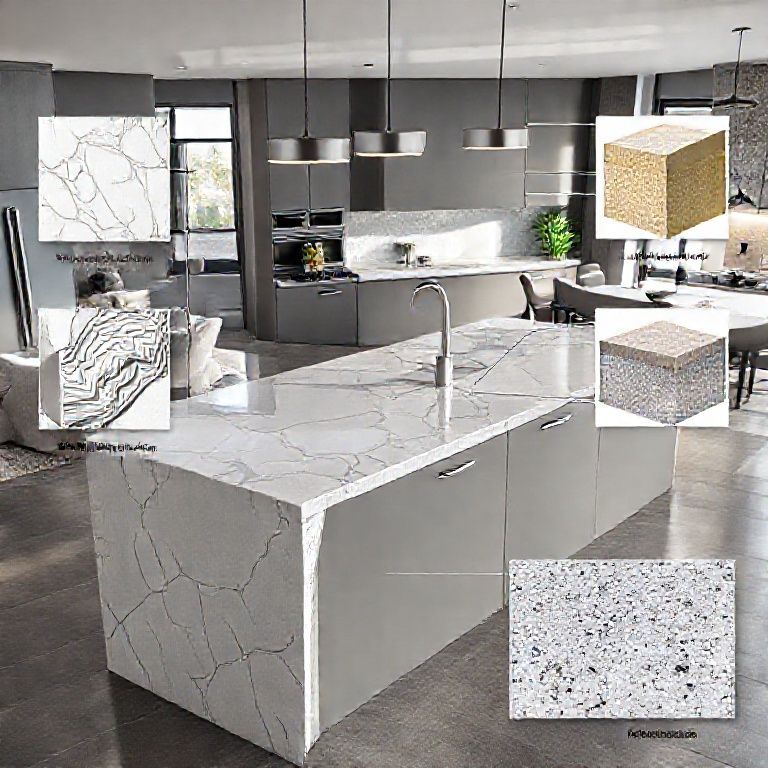
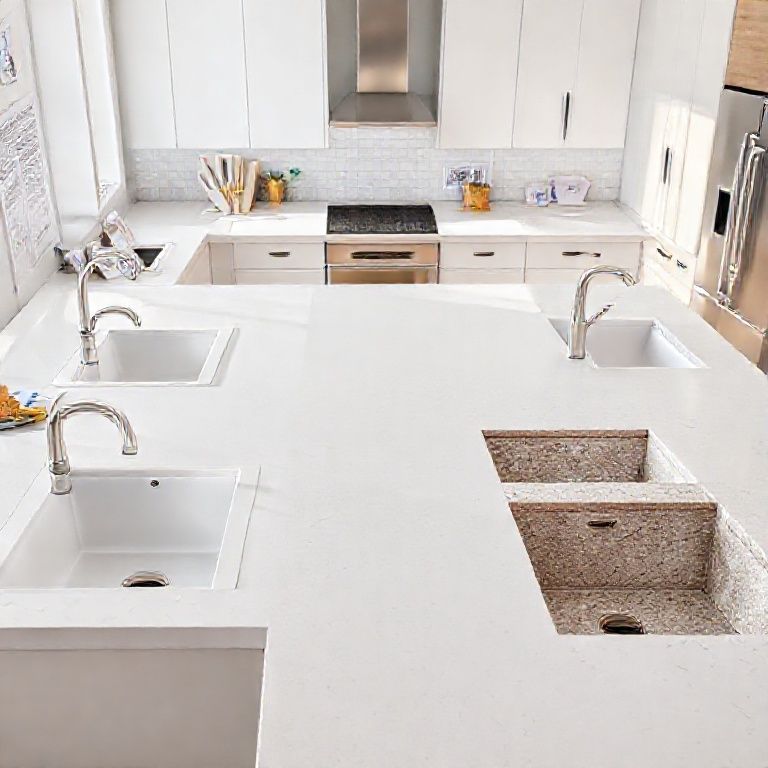
Artificial stone countertops have become a popular choice for kitchens and bathrooms due to their durability, resistance to scratches, stains, and their aesthetic versatility. Made from a combination of natural stone dust, polymer resins, and pigments, these countertops offer a sleek, high-end look at a fraction of the cost of natural stone. Despite their resilience, however, artificial stone can develop cracks over time, which can detract from their appearance and structural integrity.

Understanding the root causes of cracks in artificial stone countertops is essential for effective repair. Common causes include impacts from heavy objects, improper installation, and wear and tear. Knowing how to address these issues promptly can prevent further damage and maintain the overall quality of your countertop.
Materials Needed for Repair
Before diving into the repair process, it’s important to gather the necessary materials. Here’s a list of what you’ll need:
Artificial stone countertop repair kit Fine-grit sandpaper or polishing cloth Clean cloth Water spray bottle Putty knife or scraper Mixing bowl Protective gloves Clean rag for wiping

Step-by-Step Repair Process
Step 1: Clean the Area
Start by cleaning the cracked area thoroughly. Use a clean cloth to remove any dust, grease, or debris. A light water spray can help in loosening up dirt. Ensure the surface is completely dry before proceeding.
Step 2: Remove Excess Debris
Using a putty knife or scraper, gently remove any loose fragments from the crack. Be careful not to push too hard, as this could worsen the crack.
Step 3: Sand the Crack
Using fine-grit sandpaper or a polishing cloth, lightly sand the edges of the crack. This helps to create a smooth surface for the repair material to adhere to. Be gentle to avoid damaging the surrounding countertop.
Step 4: Mix the Repair Compound
Open the artificial stone countertop repair kit and follow the manufacturer’s instructions for mixing the repair compound. Typically, this involves combining a resin and hardener in a specific ratio. Mix thoroughly until you achieve a uniform consistency.
Step 5: Apply the Repair Compound
Using a putty knife or a small spatula, apply the repair compound into the crack. Press it firmly to ensure that it fills the crack completely. Smooth the surface with the putty knife to eliminate air bubbles and ensure an even application.
Step 6: Allow to Cure
Let the repair compound cure as per the instructions on the kit. This usually takes a few hours to a day, depending on the product specifications. Avoid using the countertop during this period to allow the compound to set properly.
Step 7: Polish the Surface
Once the compound has cured, use a clean cloth to polish the repaired area. This will help to blend the repaired section with the rest of the countertop, giving it a seamless appearance.
Preventative Measures
To prevent future cracks, it’s important to follow some simple maintenance tips:
Use Cutting Boards and Coasters: Avoid placing hot items directly on the countertop and use cutting boards and coasters to protect the surface from scratches and heat. Clean Regularly: Regularly clean your countertop with mild soap and water. Avoid using harsh chemicals that could damage the surface. Avoid Impact: Be mindful of heavy objects and avoid dropping them on the countertop. Place items gently and use protective pads under heavy equipment.
By adhering to these preventative measures, you can prolong the life of your artificial stone countertop and reduce the likelihood of cracks forming.
Conclusion
Repairing cracks in artificial stone countertops is a manageable task with the right approach and materials. By following the step-by-step process outlined in this guide, you can restore your countertop to its original beauty and functionality. Regular maintenance and care will help ensure that your artificial stone remains in excellent condition for years to come.
Advanced Repair Techniques and Professional Tips
In this second part, we’ll explore more advanced techniques for repairing cracks in artificial stone countertops. Whether you’re dealing with a particularly stubborn crack or looking to enhance the quality of your repair, these methods will provide you with the expertise needed for a professional finish.
Specialized Tools and Materials
To achieve a high-quality repair, using specialized tools and materials is crucial. Here’s a look at some advanced tools and materials that can make the repair process easier and more effective:
High-Pressure Air Compressor: For precise application of repair compounds, a high-pressure air compressor can help in eliminating air bubbles and ensuring a smooth finish. Laser Cleaning Tool: To clean and prepare the surface for repair, a laser cleaning tool can remove contaminants without damaging the countertop. Composite Repair Materials: High-grade composite materials offer superior adhesion and durability, ensuring long-lasting repairs. Color Matching Kits: For an exact match to the original countertop color, color matching kits are invaluable in ensuring that the repaired area blends seamlessly with the rest of the surface.
Advanced Repair Techniques
Technique 1: Laser Repair
One of the most advanced methods for repairing cracks in artificial stone countertops involves using laser technology. Here’s how to use a laser to repair your countertop:
Surface Preparation: Start with a thorough cleaning of the cracked area using a laser cleaning tool to remove any contaminants. Laser Cleaning: Use the laser to precisely clean the crack and surrounding area, ensuring a clean surface for the repair material to adhere to. Apply Repair Material: Once the surface is clean, apply a high-grade composite repair material into the crack using a putty knife or specialized applicator. Smooth and Cure: Use a high-pressure air compressor to smooth out the repair material and remove any air bubbles. Allow the material to cure as per the manufacturer’s instructions.
Technique 2: Epoxy Injection
Epoxy injection is another advanced technique that can provide a strong and durable repair for deep cracks. Here’s how to do it:
Crack Preparation: Clean and dry the cracked area thoroughly. Use a fine-grit sandpaper to widen the crack slightly to allow better epoxy penetration. Epoxy Mixture: Mix the epoxy resin and hardener in the correct ratio as per the product instructions. Injection: Using a syringe or specialized epoxy applicator, inject the epoxy mixture into the crack, filling it completely. Cure and Smooth: Allow the epoxy to cure fully. Once cured, use a fine-grit sandpaper or polishing cloth to smooth the surface and blend it with the surrounding countertop.
Technique 3: Caulk and Polish
For cracks that are more cosmetic and less deep, using caulk and polish can be an effective repair method:
Clean and Dry: Thoroughly clean and dry the cracked area. Apply Caulk: Use a caulk gun to apply a matching colored caulk into the crack. Smooth the caulk with a putty knife to ensure it fills the crack completely. Cure: Allow the caulk to cure as per the manufacturer’s instructions. Polish: Once cured, use a fine-grit sandpaper or polishing cloth to smooth the caulk and blend it with the countertop surface.
Professional Tips for Long-Lasting Repairs
To ensure that your repairs last as long as possible, consider these professional tips:
Proper Adhesion: Ensure that the surface is clean and dry before applying any repair material. Proper adhesion is key to a durable repair. Correct Material Selection: Use the appropriate repair material for the type of crack and the material of your countertop. Using a high-quality, matching material will provide the best results. Avoid Heat and Moisture: After repair, avoid exposing the countertop to excessive heat or moisture for a few days to allow the repair material to fully cure. Regular Maintenance: Keep your countertop clean and protected to prevent future cracks. Use cutting boards, coasters, and pads to avoid damage.
Conclusion
Repairing cracks in artificial stone countertops doesn’t have to be a daunting task. With the right tools, materials, and techniques, you can achieve professional-quality results. Whether you opt for basic or advanced methods, following the steps outlined in this guide will help you restore your countertop to its pristine condition. Regular maintenance and careful handling will ensure that your artificial stone remains beautiful and durable for years to come.
By combining these advanced techniques with继续我们的指南,下面我们将探讨如何选择合适的工具和材料,以及一些额外的建议,以确保修复效果最佳。
选择合适的工具和材料
工具 高压空气压缩机:用于去除修复材料中的气泡,确保表面光滑。 激光清洁器:用于精确清洁表面,去除污垢和杂质,使修复材料能够更好地粘附。 精细砂纸和抛光布:用于打磨和抛光表面,使修复材料能够更好地融合。 注射器和小刮刀:用于精细注入和抹平修复材料。
材料 高级复合材料:这些材料具有优良的粘附性和耐久性,适用于深层裂缝和表面裂缝。 色彩匹配套件:确保修复部分与原始表面颜色一致,使修复效果更自然。 防水涂层:在修复后使用,以增强修复部分的耐久性和防水性。
额外的建议
测试小面积:在进行大面积修复之前,可以在不显眼的地方进行小范围测试,确保修复材料和方法能够达到预期效果。
耐候性考虑:如果您的人造石台面位于户外或者经常暴露在阳光下,选择耐候性强的修复材料尤为重要。
颜色匹配:在选择修复材料时,颜色匹配是关键。如果颜色不匹配,修复后的效果可能会显得突兀。使用专业的色彩匹配套件,可以确保修复部分与原始台面颜色一致。
专业协助:如果您的裂缝非常复杂或者面积较大,考虑请专业人士进行修复。他们具备丰富的经验和专业工具,可以确保修复效果最佳。
后续保养
定期清洁:使用温和的清洁剂和软布定期清洁台面,避免污垢和杂质积聚在修复区域。 防护措施:使用适当的保护垫和垫片,避免重物直接压在台面上,以防止再次出现裂缝。 避免化学品:尽量避免使用强腐蚀性化学品清洁台面,以免损害修复材料。
通过以上步骤和建议,您将能够有效地修复人造石台面上的裂缝,并确保修复效果持久。无论是简单的表面裂缝还是深层的裂缝,只要采用正确的方法和工具,您都可以恢复台面的原始美观和功能。