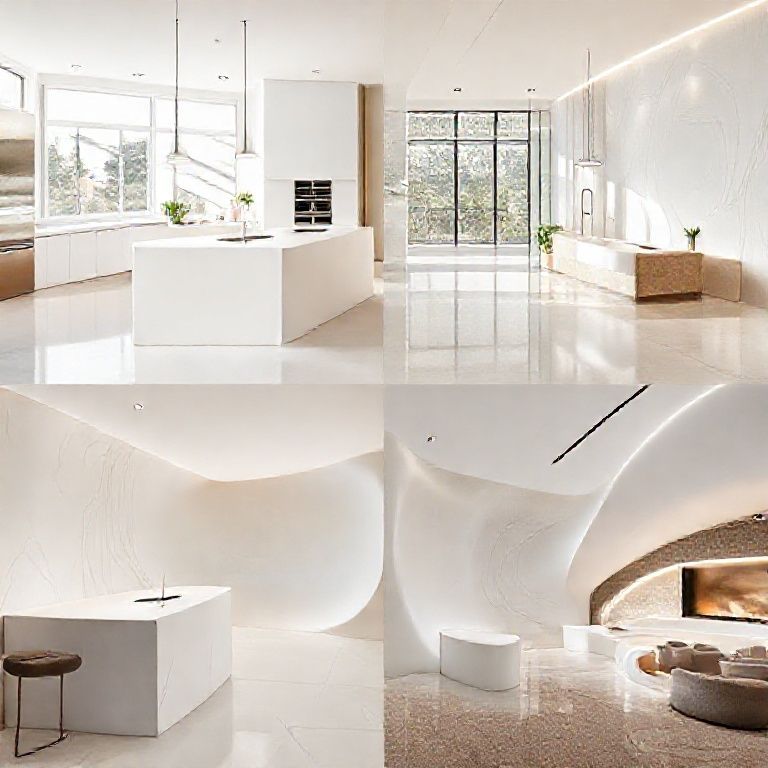
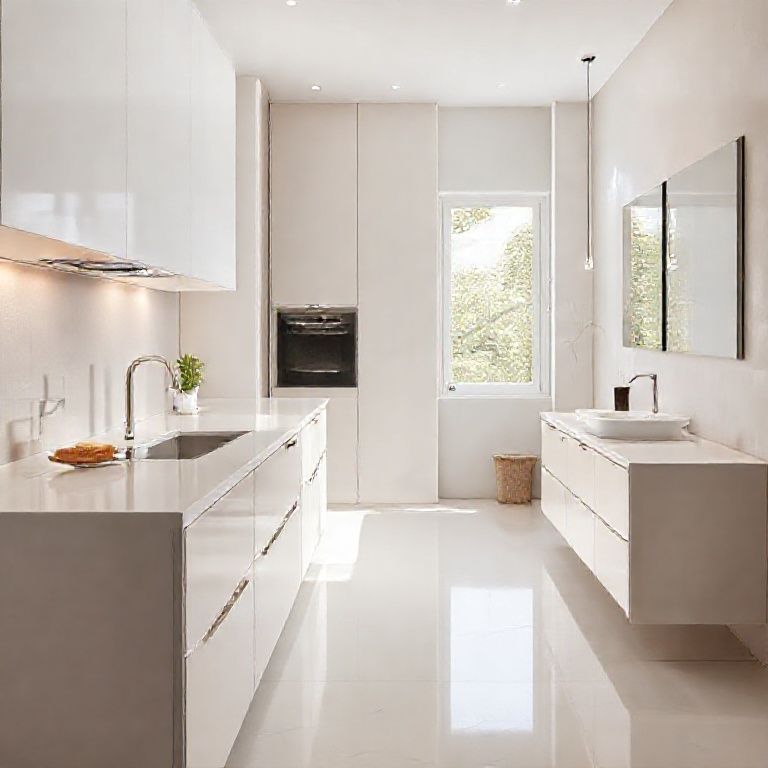
Introduction to Repairing Artificial Stone Countertops
Artificial stone countertops have become a popular choice in modern kitchens and bathrooms due to their durability, aesthetic appeal, and low maintenance. However, like any material, they can develop cracks over time, which can be both an eyesore and a potential risk for water damage. Fortunately, repairing cracks in artificial stone countertops is a manageable DIY project if you have the right tools, materials, and techniques. In this part of our comprehensive video guide, we will explore the initial steps and considerations for repairing cracks in artificial stone countertops.

Understanding the Problem:
Cracks in artificial stone countertops can occur due to several factors such as physical impact, uneven weight distribution, or even natural wear and tear. Understanding the root cause of the crack is crucial before proceeding with the repair. For instance, a crack caused by a heavy object dropping on the counter will require a different approach than a hairline crack from natural aging.
Materials and Tools Required:
Before you begin, it’s essential to gather all the necessary materials and tools. Here’s a list of what you’ll need:
Epoxy Resin or Polyurethane Sealant: These are the most commonly used materials for repairing cracks in artificial stone countertops. Choose a color that matches your countertop. Mixing Tools: You will need a mixing cup, a spatula, and a drill with a mixing attachment. Cleaning Supplies: A mild detergent, a clean cloth, and a brush. Sandpaper: A fine-grit sandpaper is needed for smoothing out the crack edges. Protective Gear: Safety goggles, gloves, and a dust mask.
Step-by-Step Repair Process:
Preparation: Start by cleaning the cracked area thoroughly. Use a mild detergent and a brush to remove any dirt, grease, or debris from the crack and surrounding area. Rinse with water and let it dry completely.
Inspect the Crack: Examine the crack to determine its depth and width. This will help you select the appropriate type of repair material. Deeper cracks might require more substantial reinforcement.
Mix the Repair Material: Follow the manufacturer’s instructions to mix the epoxy resin or polyurethane sealant. It’s essential to achieve the right consistency for a smooth application.
Apply the Repair Material: Using a spatula or a small putty knife, apply the mixed material into the crack. Fill the crack completely, ensuring there are no air bubbles. Smooth the surface to match the countertop’s texture.
Cure Time: Allow the repair material to cure as per the product instructions. This usually takes a few hours to a full day, depending on the material used.
First Impressions and Tips:
Repairing cracks in artificial stone countertops can be a rewarding DIY project. It’s essential to approach the repair with patience and precision. Here are a few tips to ensure the best results:

Match the Color: Ensure that the repair material matches the color of your countertop as closely as possible to maintain a seamless look. Practice on a Small Area: If you’re new to this type of repair, consider practicing on a small, inconspicuous area first. Use Sandpaper: After the repair material has cured, use fine-grit sandpaper to smooth out any rough edges and blend the repaired area with the rest of the countertop.
In the next part of our comprehensive guide, we will delve deeper into advanced techniques and additional tips to ensure a flawless repair. Stay tuned for more expert advice!
Advanced Techniques and Finishing Touches for Artificial Stone Countertop Repair
In the previous part of our comprehensive video guide, we explored the initial steps for repairing cracks in artificial stone countertops. Now, we’ll dive deeper into advanced techniques and finishing touches to ensure a professional-looking repair. Whether you’re a DIY enthusiast or a professional, these expert tips will help you achieve a flawless result.
Advanced Repair Techniques:
Using Reinforcement Fibers: For deeper or more significant cracks, incorporating reinforcement fibers can provide additional strength to the repair. Fiberglass or carbon fibers can be mixed with the epoxy resin to create a more robust repair.
Reinforcement Mesh: In cases where the crack is extensive, consider using a small piece of fiberglass mesh. This mesh can be placed over the crack before applying the repair material, providing additional structural support.
Three-Part Epoxy: For the best results, especially in commercial settings, consider using a three-part epoxy system. These systems provide a more durable and long-lasting repair compared to standard two-part epoxy resins.
Finishing Touches:
Sanding: After the repair material has fully cured, use progressively finer grits of sandpaper to smooth out the repaired area. Start with a coarser grit (e.g., 80-grit) and work your way up to a finer grit (e.g., 400-grit). This will ensure a seamless blend with the surrounding countertop.
Polishing: Once the repair area is smooth, use a polishing compound to give the surface a glossy finish. This step not only enhances the appearance but also adds a protective layer to the repaired area.
Sealing: To protect the repaired area from future damage, apply a high-quality countertop sealant. This will help to maintain the durability and appearance of your artificial stone countertop.
Preventative Measures:
While repairs are necessary for existing cracks, taking preventative measures can help avoid future damage. Here are some tips to keep your artificial stone countertops in top condition:
Use Coasters: Always use coasters or place heavy objects on trivets to prevent direct impact on the countertop. Clean Properly: Use a soft cloth and a mild detergent to clean your countertops. Avoid abrasive cleaners that can scratch the surface. Repair Small Cracks Promptly: Address small cracks as soon as they appear to prevent them from becoming larger and more difficult to repair.
Final Thoughts:
Repairing cracks in artificial stone countertops doesn’t have to be a daunting task. With the right materials, tools, and techniques, you can restore the beauty and functionality of your countertop. Remember, patience and precision are key to achieving the best results.
In conclusion, whether you’re dealing with a minor hairline crack or a more substantial break, following these expert tips and techniques will ensure a professional-looking repair. Always take the time to clean and prepare the area properly, and don’t hesitate to use advanced methods like reinforcement fibers or mesh for more significant cracks. With a little effort and the right approach, your artificial stone countertop will look as good as new.
Thank you for joining us in this comprehensive guide to repairing cracks in artificial stone countertops. For more detailed video tutorials and expert advice, be sure to check out our full video series. Happy repairing!