How to Deal with Cracks in Your Granite Countertops: A Comprehensive Guide with Visual Assistance
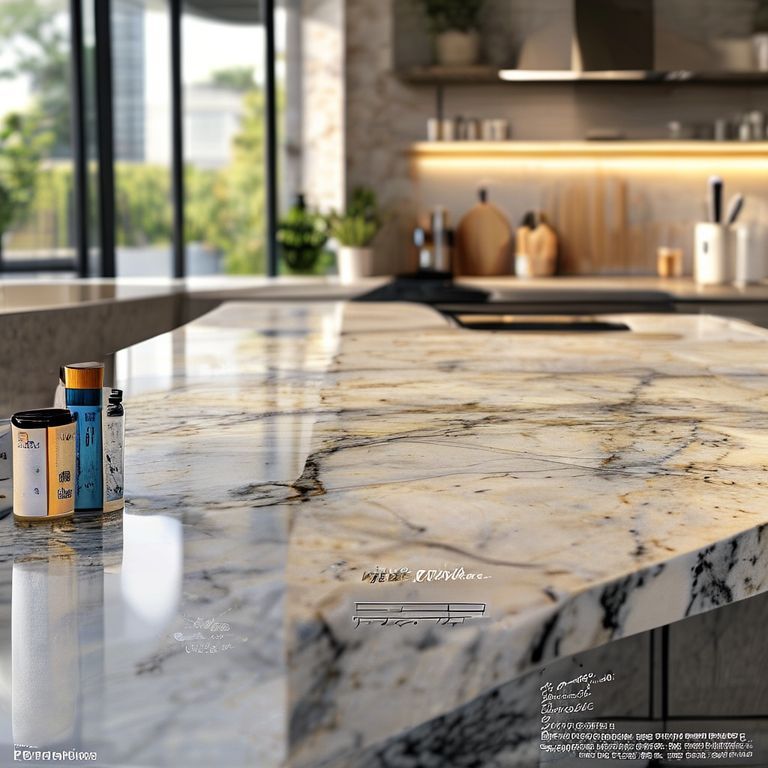
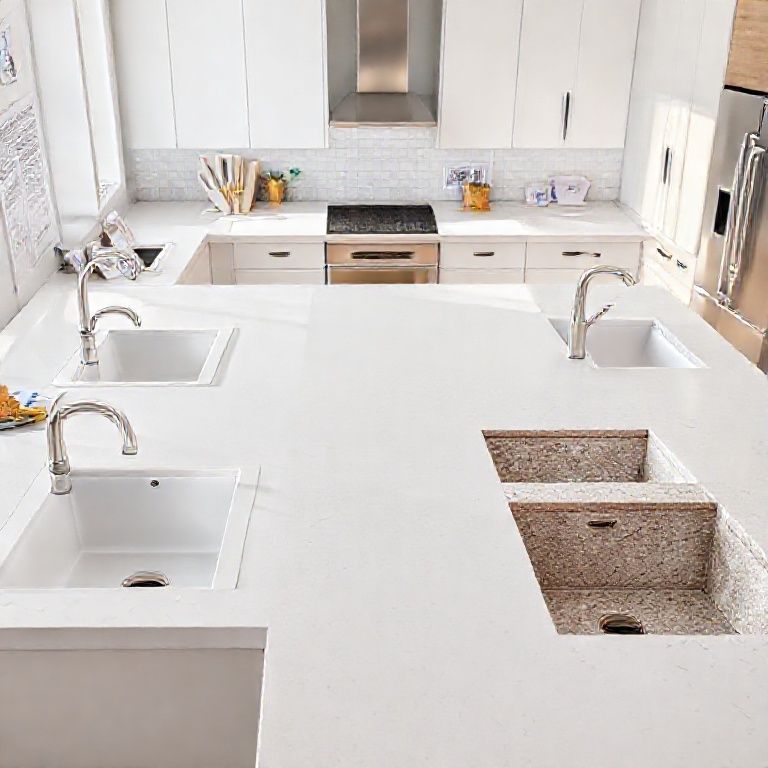
Cracks in artificial stone countertops, often mistaken for granite, can be a significant concern for homeowners. Whether it’s due to a heavy object falling, natural wear and tear, or improper maintenance, the appearance of cracks can detract from the beauty and functionality of your kitchen. Fortunately, with the right approach and a bit of know-how, these issues can be effectively managed. In this guide, we will explore the various methods to address and repair cracks in artificial stone countertops, with a special emphasis on visual aids to ensure you understand each step.

Understanding the Issue:
Artificial stone, also known as quartz or solid surface, is a popular choice for kitchen countertops due to its durability and aesthetic appeal. Despite its robustness, it is not invulnerable. Cracks can occur due to several reasons, including:
Dropping heavy objects on the countertop. Thermal shock from hot liquids. Physical stress from excessive use or mishandling. Natural aging and wear.
Recognizing the cause of the crack is crucial for selecting the appropriate repair method.
Identifying the Type of Crack:
Before diving into the repair process, it’s essential to determine the type of crack you’re dealing with. Cracks can be categorized as:
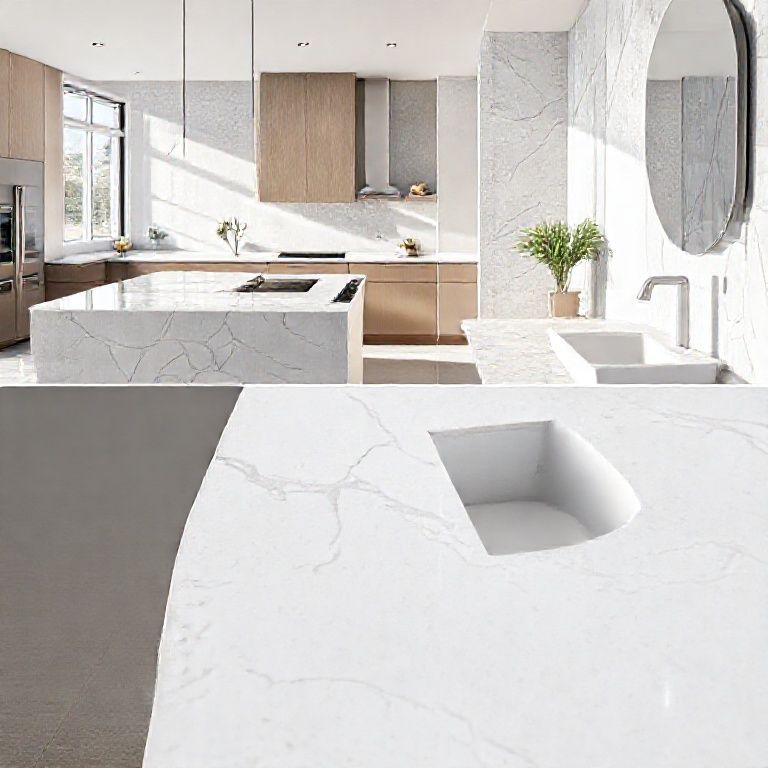
Surface Cracks: These are superficial and usually don’t penetrate deep into the material. Deep Cracks: These cracks go deeper into the material and can be more challenging to repair. Chips and Splinters: Small cracks or fragments that result from impacts.
Visual aids are immensely helpful here. For instance, a side-by-side comparison image showing surface vs. deep cracks can provide clarity on what to look for.
Visual Inspection and Tools Needed:
To perform an accurate inspection, you’ll need a good-quality magnifying glass or a small camera with a high zoom capability. A simple checklist can guide your visual inspection:
Check for any visible cracks or chips. Look for signs of discoloration or flaking. Feel the surface for any uneven or fragile areas.
A detailed image of a cracked countertop with annotations highlighting different types of cracks can significantly aid in this process.
Repairing Surface Cracks:
For minor surface cracks, you can often use a specialized epoxy or a countertop repair kit. Here’s a step-by-step guide:
Clean the Area: Use a mild detergent to clean the cracked area. Make sure it’s completely dry before proceeding. Apply the Epoxy: Follow the instructions on your epoxy kit. Typically, you’ll need to mix the epoxy and apply it to the crack using a brush or applicator. Smooth the Surface: Once the epoxy has been applied, use a damp cloth to smooth out the surface. Let it Cure: Allow the epoxy to cure as per the instructions, usually a few hours to overnight.
A before-and-after photo sequence showing the crack before and after repair can be very motivating and educational.
Repairing Deep Cracks:
Deep cracks often require more extensive repair methods. Here’s what you need to do:
Remove Loose Debris: Clear away any loose pieces or debris from the crack. Apply a Crack Sealant: Use a crack sealant designed for artificial stone. This product can fill in the crack and create a smoother surface. Smooth and Finish: Once the sealant has dried, use a fine-grit sandpaper to smooth out the area. Finish with a polishing compound to restore the shine.
A visual tutorial video demonstrating these steps can provide a dynamic and engaging way to learn the process.
Preventing Future Cracks:
Prevention is always better than cure. Here are some tips to prevent cracks from occurring in the first place:
Use Coasters: Always place hot drinks on coasters to prevent thermal shock. Avoid Sharp Objects: Don’t use sharp objects to cut or scratch the surface. Proper Cleaning: Regularly clean your countertop with a pH-neutral cleaner to maintain its integrity. Weight Distribution: Distribute the weight of heavy items evenly across the countertop.
A infographic summarizing these preventive measures can be very effective in reinforcing the message.
In the next part of this guide, we will delve deeper into advanced repair techniques, explore alternative materials for patching, and provide a comprehensive overview of professional repair services. We’ll also include more visual aids to ensure you have a clear understanding of each method.
How to Deal with Cracks in Your Granite Countertops: Advanced Techniques and Professional Services
Now that we’ve covered the basics of identifying and repairing surface and deep cracks in artificial stone countertops, let’s dive into more advanced techniques and explore professional repair services. This part will provide a detailed, step-by-step guide with additional visual aids to ensure you have all the tools needed to tackle any crack issue effectively.
Advanced Repair Techniques:
Using Patching Compounds:
For deeper cracks that go beyond the surface, a patching compound can be very effective. Here’s how to apply it:
Prepare the Area: Clean the crack thoroughly and let it dry completely. Apply the Compound: Use a putty knife to apply the patching compound into the crack. Fill it in completely and smooth out the surface. Let it Cure: Allow the compound to cure as per the manufacturer’s instructions, usually a few hours. Sand and Polish: Once cured, use fine-grit sandpaper to smooth out the patched area, followed by polishing to restore the shine.
A high-definition video showing this process can provide a clearer understanding of each step.
Using a Caulk Sealant:
Caulk sealants are another excellent option for repairing cracks, especially in joints and seams. Here’s a step-by-step guide:
Clean the Seam: Clean the area around the crack and remove any old caulk or residue. Apply the Caulk: Insert the caulk gun tip into the crack and apply a continuous bead of caulk sealant. Smooth the Seam: Use a wet finger or a caulk smoothing tool to smooth out the sealant. Allow to Dry: Let the caulk dry as per the manufacturer’s instructions.
A photo series showing the application of caulk sealant in different stages can be very helpful.
Alternative Repair Materials:
Besides epoxy, patching compounds, and caulk sealants, there are other materials you can use:
Composite Resins: These are highly effective for deep cracks. They provide a durable and aesthetically pleasing finish. Filler Materials: For smaller cracks, a filler material can be applied and polished to blend seamlessly with the countertop.
Detailed images comparing different materials and their application processes can provide a better understanding of what’s available.
Professional Repair Services:
Sometimes, DIY methods just aren’t enough. In such cases, professional repair services can be a lifesaver. Here’s what to expect when you opt for professional help:
Assessment: Professionals will first assess the extent of the damage. This usually involves a thorough inspection and possibly taking samples for testing. Repair Techniques: Depending on the assessment, they may use advanced techniques such as laser filling or 3D printing to repair cracks. Restoration: After the repair, professionals will polish and finish the area to match the rest of the countertop perfectly.
A video testimonial from a customer who had professional repair services can provide insights into the benefits and outcomes.
Cost and Benefits of Professional Repairs:
While professional repairs might be more expensive than DIY methods, they offer several benefits:
Accuracy: Professionals have the expertise and tools to ensure a precise repair. Longevity: Repairs done by professionals tend to last longer. Aesthetic Appeal: Professionals ensure that the repaired area blends seamlessly with the rest of the countertop.
A cost comparison chart showing DIY vs. professional repairs can help you make an informed decision.
Preventive Maintenance Tips:
Even with the best repair techniques, preventive maintenance is key to prolonging the life of your countertops. Here are some advanced tips:
Use Protective Mats: Place cutting mats and hot pads under heavy items to prevent damage. Regular Cleaning: Use pH-neutral cleaners and avoid abrasive cleaners that can scratch the surface. Avoid Impact: Try to avoid dropping heavy objects on the countertop.
An infographic detailing these preventive measures can serve as a handy reference guide.
Conclusion:
Cracks in artificial stone countertops can be a daunting issue, but with the right knowledge and tools, they can be effectively managed. From simple DIY repairs to professional services, there are multiple avenues to explore. By understanding the nature of the crack, utilizing appropriate repair techniques, and following preventive measures, you can maintain the beauty and functionality of your kitchen countertop.
Remember, visual aids play a crucial role in understanding and executing repair techniques. Whether it’s a photo series, video tutorial, or infographic, visual content的指导非常有帮助。
在接下来的部分中,我们将深入探讨更多的细节,包括如何选择合适的材料和工具,以及一些常见问题的解决方案。我们将提供更多的视觉资源,以确保您在修复过程中能够获得最佳效果。
选择合适的材料和工具:
选择合适的修复材料: 硅胶填充剂:适用于小裂缝和缝隙,可以很好地填充,但需要细致的处理。 复合树脂:适用于较深的裂缝,可以提供更强的填充效果。 专业修复套件:包含各种工具和材料,适合进行复杂的修复。 工具选择: 胶刀:用于涂抹修复材料。 砂纸:用于打磨修复区域,使其与原始表面融合。
打磨机:更高效地打磨和抛光修复区域。 清洁布和酒精:用于清洁修复区域,确保材料能够良好粘附。
常见问题及解决方案:
修复后的表面不平整: 解决方法:使用细砂纸轻轻打磨修复区域,直到表面平滑。然后用打磨机进行精细打磨,最后进行抛光。 修复材料颜色不一致: 解决方法:选择与原始材料颜色一致的修复材料。如果颜色还是不一致,可以在修复材料中添加少量染色剂,调整到所需的颜色。
修复区域粘性过强: 解决方法:在修复材料干燥前,轻轻擦拭表面,确保材料均匀分布。如果粘性过强,可以在修复材料中适量加入溶剂,调整粘性。
视觉资源:
修复前后的对比图片: 展示一个裂缝在修复前的状态,以及修复后的对比效果。这些图片将直观地展示修复的成效。 详细的步骤图解: 提供每一步修复过程的详细图解,包括材料准备、修复材料的涂抹、打磨和抛光的过程。 专业视频教程: 提供专业修复师的视频教程,展示如何正确地进行修复,并解释每一个步骤的重要性和技巧。
总结:
无论您是DIY爱好者还是专业人士,了解如何有效地修复人造石台面的裂缝都是至关重要的。通过选择合适的材料和工具,掌握正确的修复技术,并利用视觉资源进行指导,您可以恢复台面的完整性和美观。希望这篇指南能为您提供全面的帮助,使您能够成功地处理任何裂缝问题。
如果您有任何其他问题或需要进一步的指导,请随时提问。