Discover the ultimate guide on fixing a cracked kitchen countertop with our detailed video tutorial. Learn step-by-step instructions, tips, and tricks to restore your kitchen’s beauty and functionality. Whether you’re a DIY enthusiast or a beginner, this video will provide you with everything you need to know. Dive into our comprehensive guide today!
kitchen countertop repair, cracked countertop fix, countertop repair video, DIY countertop repair, kitchen renovation, countertop restoration, home improvement, kitchen makeover, countertop crack repair, home repair tutorial
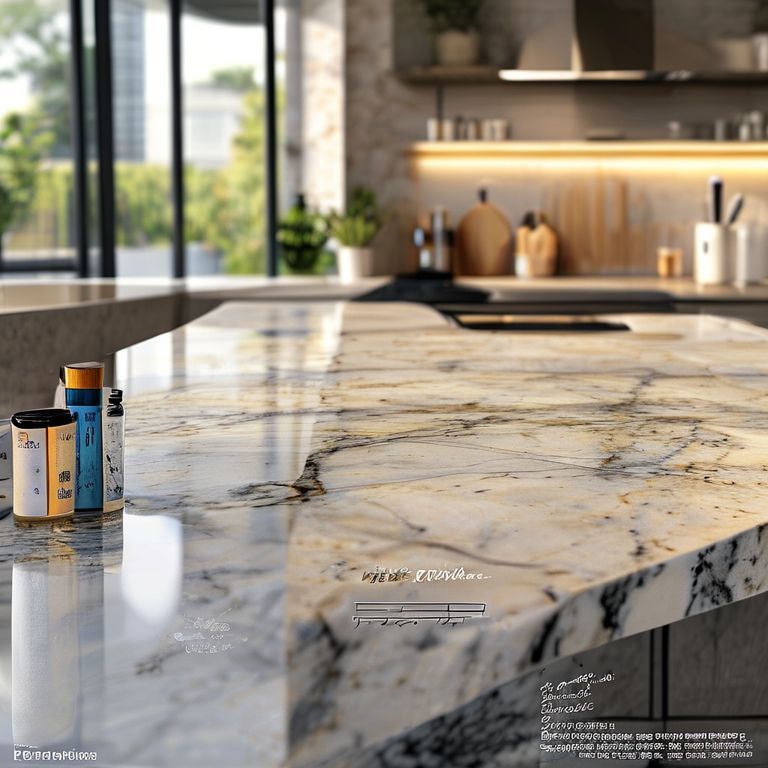
How to Fix a Cracked Kitchen Countertop: A Comprehensive Guide
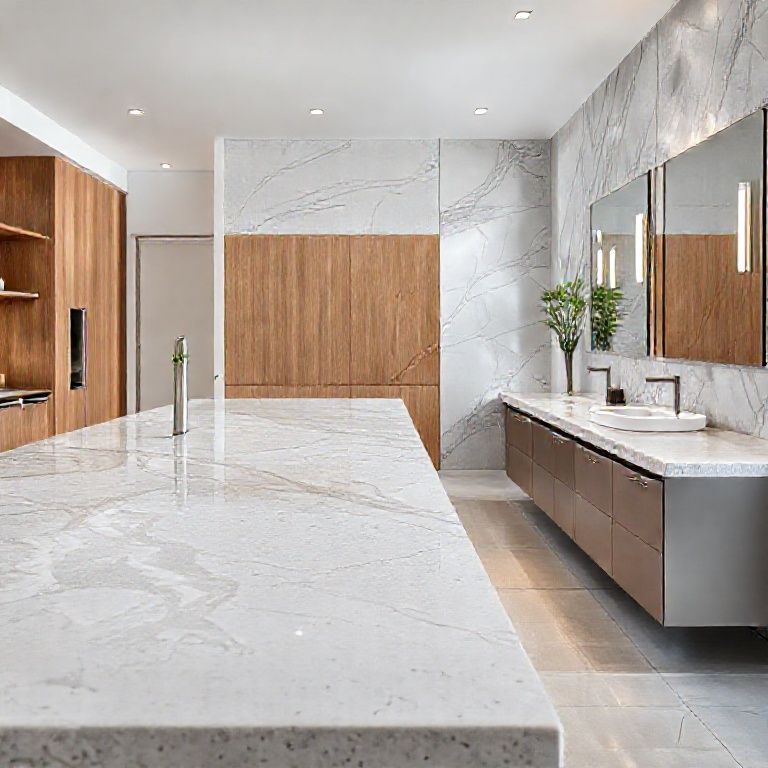
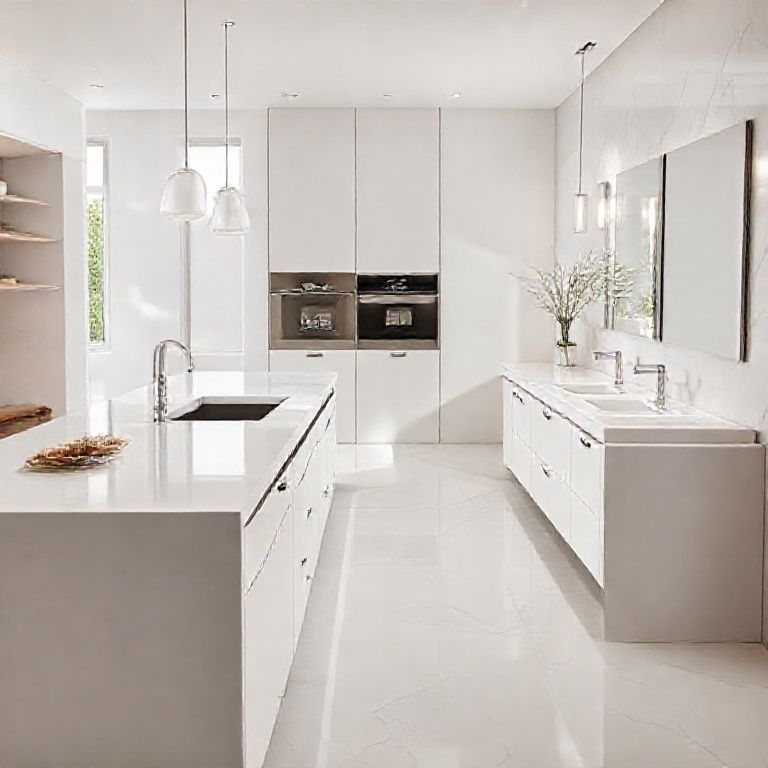
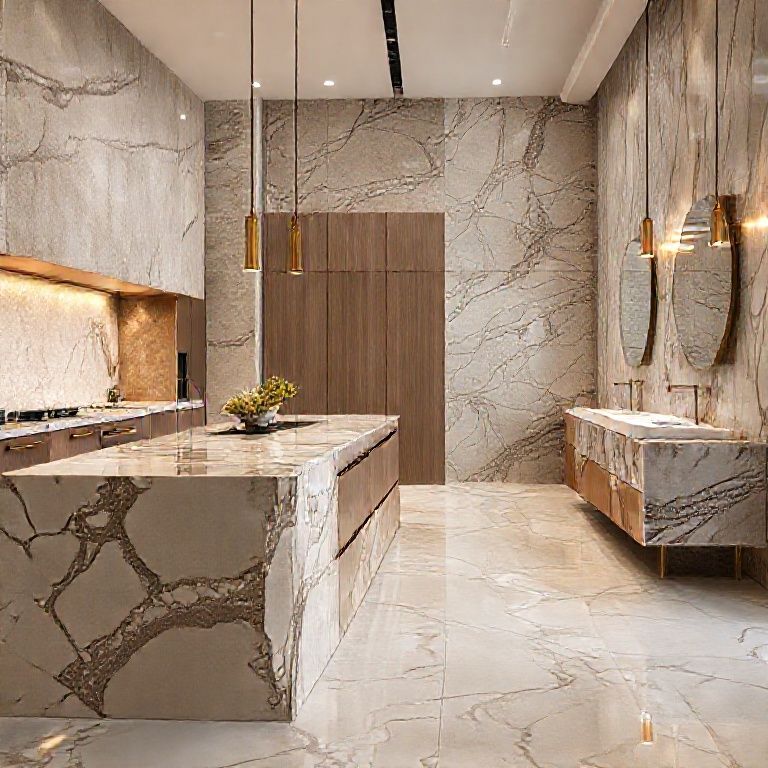
Is your kitchen countertop showing signs of wear and tear? Perhaps you’ve noticed a crack or two forming on your once pristine surface. Don’t despair! With the right approach and a bit of patience, you can restore your kitchen countertop to its former glory. This article, coupled with an eye-catching video tutorial, will walk you through everything you need to know about fixing a cracked kitchen countertop.
Understanding the Types of Cracks
Before diving into the repair process, it’s crucial to understand the different types of cracks that can occur on kitchen countertops. These include:
Surface Cracks: Small cracks on the surface that don’t penetrate deeply. Deep Cracks: Cracks that go deeper into the countertop material. Chips and Chips: Small pieces broken off from the surface. Chipping and Crazing: Fine cracks that spread out from a central point.
Knowing the type of crack will help you determine the best repair method.
Assessing the Damage
Before starting the repair process, you need to assess the extent of the damage. This involves:
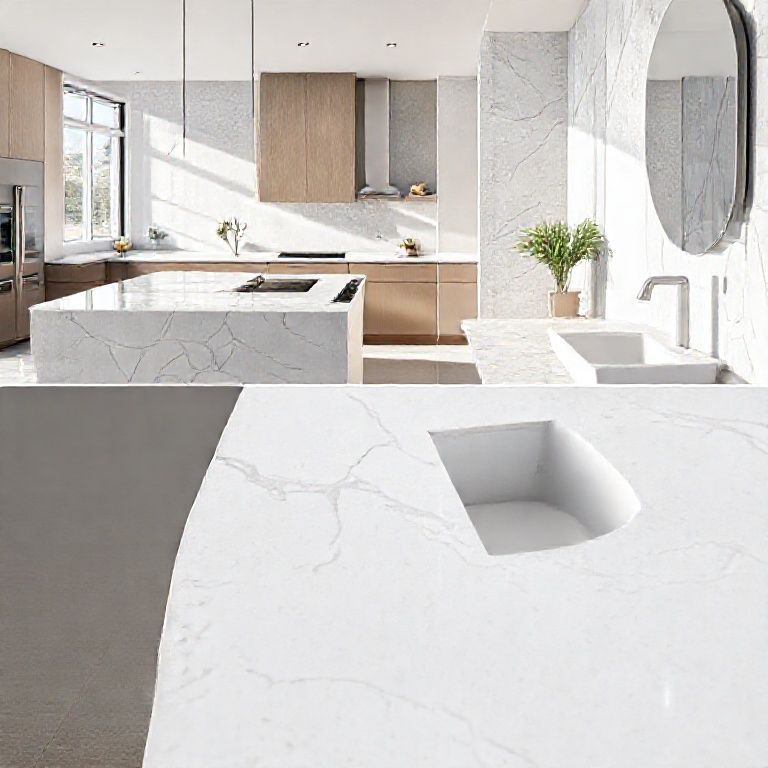
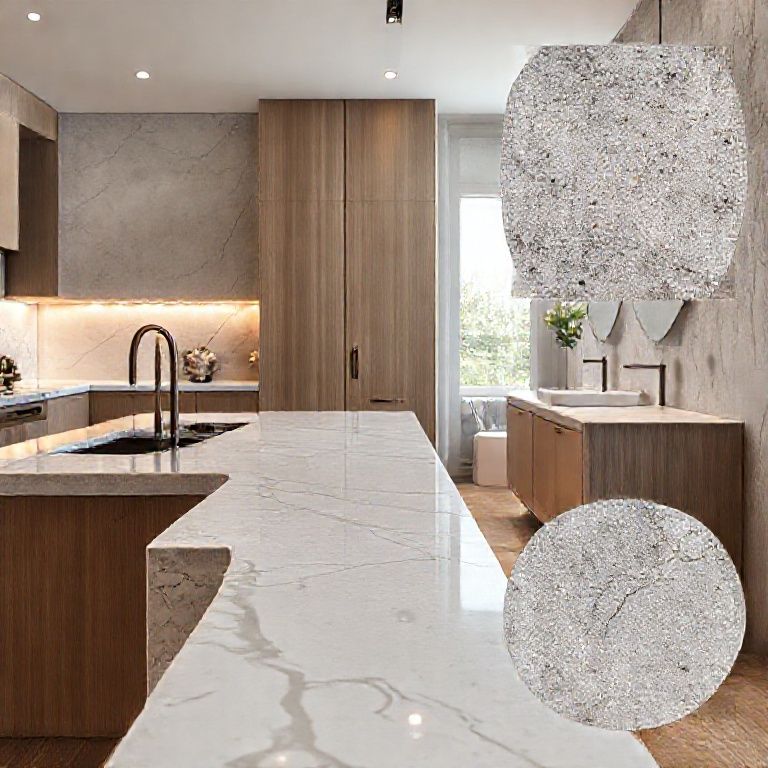
Visual Inspection: Look closely at the crack to determine its depth and length. Testing the Crack: Apply gentle pressure to see if the crack is stable or if it spreads further. Material Identification: Identify the material of your countertop (e.g., granite, quartz, marble, or composite).
Tools and Materials Needed
To repair a cracked countertop, you’ll need some basic tools and materials. Here’s a list to get you started:
Epoxy Resin: Suitable for most countertop materials. Scraper or Putty Knife: For applying the epoxy. Sandpaper: For smoothing out the repair area. Cleaning Supplies: To clean the countertop before and after repair. Latex Gloves: To protect your hands during the process. Mask: To protect your respiratory system from fumes.
Step-by-Step Repair Process
Step 1: Clean the Area
Start by thoroughly cleaning the cracked area. Use a mild detergent and water to remove any dirt, grease, or debris. Once clean, dry the area completely.
Step 2: Remove Loose Debris
Use a small brush or a vacuum with a brush attachment to remove any loose debris from the crack.
Step 3: Apply Epoxy Resin
Mix the epoxy resin according to the manufacturer’s instructions. Use a scraper or putty knife to apply the epoxy into the crack. Make sure to fill the crack completely. Allow the epoxy to cure as per the instructions.
Step 4: Smooth the Surface
Once the epoxy has cured, use sandpaper to smooth out the area. Start with a coarser grit and gradually move to a finer grit for a polished finish.
Step 5: Clean and Polish
Clean the surface again to remove any sanding residue. For materials like granite or quartz, you may apply a polishing compound to restore shine.
Step 6: Final Inspection
Inspect the repaired area to ensure there are no imperfections. Make any necessary touch-ups.
Preventing Future Cracks
To prevent future cracks, follow these tips:
Use Cutting Boards: Always use cutting boards for chopping and cutting to protect your countertop. Avoid Sharp Objects: Do not place sharp objects directly on the countertop. Heat Protection: Use heat-resistant pads under pots and pans when cooking. Regular Maintenance: Clean and maintain your countertop regularly to keep it in good condition.
Conclusion
Repairing a cracked kitchen countertop doesn’t have to be a daunting task. With the right tools, materials, and a bit of know-how, you can restore your countertop to like-new condition. Remember to follow the steps carefully and take your time to achieve the best results.
Stay tuned for part 2 of this guide where we will dive deeper into advanced repair techniques and explore alternative repair methods for different countertop materials. Don’t forget to check out our video tutorial for a visual walkthrough of the repair process!
How to Fix a Cracked Kitchen Countertop: Advanced Techniques and Alternative Methods
Welcome back to part two of our comprehensive guide on fixing a cracked kitchen countertop. In this part, we’ll delve deeper into advanced repair techniques and explore alternative methods for different countertop materials. Whether you’re a DIY enthusiast or looking for professional advice, this guide will provide you with all the information you need to tackle any countertop crack.
Advanced Repair Techniques
When dealing with more severe cracks, it’s essential to use advanced repair techniques to ensure a durable and aesthetically pleasing fix.
1. Using Composite Repair Kits
For more extensive damage, composite repair kits are an excellent option. These kits are designed to repair cracks in composite countertops.
Steps:
Clean the Area: As with all repairs, start by thoroughly cleaning the cracked area to remove any dirt or debris. Apply the Composite Resin: Follow the instructions on the kit to mix and apply the composite resin into the crack. Smooth the Surface: Use a scraper to ensure the resin is evenly spread and smooth the surface. Cure the Resin: Allow the resin to cure completely as per the kit’s instructions. Polish the Area: Once cured, polish the area to blend it seamlessly with the rest of the countertop.
2. Using Flexfill Sealant
Flexfill sealant is another advanced method for repairing cracks, particularly in more flexible materials like quartz or marble.
Steps:
Clean and Dry: Clean the crack thoroughly and let it dry completely. Apply Flexfill: Using a applicator, apply Flexfill into the crack, filling it completely. Smooth and Cure: Smooth the sealant with a clean cloth and let it cure as per the manufacturer’s instructions. Polish: Once cured, polish the area to blend it with the surrounding surface.
3. Professional Repair Services
For the most severe cases, it might be best to consult a professional repair service. Professionals have specialized tools and materials to ensure a long-lasting repair. They can also provide advice on how to prevent future damage.
Alternative Repair Methods
Depending on the material of your countertop, there are several alternative methods you can try.
1. For Granite Countertops
Granite is a durable material, but it can still crack. Here’s how to repair it:
Steps:
Clean the Crack: Clean the area around the crack thoroughly. Use a Granite Resin: Apply a specialized granite resin into the crack using a syringe. Cure the Resin: Allow the resin to cure as per the manufacturer’s instructions. Polish the Area: Use a granite polish to restore the surface.
2. For Quartz Countertops
Quartz is known for its durability but can still crack. Here’s how to fix it:
Steps:
Clean and Dry: Clean the crack and let it dry completely. Apply Quartz Sealant: Use a quartz-specific sealant and apply it into the crack. Cure and Polish: Allow the sealant to cure and then polish the area to blend it with the rest of the countertop.
3. For Marble Countertops
Marble is a beautiful but fragile material. Here’s how to repair it:
Steps:
Clean the Crack: Clean the area around the crack. Use Marble Resin: Apply a marble-specific resin into the crack. Cure the Resin: Allow the resin to cure as per the manufacturer’s instructions. Polish the Area: Use a marble polish to restore the shine.
Tips for Long-Lasting Repairs
To ensure your repairs last as long as possible, follow these tips:
Regular Maintenance: Clean your countertop regularly to prevent dirt and grime buildup. Use Protective Pads: Always use heat-resistant and cutting pads to protect the surface. Avoid Acidic Foods: Acidic foods can weaken the surface and cause further damage. Handle with Care: Avoid dropping heavy objects on the countertop and handle it with care.
Conclusion
Repairing a cracked kitchen countertop can be a straightforward process if you know the right techniques and materials to use. Whether you opt for DIY methods or professional services, the key is to address the crack promptly to prevent further damage. By following our detailed guide and watching our video tutorial, you’ll be well-equipped to restore your kitchen countertop to its former beauty.
进一步维护和保养厨房台面
1. 定期清洁
无论你使用的是什么材料的台面,定期清洁都是非常重要的。使用适当的清洁剂和清洁工具,每天或每周进行一次轻微清洁。
石英台面: 使用中性清洁剂和软布擦拭。 花岗岩台面: 用专用的花岗岩清洁剂和软布擦拭,避免使用钢丝球。 大理石台面: 使用专用大理石清洁剂,避免酸性物质。
2. 避免使用硬质清洁工具
使用硬质的清洁工具(如金属刷子或钢丝球)可能会对台面表面造成划痕,从而影响台面的外观和功能。
3. 使用垫片和保护垫
当放置炊具、杯子或其他重物时,使用硅胶垫片或保护垫,以避免划伤台面。
4. 及时处理溢出物
台面上的液体,特别是酸性和碱性液体,可能会对某些材料的台面造成损害。及时用干布擦干溢出的液体。
5. 定期检查和维修
定期检查台面的连接处和安装螺丝,确保没有松动或损坏。
常见问题及解决方法
1. 污渍和颜色褪色
清洁方法: 使用适当的清洁剂,轻轻擦拭污渍。对于花岗岩和石英台面,可以使用专用的抛光剂来恢复光泽。 预防措施: 避免长时间暴露在阳光下,使用耐晒套件。
2. 划痕
小划痕: 使用专门的划痕修复膏或抛光剂来恢复台面的光泽。 大划痕: 可能需要专业的修复服务,或者考虑更换台面。
3. 气味
吸附剂: 放置活性炭包或其他气味吸附剂在厨房台面下方,可以有效去除异味。 清洁: 使用专门的除臭剂,确保定期清洁台面。
4. 斑点
大理石: 污渍和斑点可能由于使用酸性或碱性物质引起。用专用的大理石清洁剂擦拭斑点。 石英: 使用石英专用清洁剂,避免使用过多的水,以防止渗入纤维中。
专业服务和升级
1. 专业清洁
定期请专业人员进行深度清洁和维护,特别是对于高使用频率的台面。
2. 升级台面
如果你的台面已经非常老化或受损,考虑升级到更高质量的材料,如石英、不锈钢或其他耐用材料。
总结
保养和维护厨房台面不仅能延长其使用寿命,还能保持其美观和功能性。通过遵循正确的清洁和维护方法,你可以确保台面在长时间内保持良好状态。如果遇到无法自行解决的问题,及时寻求专业帮助也是一个明智的选择。