Understanding the Damage and Preparing for Repair
When your kitchen countertop cracks, it can be an alarming sight that disrupts the aesthetic and functionality of your space. However, with the right approach, you can restore your countertop to its original condition without professional intervention. Here’s a detailed guide on how to repair a cracked kitchen countertop yourself.

Step 1: Assessing the Damage
Before you begin any repair, it’s crucial to understand the extent of the damage. Examine the crack closely:
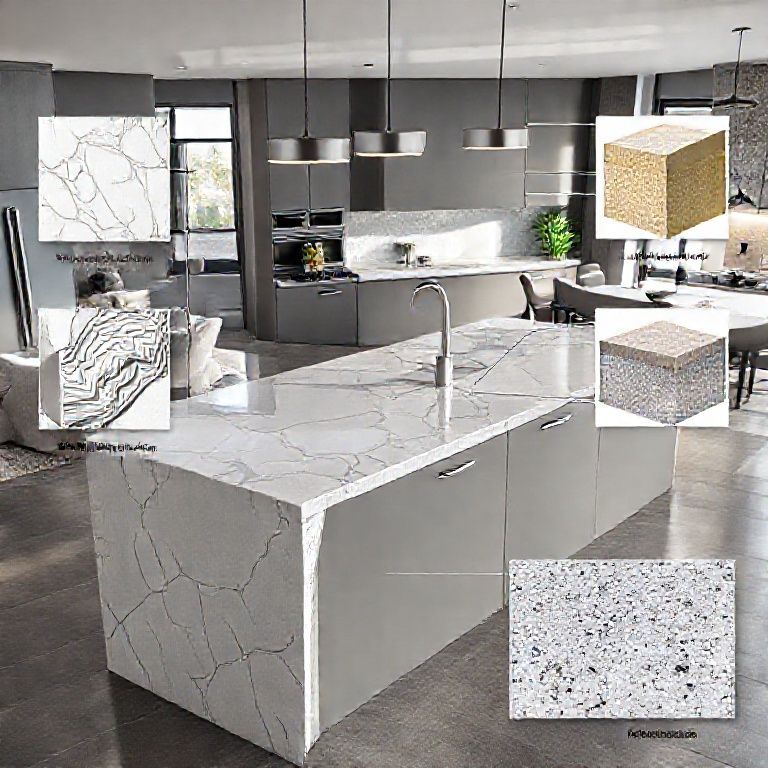
Size and Depth: Measure the length and depth of the crack. Small cracks (less than 1/4 inch) can often be fixed easily, while larger cracks might require more extensive methods. Type of Countertop: Different materials require different repair techniques. Common kitchen countertops include granite, quartz, marble, and composite materials like Formica or laminate. Each material has unique properties that affect the repair process.
Step 2: Gather Your Tools and Materials
Regardless of the countertop material, you will need a few essential tools and materials to repair the crack:
Epoxy Resin: This is the most commonly used material for repairing cracks. Choose a high-quality, two-part epoxy resin that is compatible with your countertop material. Sandpaper: Various grits (starting from 400 to 1200) for smoothing the area around the crack. Mixing Tools: A small spatula or stick for mixing the epoxy resin. Cleaning Supplies: Isopropyl alcohol or a similar cleaning agent to clean the area around the crack. Protective Gear: Gloves and safety glasses to protect yourself during the repair process.
Step 3: Clean and Prepare the Area
Cleaning is an essential step to ensure a strong bond. Follow these steps:
Clean the Crack: Use isopropyl alcohol to thoroughly clean the crack and the surrounding area. This will remove any grease, dust, or debris that might interfere with the epoxy’s adhesion. Dry Completely: Allow the area to dry completely before proceeding with the repair. This can take several hours.
Step 4: Mix and Apply the Epoxy Resin
Follow these steps to apply the epoxy resin:
Mix the Epoxy: According to the manufacturer’s instructions, mix the epoxy resin and hardener in a separate container. Use a spatula or stick to mix until the two parts are well combined. Apply the Epoxy: Using the spatula, apply a thin layer of epoxy to the crack. Work quickly, as epoxy can cure rapidly. Fill the crack completely, ensuring that the epoxy extends slightly beyond the crack on both sides. Smooth the Surface: Use a damp cloth or another spatula to smooth the surface of the epoxy. This will help create a seamless finish.

Step 5: Let it Cure
Allow the epoxy to cure fully. This process can take several hours to a full day, depending on the thickness of the applied epoxy and the product’s curing time as specified by the manufacturer.
Finishing Touches and Maintenance
Once the epoxy has cured, it’s time to finish the repair and ensure that your countertop remains in good condition.
Step 1: Sanding the Repaired Area
After the epoxy has cured:
Sand the Epoxy: Using progressively finer grits of sandpaper (starting from 400 and moving up to 1200), lightly sand the repaired area to smooth out any rough edges. Be gentle to avoid scratching the surrounding countertop surface. Clean Again: Once sanding is complete, clean the area with isopropyl alcohol to remove any sanding dust.

Step 2: Sealing the Countertop
To protect the repaired area and the entire countertop:
Apply a Countertop Sealer: Use a high-quality countertop sealer suitable for your countertop material. This will help prevent future cracks and maintain the countertop’s appearance. Follow Instructions: Apply the sealer according to the manufacturer’s instructions, typically involving a thorough cleaning before application and allowing for proper drying time.
Step 3: Regular Maintenance
To ensure that your countertop remains in excellent condition:
Clean Regularly: Use appropriate cleaning solutions and techniques to clean your countertop. Avoid using abrasive cleaners or scrubbers that can scratch the surface. Repair Minor Cracks Promptly: Address small cracks as soon as they appear to prevent them from becoming larger and more difficult to repair. Avoid Sharp Objects: Place protective pads under cutting boards and other sharp objects to prevent them from causing new cracks.
Step 4: Professional Help When Needed
While DIY repairs can be very effective, some cracks may be too extensive or located in areas that are difficult to reach. In such cases, consider consulting a professional for:
Complex Repairs: If the crack is particularly large or if it runs through the thickness of the countertop, professional intervention might be necessary. Special Materials: Professionals have access to specialized materials and techniques that might be beyond the scope of a typical DIY repair.
By following these detailed steps, you can repair a cracked kitchen countertop yourself, restoring its beauty and functionality. Remember, the key to a successful repair lies in proper preparation, careful application, and regular maintenance. With patience and the right materials, you can achieve a flawless repair that enhances your kitchen’s overall look and feel.