Understanding the Causes and Preparation for Repair
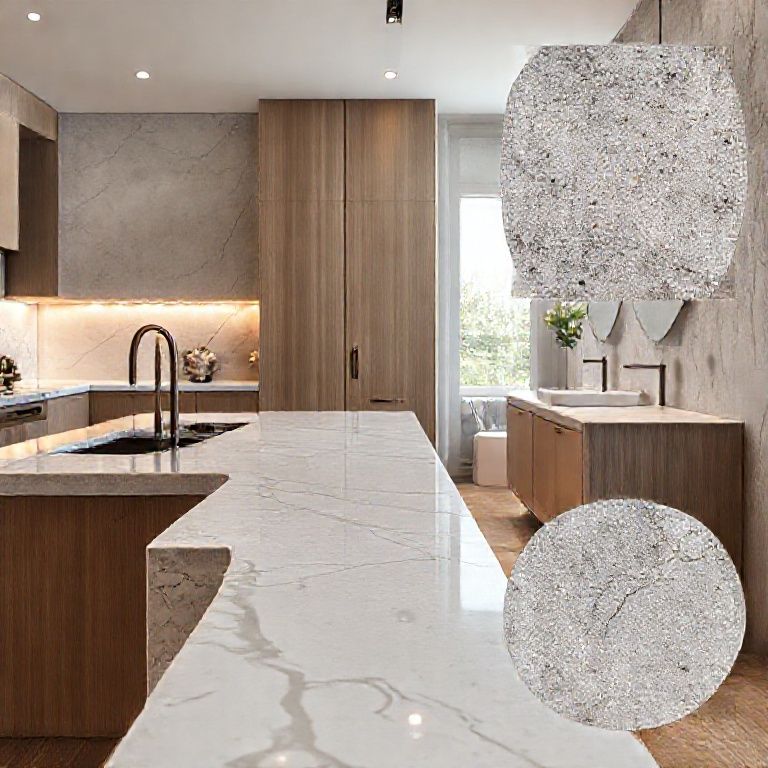
When it comes to kitchen countertops, quartz stands out for its durability, beauty, and ease of maintenance. However, despite its strength, quartz is not immune to cracks. Understanding the causes of these cracks is the first step towards effective repair.

Common Causes of Quartz Countertop Cracks
Impact Damage: Quartz can crack from heavy impacts. This could be anything from a dropped pot or a sharp object. Even a glass bottle can cause a significant crack. Thermal Stress: Sudden changes in temperature can cause stress fractures. For instance, pouring a hot liquid into a cold environment might cause a crack. Installation Errors: Improper installation can lead to stress points that result in cracks over time. Wear and Tear: Over time, the natural wear and tear of daily use can lead to cracks, especially in high-traffic areas.
Preparation for Repair
Before diving into the repair process, it’s crucial to prepare your workspace and gather the necessary tools and materials.
Tools and Materials Needed:
Quartz Countertop Repair Kit: These kits usually come with the necessary resin, hardener, and mixing tools. Sandpaper: A fine-grit sandpaper (around 400-600 grit) is essential for smoothing out the crack. Masking Tape: To protect adjacent surfaces. Cleaning Supplies: Isopropyl alcohol or a mild soap and water solution for cleaning the surface. Protective Gear: Gloves and safety goggles to protect yourself during the repair process.
Step-by-Step Preparation:
Clean the Area: Start by thoroughly cleaning the cracked area with a mild soap and water solution. Ensure that the surface is completely dry before proceeding. Examine the Crack: Carefully examine the crack to determine its depth and complexity. This will help you choose the appropriate repair method. Gather Tools: Ensure you have all your tools and materials within easy reach to streamline the repair process. Safety First: Put on your protective gear to safeguard against any accidental splashes or debris.
By understanding the causes of quartz countertop cracks and preparing adequately, you’re setting yourself up for a successful DIY repair. Now that you’re ready, let’s move on to the actual repair process.
Detailed Repair Techniques and Final Touches
Once you’ve prepared your workspace and gathered all necessary tools and materials, it’s time to delve into the detailed repair techniques to fix your cracked quartz countertop. Follow these steps carefully to ensure a seamless and professional-looking repair.

Repairing the Crack
Step 1: Sanding the Crack
Using fine-grit sandpaper, gently sand the edges of the crack. This step is crucial as it creates a smooth surface for the repair resin to adhere to. Make sure to sand in the direction of the grain to avoid creating additional damage.
Step 2: Cleaning the Crack Again
After sanding, clean the crack thoroughly using isopropyl alcohol to remove any dust or debris. This ensures that the resin adheres properly without any impurities.
Step 3: Mixing the Repair Resin
Open the quartz countertop repair kit and carefully mix the resin and hardener according to the manufacturer’s instructions. It’s important to mix them thoroughly to achieve the correct consistency and strength.

Step 4: Applying the Resin
Using a syringe or a mixing stick, apply the resin into the crack. Start from one end and work your way to the other end, filling the crack completely. Use a toothpick or a small brush to smooth out the resin and remove any air bubbles.
Step 5: Curing the Resin
Allow the resin to cure as per the instructions provided in your repair kit. Typically, this involves leaving it to set for a few hours or even overnight. Ensure the countertop is in a stable environment during this period to avoid any movement that could disturb the curing process.
Finishing Touches
Step 1: Final Sanding
Once the resin has cured, use a finer grit sandpaper (around 1000-1200 grit) to smooth out the repaired area. This step ensures that the repaired area blends seamlessly with the rest of the countertop.
Step 2: Polishing
For a polished look, you can use a polishing compound designed for quartz surfaces. Apply the compound using a soft cloth and gently polish the area until it shines.
Step 3: Cleaning
Finally, give your countertop a thorough clean using a mild soap and water solution. This removes any residue from the repair process and leaves your countertop looking pristine.
Maintenance Tips
To ensure your repaired quartz countertop lasts as long as possible, follow these maintenance tips:
Avoid Sharp Objects: Try not to place sharp objects directly on the countertop to prevent new cracks. Use Cutting Boards: Always use cutting boards when preparing food to avoid scratches. Clean Regularly: Regularly clean the surface with appropriate cleaning solutions to maintain its shine and longevity. Prompt Repairs: Address any small cracks or scratches promptly to prevent them from becoming more significant issues.
By following these detailed repair techniques and maintenance tips, you can restore your quartz countertop to its original beauty and functionality. Whether it’s a small crack or a more complex issue, with the right approach, you can achieve professional-looking results at home. Happy repairing!