Welcome to our detailed guide on repairing and polishing artificial stone countertops using the water-polishing technique. Artificial stone, known for its durability and aesthetic appeal, can sometimes develop cracks or require a polish to maintain its pristine look. In this first part, we will cover the fundamentals of crack repair and the basics of the water-polishing method, setting the stage for achieving professional-quality results at home.
Understanding Artificial Stone Countertops
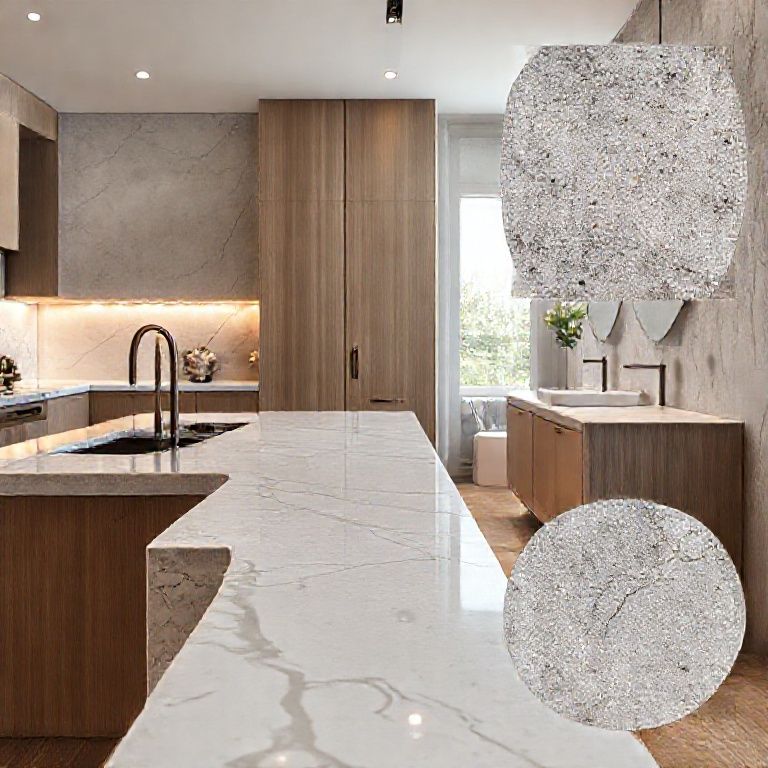
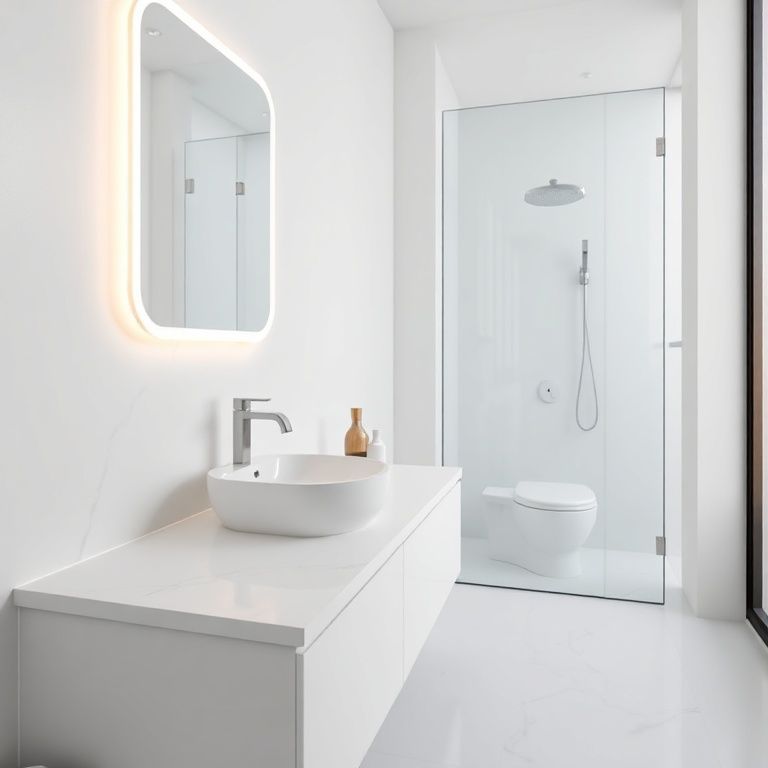
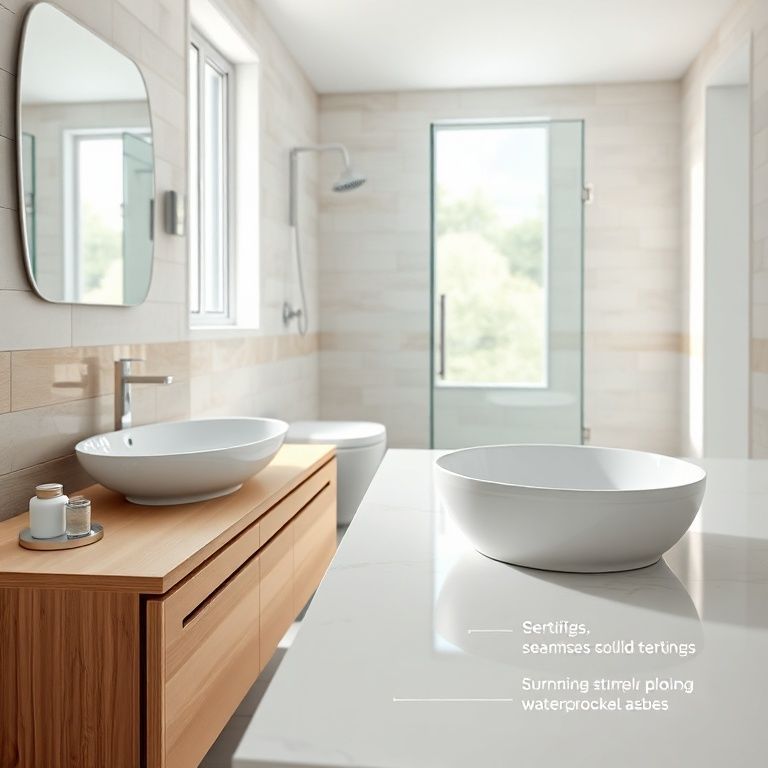
Artificial stone countertops are a popular choice in kitchens and bathrooms due to their resistance to stains, scratches, and heat. Despite their durability, these countertops are not indestructible. Cracks can occur due to heavy impacts, improper installation, or even normal wear and tear over time. Knowing how to address these issues is crucial to prolonging the life of your countertop.
Crack Repair Essentials
To begin with crack repair, it’s important to identify the type of artificial stone you have. Most modern artificial stones are made from a composite of minerals, resins, and pigments. Knowing your material helps in selecting the appropriate repair method. Here’s a step-by-step approach to repair cracks:
Clean the Area: Before any repair, clean the affected area thoroughly to remove any dirt, grease, or debris. Use a mild detergent and a soft cloth to ensure the surface is clean and dry.
Assess the Crack: Determine the size and depth of the crack. Small, shallow cracks can often be repaired with a filler, while larger, deeper cracks might require more extensive repair.
Select the Right Filler: Choose a filler that matches the color and composition of your artificial stone. Many repair kits come with matching fillers and a bonding agent.
Apply the Filler: Use a small spatula or a specialized tool to apply the filler into the crack. Press it in firmly to ensure it fills the crack completely. Smooth the surface to blend it with the countertop.
Cure the Filler: Allow the filler to cure as per the manufacturer’s instructions. This usually involves letting it sit for a specific period, often at room temperature.
The Basics of Water-Polishing
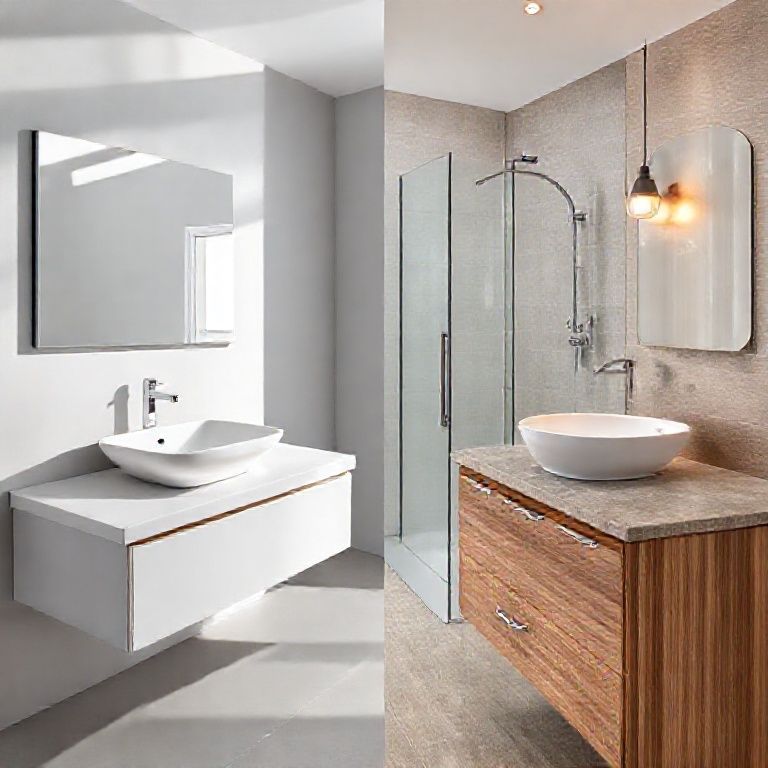
Water-polishing is a method used to achieve a glossy, high-shine finish on artificial stone surfaces. It involves using water and specialized polishing compounds to smooth and shine the surface, removing any imperfections and enhancing the natural beauty of the stone.
Tools and Materials Needed:
Polishing machine (or a rotary tool with a polishing pad) Water-polish compound suitable for artificial stone Water container for the polishing machine Microfiber cloths Safety goggles and gloves
Steps to Water-Polish Your Artificial Stone Countertop:
Prepare the Surface: Ensure the countertop is clean and dry. Remove any dust, grease, or residues that might interfere with the polishing process.
Mix the Water-Polish Compound: Follow the manufacturer’s instructions to mix the water-polish compound. This usually involves adding water to the polish powder until it reaches a paste-like consistency.
Attach the Polishing Pad: Secure the polishing pad to your machine or rotary tool. The pad should be compatible with your water-polish compound.
Apply Water and Polish: Dampen the polishing pad with water and then apply the water-polish compound. Ensure there’s enough water to keep the pad moist but not dripping.
Start Polishing: Begin polishing in small sections. Use overlapping strokes to ensure even coverage and a smooth finish. Apply gentle pressure to avoid damaging the surface.
Rinse and Dry: After polishing, rinse the countertop with clean water to remove any residue. Dry the surface with a microfiber cloth.
Video Demonstration
To make the process easier to follow, we have created a detailed video demonstration. In this video, we’ll show you each step in real-time, providing close-up views and tips for achieving the best results. Whether you’re a DIY enthusiast or a professional, this video will guide you through the repair and polishing techniques.
Watch the video to see:
How to clean and prepare the countertop Step-by-step filler application Detailed water-polishing process
By following these steps and watching our video, you’ll be able to repair cracks and polish your artificial stone countertop to perfection. Stay tuned for part two, where we’ll explore advanced techniques and additional tips to keep your countertop looking new for years to come.
Welcome back to our comprehensive guide on mastering the repair and polishing of artificial stone countertops using the water-polishing technique. In this second part, we will explore advanced techniques to elevate your DIY skills and ensure your countertop looks like new. We’ll also introduce additional tools and methods to handle more complex repairs and polishes.
Advanced Repair Techniques
While the basic repair method works for many minor issues, some cracks might require more advanced techniques to ensure a seamless and durable fix.
1. Using a Putty Knife for Deeper Cracks
For deeper cracks, a putty knife can be very effective. Here’s how to use it:
Apply Filler: Use a putty knife to apply the filler into the crack. Go slowly and ensure that the filler is pushed deep into the crack. Smooth the Surface: Once the filler has been applied, smooth the surface with the putty knife to ensure a seamless blend with the countertop.
2. Re-contouring for Larger Cracks
For larger cracks that cannot be filled completely with filler, re-contouring might be necessary:
Score the Crack: Use a scoring tool to score the crack, creating small, manageable sections. Apply Multiple Layers of Filler: Apply several layers of filler, allowing each layer to cure before adding the next. This ensures a strong, durable repair.
Advanced Water-Polishing Techniques
Water-polishing can be refined with the use of different pads, compounds, and techniques to achieve a superior finish.
1. Using Diamond Polishing Pads
Diamond polishing pads are highly effective for achieving a high-gloss finish on artificial stone. Here’s how to use them:
Preparation: Ensure your machine or rotary tool is set up correctly. Attach the diamond polishing pad securely. Application: Apply the water-polish compound to the pad. Use a damp pad to avoid dust and achieve a smooth finish. Polishing: Begin with light pressure and gradually increase as the pad begins to wear. Follow overlapping strokes to ensure an even shine.
2. Polishing in Sections
For large countertops, it’s best to polish in sections:
Sectioning: Divide the countertop into manageable sections. Start from one corner and work your way across. Consistent Pressure: Maintain consistent pressure to ensure an even finish.
3. Using a Dual-Action Machine
A dual-action machine can provide both forward and backward motion, enhancing the polishing process:
Setup: Attach the polishing pad and water-polish compound. Machine Operation: Set the machine to dual-action and follow overlapping strokes across the surface.
Additional Tools and Tips
1. Microfiber Cloths
Microfiber cloths are essential for polishing and cleaning:
Polishing: Use a clean microfiber cloth to wipe off excess water and polish residue. Drying: Ensure the surface is thoroughly dry before applying any new polish.
2. Safety Gear
Always wear safety goggles and gloves when working with polishing compounds and tools:
Gloves: Protect your hands from harsh chemicals. Goggles: Shield your eyes from dust and debris.
3. Polishing Compounds
Use high-quality polishing compounds for the best results:
Compounds: Choose compounds specifically designed for artificial stone. Consistency: Ensure the compound is at the right consistency for effective polishing.
Video Demonstration
To further illustrate these advanced techniques, we have created a detailed video demonstration. In this video, we’ll showcase:
Advanced repair methods for complex cracks The use of diamond polishing pads Techniques for polishing large countertops Tips for maintaining safety and achieving the best results
Watch the video to see:
Step-by-step repair and polishing processes Close-up views of advanced techniques Expert tips for achieving a flawless finish
By mastering these advanced techniques and following our detailed video guide, you’ll be继续深入探讨如何修复和打磨人造石台面,我们将探讨一些高级的方法和技巧,以确保你能够在家中实现专业级别的效果。
无论你是新手还是有一定经验的DIY爱好者,这些详细的步骤和视频演示将帮助你提升台面的外观,使其看起来像新的一样。
高级修复技巧
对于那些复杂的裂缝,传统的填充方法可能并不足够。在这部分中,我们将介绍更先进的修复技巧,以确保裂缝得到彻底修复。
1. 使用高压注射填充技术
对于非常深或者复杂的裂缝,高压注射填充技术可能是最佳选择。
准备工作:确保工作区域干净、无尘,裂缝周围干燥。 填充材料:选择专门用于人造石的高压注射填充材料。 注射过程:使用高压注射设备,将填充材料高压注入裂缝。确保填充材料充分填满裂缝。 固化:根据填充材料说明,等待填充材料完全固化。
2. 使用热填充技术
对于大裂缝或裂缝网络,热填充技术可以提供更持久的修复效果。
准备:清洁裂缝并确保无水分残留。 填充材料:使用专门设计的热填充材料。 加热和填充:将填充材料加热至液态,然后通过注射器或其他工具填充裂缝。 冷却和固化:让材料在裂缝内冷却并固化。
高级水磨抛光技巧
1. 使用高效抛光机
对于大面积和复杂的台面,高效抛光机是必不可少的工具。
设备设置:选择合适的抛光机,并安装高效的抛光头和抛光盘。 抛光液选择:使用专门设计的高效水磨抛光液,确保在抛光过程中保持液面充足。 抛光步骤:从低粗度开始,逐渐过渡到高粗度,以获得最佳效果。
2. 抛光过程中的细节处理
对于边缘和角落等细节部分,可以使用小型抛光头或手持抛光工具。
细节处理:在大面积抛光完成后,使用小型工具处理细节部分,确保每一个角落都得到均匀的抛光。 检查与调整:在每一步抛光后,检查台面表面,确保无明显瑕疵,并根据需要进行调整。
附加工具和技巧
1. 高效抛光盘
使用高效的抛光盘可以显著提升抛光效果。
选择盘材:选择适合人造石的抛光盘,确保其在抛光过程中保持高效。 更换频率:定期更换抛光盘,以保持最佳抛光效果。
2. 抛光液和水管理
抛光液和水的管理对于效果至关重要。
抛光液浓度:保持抛光液的适当浓度,以确保抛光过程中不会出现干燥或过湿的情况。 水管理:保持水箱中的水量充足,并定期检查水质。
视频演示
为了更好地理解这些高级技巧,我们制作了详细的视频演示。在视频中,你将看到:
高级修复方法的实际操作 使用高效抛光机和抛光盘的过程 细节处理和检查的步骤 专家提供的抛光技巧和建议
观看视频以获得:
高清的步骤演示 实际案例和应用 专家的抛光技巧和建议
通过掌握这些高级技巧,并观看我们的详细视频演示,你将能够在家中实现卓越的修复和抛光效果。无论是为了恢复台面的光泽,还是修复复杂的裂缝,你都将拥有所需的知识和工具来完成这项任务。