Discover the secrets to rejuvenating your artificial stone countertops with our comprehensive guide. From understanding the common issues to effective repair techniques, we cover everything you need to know to restore the beauty and functionality of your stone surfaces.
artificial stone countertops, repair artificial stone, stone countertop repair, fix stone surface, stone countertop maintenance, restore stone countertop, stone repair techniques, countertop restoration, stone surface repair guide
How to Repair Artificial Stone Countertops: A Comprehensive Guide
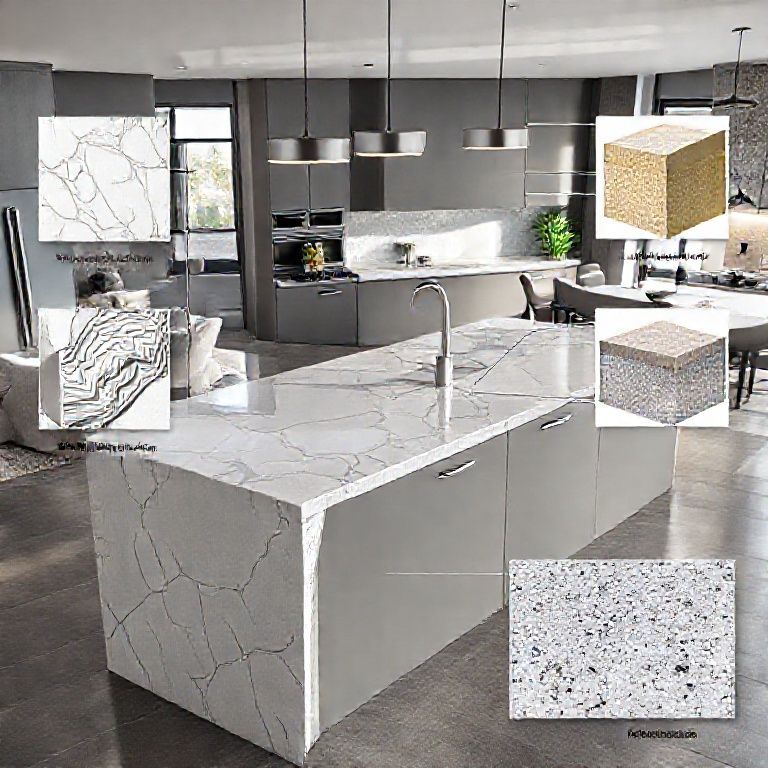
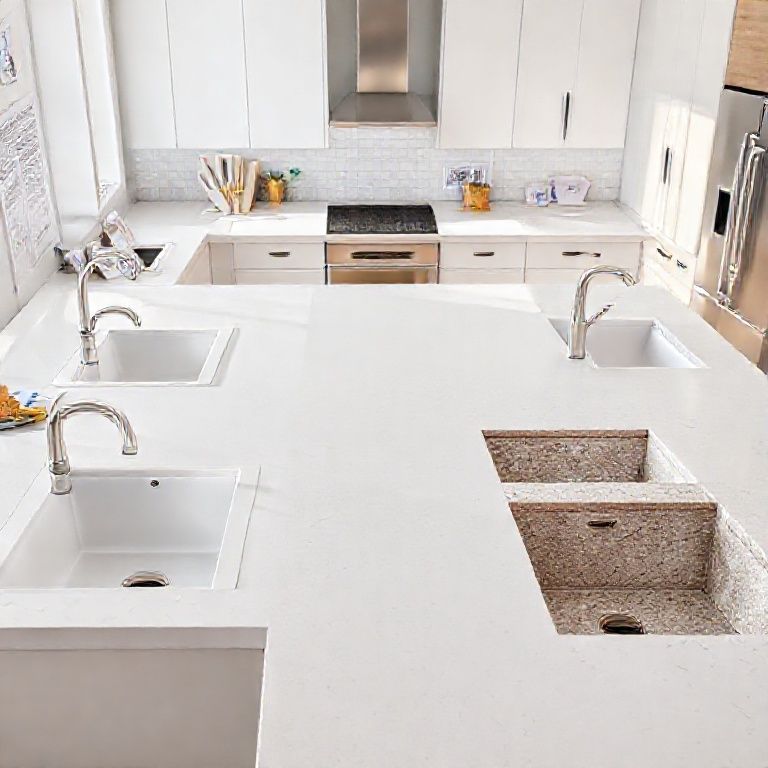
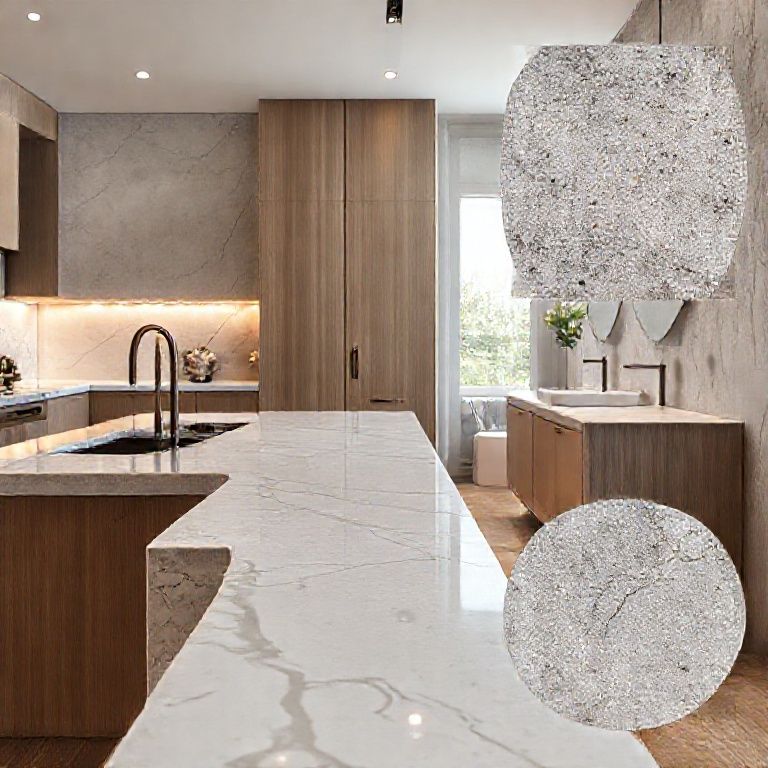
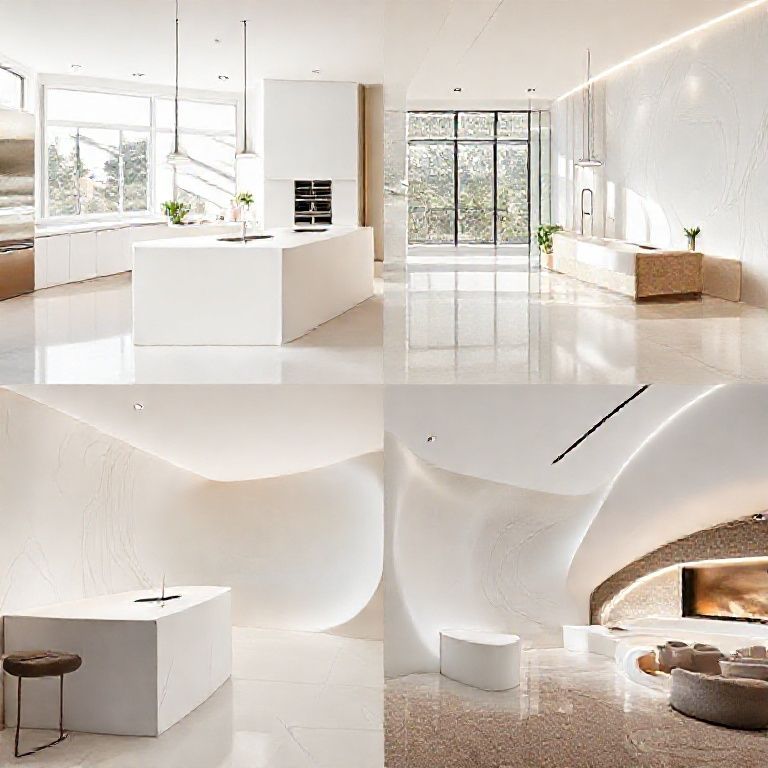
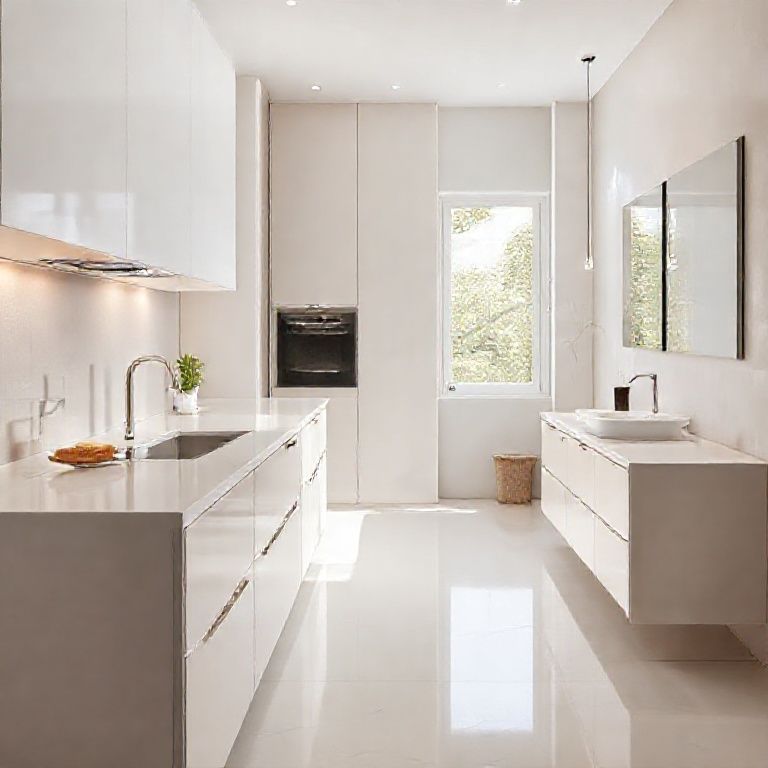
Artificial stone countertops are an excellent choice for their durability, versatility, and ease of maintenance. However, like any material, they can develop issues over time, such as cracks, chips, or stains. Knowing how to repair artificial stone countertops can save you money and extend the life of your countertop. In this part of our guide, we will explore the common issues that arise with artificial stone and provide effective techniques to repair these problems.
Understanding Common Issues
Cracks and Chips Cracks and chips are some of the most common issues faced by artificial stone countertops. These can occur due to impacts, such as dropping heavy objects, or from minor daily use. While they may seem daunting, cracks and chips in artificial stone are often fixable.
Stains Stains on artificial stone can result from a variety of substances, including food spills, beverages, and cleaning agents. Unlike natural stone, which may require special treatments, artificial stone can often be cleaned with common household products.
Surface Wear Over time, the surface of artificial stone can wear down from constant use. This can lead to a dull appearance and a loss of texture. Regular maintenance can help prevent this, but repairs are often necessary to restore the surface to its original condition.
Tools and Materials Needed
Before diving into the repair process, it’s essential to gather the necessary tools and materials. Here’s a list of what you’ll need:
Epoxy Resin Kit: For repairing cracks and chips. Stone Polishing Compound: For resurfacing and restoring the stone’s texture. Polishing Pads: To apply the polishing compound. Microfiber Cloths: For cleaning and polishing. Safety Gear: Gloves and goggles to protect yourself during the repair process.
Repairing Cracks and Chips
Step 1: Clean the Area Begin by cleaning the affected area thoroughly. Use a mild detergent and water to remove any dirt, grime, or residue. Allow the area to dry completely.
Step 2: Apply Epoxy Resin Most artificial stone countertops can be repaired using an epoxy resin kit. Follow the manufacturer’s instructions for mixing the resin and hardener. Apply the resin to the crack or chip using a syringe or a small brush. Make sure to fill the crack completely.
Step 3: Smooth the Surface Once the resin has been applied, use a small, flat tool, such as a putty knife or a spatula, to smooth the resin and ensure it blends seamlessly with the surrounding surface. Allow the resin to cure as per the kit instructions.
Step 4: Sand and Polish After the resin has cured, use fine-grit sandpaper to smooth the area. Start with a coarser grit and gradually move to a finer grit until the surface is smooth. Finally, use a polishing compound and a polishing pad to restore the stone’s texture and shine.
Cleaning and Stain Removal
Step 1: Identify the Stain Before cleaning, determine the type of stain you’re dealing with. Different stains may require different cleaning agents.
Step 2: Apply Cleaning Solution For most stains, a mixture of water and vinegar or a commercial stone cleaner works well. Apply the cleaning solution to a cloth and gently scrub the stained area. For tougher stains, you may need to let the solution sit for a few minutes before wiping it away.
Step 3: Rinse and Dry Rinse the area with clean water to remove any cleaning residue. Dry the area with a microfiber cloth to prevent water spots.
Step 4: Polish the Surface To restore the stone’s shine, use a stone polishing compound and a microfiber cloth. Gently rub the compound into the surface in a circular motion until the stain is removed and the countertop looks like new.
Resurfacing the Surface
Step 1: Assess the Wear Inspect the countertop to determine the extent of the surface wear. If the wear is minimal, a simple polish should suffice. For more severe wear, you may need to use a more aggressive resurfacing method.
Step 2: Apply Polishing Compound Using a polishing pad, apply the stone polishing compound to the worn area. Work the compound into the surface in a circular motion, applying even pressure.
Step 3: Buff the Surface Once the compound has been worked into the stone, use a clean section of the polishing pad to buff the surface. This will help to remove any remaining compound and restore the stone’s texture.
Step 4: Final Polish Finish by applying a final polish to the entire countertop. This will not only restore the stone’s shine but also protect the surface from future wear and stains.
Maintenance Tips
To keep your artificial stone countertop looking its best, follow these maintenance tips:
Regular Cleaning: Clean your countertop regularly with a mild detergent and water. Avoid using abrasive cleaners or harsh chemicals. Immediate Spills: Wipe up spills immediately to prevent stains and damage. Use Coasters and Trivets: To protect your countertop from heat and impact, use coasters and trivets when placing hot dishes or beverages. Regular Polishing: Polish your countertop periodically to maintain its shine and texture.
By following these repair techniques and maintenance tips, you can keep your artificial stone countertop looking beautiful and functional for years to come. In the next part of our guide, we’ll delve deeper into advanced repair techniques and address more complex issues that may arise.
Advanced Techniques for Repairing Artificial Stone Countertops
Artificial stone countertops are known for their durability and ease of maintenance, but even the best-looking surfaces can develop issues that require more advanced repair techniques. In this second part of our guide, we’ll explore advanced methods to repair artificial stone countertops, including intricate repairs, color restoration, and advanced polishing techniques.
Intricate Repairs
Step 1: Assessing the Damage For more intricate repairs, such as extensive chips, deep cracks, or large areas of wear, it’s important to assess the extent of the damage. Use a flashlight to examine the countertop from different angles to get a clear picture of the damage.
Step 2: Using Composite Repair Kits Composite repair kits are designed to blend seamlessly with artificial stone. These kits often contain a resin and a hardener that mix to form a putty-like substance. Follow the manufacturer’s instructions to apply the composite to the damaged area. Use a small spatula to smooth the composite and blend it with the surrounding surface.
Step 3: Curing and Finishing After applying the composite, allow it to cure as per the kit’s instructions. Once cured, use fine-grit sandpaper to smooth the area. Finish by polishing the surface to restore the stone’s texture and appearance.
Color Restoration
Step 1: Identifying the Color Change Color changes in artificial stone can occur due to prolonged exposure to sunlight, staining, or natural wear. To restore the original color, you need to identify the specific issue.
Step 2: Using Color Restorer Most artificial stone manufacturers offer color restorers or colorants that can be mixed into the polishing compound. Apply the color restorer to a polishing pad and rub it into the surface in a circular motion. Follow the manufacturer’s instructions for the best results.
Step 3: Buffing and Polishing After applying the color restorer, use a clean section of the polishing pad to buff the surface. This will help to blend the color restorer into the stone and restore the original hue. Finally, polish the entire countertop to ensure a uniform finish.
Advanced Polishing Techniques
Step 1: Preparing the Surface Before performing advanced polishing, ensure that the surface is clean and free of any debris or residue. Use a microfiber cloth to wipe down the countertop thoroughly.
Step 2: Using Diamond Polishing Pads For advanced polishing, diamond polishing pads are highly effective. These pads can remove fine scratches and restore the stone’s texture without damaging the surface. Apply a polishing compound to the pad and rub it into the surface in a circular motion.
Step 3: Buffing and Final Polish After polishing, use a clean section of the polishing pad to buff the surface. This will help to remove any remaining polishing compound and leave the countertop with a brilliant shine. Finish by applying a final polish to the entire countertop to protect the surface.
Addressing Complex Issues
Step 1: Dealing with Large Chips Large chips can be challenging to repair. If the chip is significant, consider using a composite repair kit as mentioned earlier. For very large chips, you may need to remove a small section of the countertop and replace it with a matching piece.
Step 2: Repairing Deep Cracks Deep cracks in artificial stone can be difficult to repair. Use a strong epoxy resin kit designed for deep cracks. Apply the resin carefully to fill the crack completely. Allow it to cure, then sand and polish the area to blend it with the surrounding surface.
Step 3: Restoring Edges and Corners Step 3: Restoring Edges and Corners
Step 1: Assess the Damage Edges and corners are prone to wear and damage due to their exposed nature. Inspect the countertop to determine the extent of the wear or damage. Look for chipped edges, rounded corners, or any other irregularities.
Step 2: Using Edge Repair Kits Edge repair kits are specifically designed to restore the appearance of artificial stone edges and corners. These kits often include a resin and hardener that mix to form a durable compound. Follow the manufacturer’s instructions to apply the compound to the damaged area. Use a small spatula or brush to smooth the compound and blend it with the surrounding surface.
Step 3: Curing and Finishing Allow the compound to cure as per the kit’s instructions. Once cured, use fine-grit sandpaper to smooth the area. Finish by polishing the surface to restore the stone’s texture and appearance.
Regular Maintenance and Prevention
Step 1: Routine Cleaning Regular cleaning is essential to maintain the beauty and functionality of your artificial stone countertop. Use a mild detergent and water to clean the surface. Avoid using abrasive cleaners or harsh chemicals that can damage the stone.
Step 2: Immediate Spills Wipe up spills immediately to prevent stains and damage. For spills that cannot be cleaned up quickly, use a cleaning solution to remove the residue before it sets in.
Step 3: Use Coasters and Trivets To protect your countertop from heat and impact, use coasters and trivets when placing hot dishes or beverages. This will prevent thermal shock and reduce the risk of chips and cracks.
Step 4: Regular Polishing Polish your countertop periodically to maintain its shine and texture. Use a stone polishing compound and a microfiber cloth to gently rub the surface in a circular motion. This will help to remove any buildup and keep the stone looking new.
Step 5: Avoid Sharp Objects Avoid using sharp objects on your countertop, such as knives or cutting boards. Use cutting mats or pads to protect the surface from scratches and cuts.
By following these advanced repair techniques and maintenance tips, you can ensure that your artificial stone countertop remains beautiful and functional for years to come. Regular care and timely repairs will help to prevent minor issues from becoming major problems, saving you time and money in the long run.
In conclusion, repairing artificial stone countertops may seem daunting at first, but with the right tools, techniques, and knowledge, it’s a manageable task. Whether you’re dealing with simple stains and scratches or more complex repairs, this guide provides a comprehensive approach to restoring your countertop to its original beauty. Remember, regular maintenance is key to keeping your artificial stone countertop looking its best.