Discover an easy-to-follow, comprehensive video tutorial on how to repair cracks in artificial stone countertops. This detailed guide will walk you through each step, ensuring your kitchen or bathroom looks pristine again. Perfect for DIY enthusiasts and professionals alike, this tutorial will save you time and money. Read on to learn more!

artificial stone countertop, crack repair, repair tutorial, DIY repair, home improvement, countertop maintenance, kitchen renovation, bathroom renovation, crack fix, visual guide
How to Repair Cracks in Artificial Stone Countertops: A Comprehensive Video Tutorial Guide
Artificial stone countertops are renowned for their durability and aesthetic appeal. However, even the most resilient surfaces can develop cracks over time due to heavy usage, accidental drops, or other wear and tear. If you’re facing cracks in your artificial stone countertop, don’t panic. This article will walk you through an easy-to-follow, comprehensive video tutorial on how to repair these cracks effectively.
Understanding the Material: Artificial stone, also known as quartz, is a composite material made from stone powder and resin. It is designed to mimic the appearance of natural stone while being more durable and less porous. Despite its strength, it is not immune to damage, and cracks can occur. Knowing how to properly repair these cracks is essential to maintain the beauty and functionality of your countertop.
Why Repair Cracks? Leaving cracks unrepaired can lead to further damage. Over time, cracks can widen and may even compromise the structural integrity of the countertop. Repairing cracks not only restores the appearance of your countertop but also prevents potential safety hazards like sharp edges that can cause injury.
Tools and Materials Needed: Before diving into the repair process, gather the necessary tools and materials:
Fine-grit sandpaper Artificial stone repair kit (includes filler, color matching paint, and mixing tool) Clean cloth Safety goggles Gloves Water spray bottle
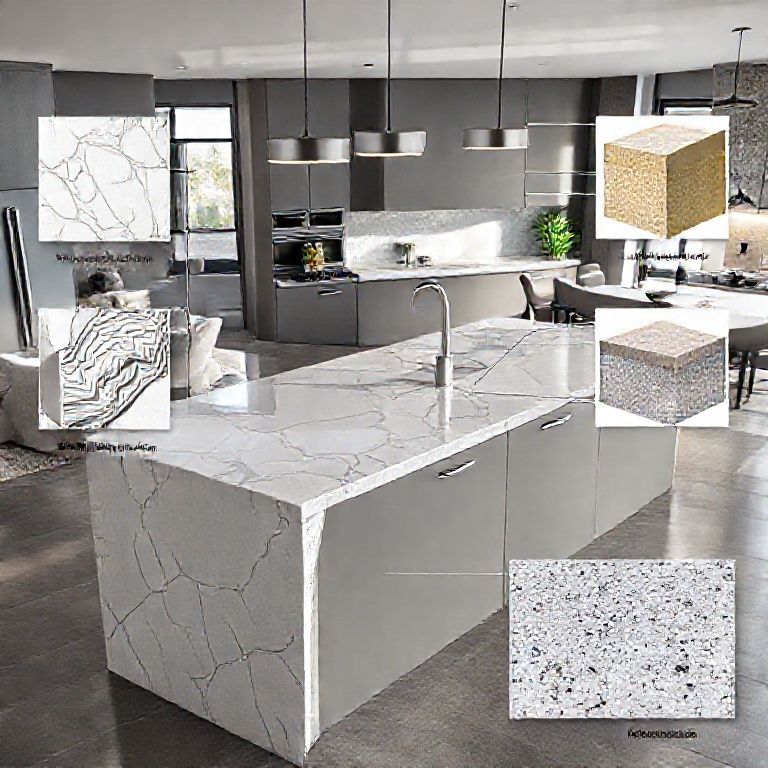
Step-by-Step Repair Process:
Step 1: Preparation First, ensure that the area around the crack is clean and dry. Use fine-grit sandpaper to lightly sand the edges of the crack to create a smoother surface for the filler. This step helps to create a better bond between the repair material and the existing countertop.
Step 2: Crack Cleaning Use a clean cloth and a little bit of water to wipe away any dust or debris from the crack. It’s important that the surface is free of any contaminants to ensure a strong repair.
Step 3: Mixing the Repair Material Follow the instructions provided with your artificial stone repair kit to mix the filler with the color-matching paint. The mixture should be smooth and easy to apply. It’s crucial to match the color as closely as possible to ensure a seamless repair.
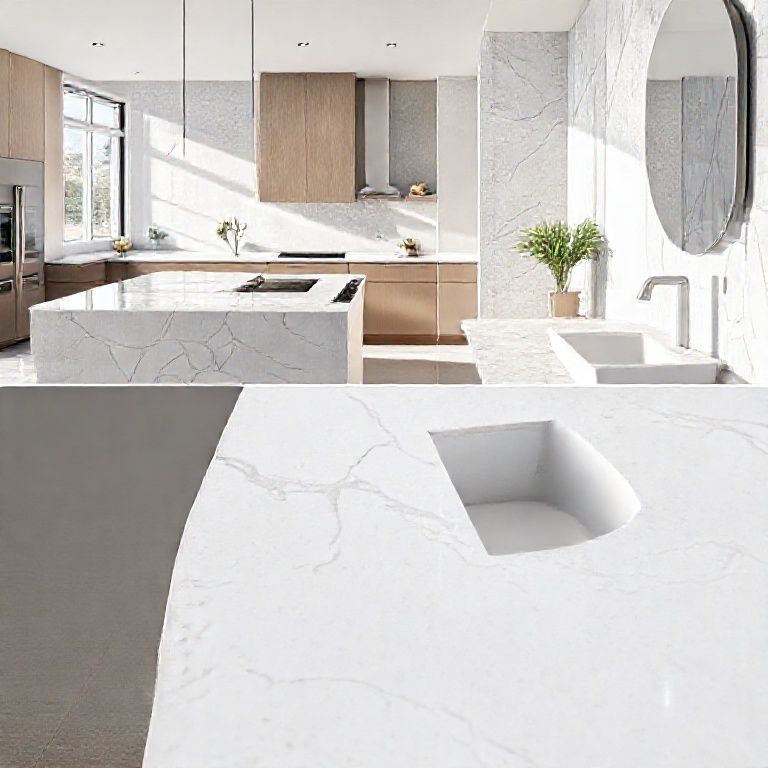
Step 4: Applying the Repair Filler Using the mixing tool, apply a small amount of the repair filler into the crack. Press the filler into the crack using the tool, ensuring it fills the crack completely. Smooth the surface so it’s level with the countertop.
Step 5: Curing Time Allow the filler to cure as per the instructions in the repair kit. This usually involves letting it dry for a specific period to ensure a strong bond.
Step 6: Finishing Touches Once the filler has cured, use fine-grit sandpaper to smooth the repaired area. Wipe away any dust with a clean cloth. Finally, you can apply a clear sealant if desired to protect the repair and the countertop from future damage.
Final Thoughts Repairing cracks in artificial stone countertops is a manageable DIY project that can save you significant costs. With the right tools and a bit of patience, you can restore your countertop to its original pristine condition. Always remember to follow the manufacturer’s instructions for the best results.
Stay tuned for Part 2, where we will delve deeper into advanced techniques and troubleshooting tips for perfecting your repair job!
How to Repair Cracks in Artificial Stone Countertops: A Comprehensive Video Tutorial Guide
Continuing from Part 1, where we began with the basics of repairing cracks in artificial stone countertops, we now delve into more advanced techniques and troubleshooting tips to ensure your repair job is flawless. Whether you’re a DIY enthusiast or a professional looking to refine your skills, this guide will provide you with the knowledge to achieve professional-looking results.
Advanced Techniques:
Technique 1: Using a Caulk Gun for Precision For cracks that are particularly wide or complex, using a caulk gun can provide better control and precision when applying the repair filler. This technique allows you to fill the crack more accurately and avoid any mess. After applying the filler, smooth it out with the mixing tool to ensure a seamless finish.
Technique 2: Color Matching and Blending Achieving a perfect color match is crucial for a repair that blends seamlessly with the existing countertop. Use a small sample of the repair material and test it on a hidden area of the countertop to ensure it matches. For larger cracks, consider applying multiple thin layers of filler, allowing each layer to cure before applying the next. This method can help you blend the repair material more naturally with the surrounding surface.
Technique 3: Edge Blending After filling and smoothing the crack, blending the edges can be challenging. To achieve a natural finish, use fine-grit sandpaper to lightly sand the edges of the repair. Blend the edges gradually by working your way from the center outwards. This technique helps to create a smooth transition between the repaired area and the original countertop.
Troubleshooting Tips:
Tip 1: Crack Width and Depth Not all cracks are created equal. If you encounter a crack that is too wide or too deep, it may require a more robust filler or even professional assistance. For very deep cracks, consider using a two-part epoxy specifically designed for stone repairs. Follow the manufacturer’s instructions carefully to ensure a strong bond.
Tip 2: Handling Color Variations Artificial stone countertops can sometimes come in various shades. If your countertop has a significant color variation, achieving a perfect match can be challenging. Start with a neutral base color from the repair kit and then add small amounts of the countertop’s specific color to achieve a match. Test on a hidden area first to ensure accuracy.
Tip 3: Ensuring a Strong Bond A strong bond is essential for a lasting repair. If the crack is large or has caused significant structural damage, consider adding a small amount of adhesive directly into the crack before applying the filler. This step can help ensure that the filler adheres well to the countertop.
Tip 4: Dealing with Edge Sharpness After the repair has cured, the edges might still appear sharp and uneven. Use fine-grit sandpaper to gently smooth the edges, ensuring there are no sharp edges left that could pose a safety hazard.
Final Thoughts Repairing cracks in artificial stone countertops is a rewarding DIY project that can enhance the appearance and longevity of your kitchen or bathroom. With the right techniques and attention to detail, you can achieve a repair that looks almost invisible. Remember, practice makes perfect, so don’t be discouraged if your first attempt isn’t flawless.
For visual learners, there’s nothing like a video tutorial to guide you through each step. Many online platforms offer detailed video guides that can provide real-time tips and tricks to perfect your repair job.
Stay proactive with regular maintenance of your artificial stone countertops to prevent future cracks. Clean them regularly and avoid placing heavy objects directly on the surface to reduce wear and tear.
In conclusion, whether you’re a novice or an experienced DIYer, the knowledge and techniques outlined in this guide will empower you to tackle any crack in your artificial stone countertop with confidence. Happy repairing!
By following these comprehensive guides, you’ll be well-equipped to restore your artificial stone countertops to their original beauty, ensuring they remain a stunning feature in your home for years to come.