Discover the best techniques for repairing cracks in artificial stone countertops. This comprehensive guide will provide you with step-by-step instructions to ensure your countertops look as good as new. From identifying the type of crack to applying the right repair method, we’ve got you covered.
artificial stone countertop, repair cracks, stone countertop repair, countertop maintenance, crack repair, stone surface repair, DIY countertop repair, kitchen countertop repair, stone countertop fix, crack repair tips
How to Repair Cracks in Artificial Stone Countertops: An Ultimate Guide
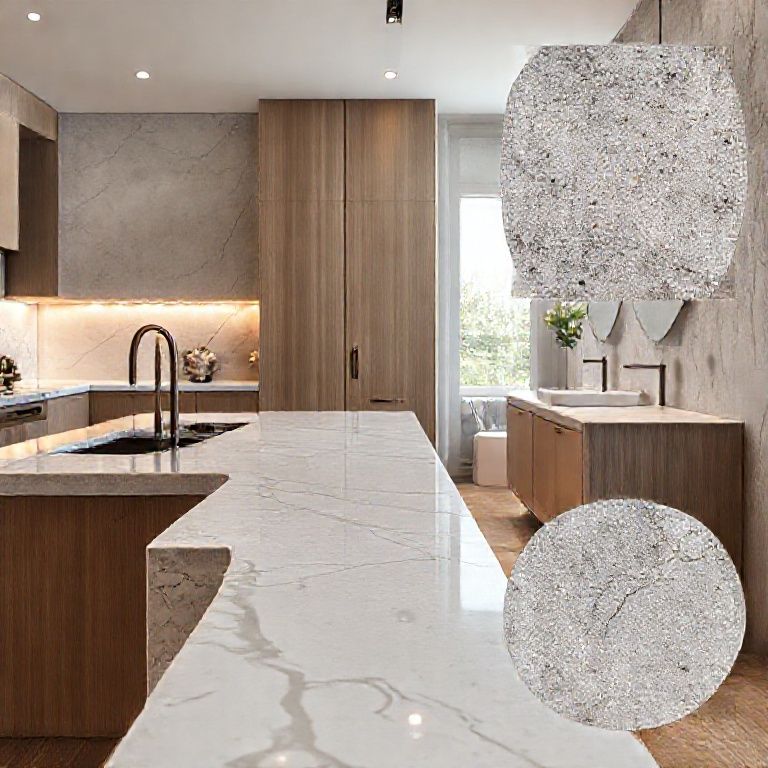
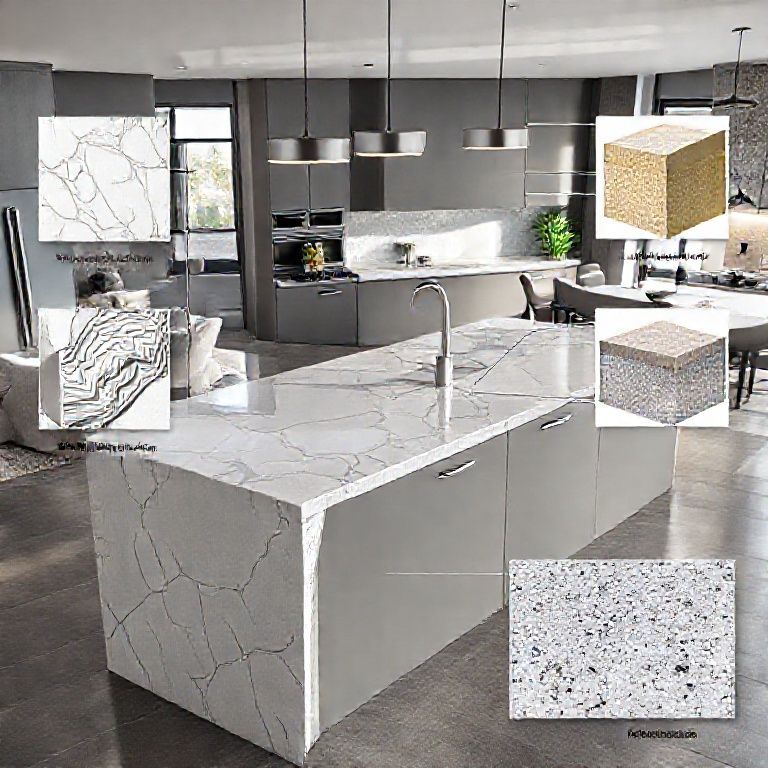
Artificial stone countertops are a popular choice due to their durability, aesthetic appeal, and low maintenance requirements. However, like all materials, they can develop cracks over time, which can be both unsightly and a sign of more serious structural issues. Knowing how to repair cracks in artificial stone countertops can save you from the cost and hassle of replacing your entire countertop. Here’s a detailed guide to help you restore your countertop to its pristine condition.
Step 1: Identify the Type of Crack
Before you start the repair process, it’s essential to identify the type of crack you’re dealing with. Artificial stone countertops can develop different types of cracks, such as:

Surface Cracks: These are usually small and confined to the surface layer of the stone. They are often caused by minor impacts like dropping a heavy object. Deep Cracks: These cracks penetrate deeper into the stone, often resulting from more significant impacts or stress on the countertop. Cracks from Thermal Stress: These occur due to rapid temperature changes, causing the stone to expand and contract unevenly. Hairline Cracks: These are very thin and often go unnoticed until they spread.
Knowing the type of crack will help you determine the appropriate repair method.
Step 2: Clean the Area Around the Crack
To ensure a successful repair, you need to clean the area around the crack thoroughly. Use a mild detergent and water to clean the surface. Make sure to remove any dirt, grease, or debris that might interfere with the repair process. Dry the area completely using a clean, dry cloth.
Step 3: Use a Crack Repair Kit
Most artificial stone countertops come with a crack repair kit that includes a resin and a hardener. Here’s how to use it:
Mix the Resin and Hardener: Follow the instructions on the kit to mix the resin and hardener in the correct proportions. This usually involves combining them in a small container. Apply the Mixture: Use a small brush or a toothpick to apply the mixture to the crack. Make sure to fill the crack completely. If the crack is deep, you may need to apply multiple layers. Smooth the Surface: Once the mixture has been applied, use a clean cloth to smooth the surface of the stone, ensuring that the crack is fully covered and the mixture is evenly distributed. Cure the Repair: Allow the repair to cure as per the instructions on the kit. This usually involves letting it sit undisturbed for a period of time.
Step 4: Polish the Area
After the repair has cured, use a stone polish to restore the shine of the countertop. This will help blend the repaired area seamlessly with the rest of the surface. Make sure to use a polish that is suitable for artificial stone.
Step 5: Regular Maintenance
To prevent future cracks, it’s important to maintain your artificial stone countertop properly. Here are some tips:
Use Cutting Boards: Always use cutting boards when cutting food on your countertop to prevent scratches and cracks. Avoid Abrasive Cleaners: Use mild, non-abrasive cleaners to clean your countertop. Immediate Cleanup: Clean up spills immediately to prevent stains and potential cracks. Protect from Heat: Avoid placing hot pots and pans directly on the countertop, and use trivets to protect the surface from thermal stress.
By following these steps, you can effectively repair cracks in your artificial stone countertop and extend its lifespan.
How to Repair Cracks in Artificial Stone Countertops: An Ultimate Guide (Continued)
Continuing from where we left off, let’s delve deeper into advanced techniques for repairing cracks in artificial stone countertops and additional tips to ensure your repairs last.
Step 6: Using Epoxy for Larger Cracks
For larger or more severe cracks, a two-part epoxy might be more effective. Here’s how to use it:
Clean the Area: Just like with the crack repair kit, ensure the area around the crack is thoroughly cleaned and dry. Mix the Epoxy: Mix the epoxy resin and hardener in a well-ventilated area. Follow the instructions on the epoxy container for the correct proportions. Apply the Epoxy: Use a small brush or syringe to apply the epoxy into the crack. Make sure to fill the crack completely. For deeper cracks, you may need to apply multiple layers. Smooth and Cure: Once the epoxy is applied, smooth the surface with a clean cloth to blend it with the surrounding stone. Allow the epoxy to cure as per the instructions on the container.
Step 7: Sanding and Finishing
After the epoxy has cured, you might need to sand the area to smooth out any rough patches and ensure a seamless finish. Use fine-grit sandpaper to gently sand the area around the repaired crack. After sanding, clean the surface thoroughly to remove any dust.
Step 8: Seal the Repaired Area
To protect the repaired area and prevent future cracks, it’s advisable to seal the countertop. Use a high-quality stone countertop sealer. Here’s how to apply it:
Prepare the Surface: Ensure the surface is clean and dry before applying the sealer. Apply the Sealer: Use a clean cloth or brush to apply the sealer to the countertop. Make sure to cover the repaired area thoroughly. Wipe Off Excess: Allow the sealer to penetrate for a few minutes, then wipe off any excess with a clean cloth.
Step 9: Regular Inspections
To ensure your countertop remains in good condition, perform regular inspections. Check for any signs of cracks, scratches, or wear. Early detection can prevent small issues from becoming larger problems.
Step 10: Professional Repair Services
While DIY repair kits and methods are effective for minor cracks, larger or more complex repairs might require professional assistance. If you’re unsure about repairing a crack yourself or if the crack is too extensive, consider contacting a professional stone repair service. Professionals have the expertise and tools to ensure a seamless and durable repair.
Additional Tips for Artificial Stone Countertop Care
Use Protective Pads: When placing hot items on the countertop, use protective pads or trivets to prevent thermal stress. Avoid Cutting Directly on the Surface: Use a cutting board or a separate cutting surface to prevent scratches and cracks. Clean Properly: Use only mild, non-abrasive cleaners and avoid harsh chemicals that can damage the stone surface. Regular Maintenance: Clean the countertop regularly to remove any buildup or stains that might cause stress to the stone.
By following these detailed steps and tips, you can effectively repair cracks in your artificial stone countertops and ensure they remain beautiful and functional for years to come. Whether you opt for a DIY repair or seek professional help, proper care and timely maintenance are key to prolonging the life of your stone countertops.