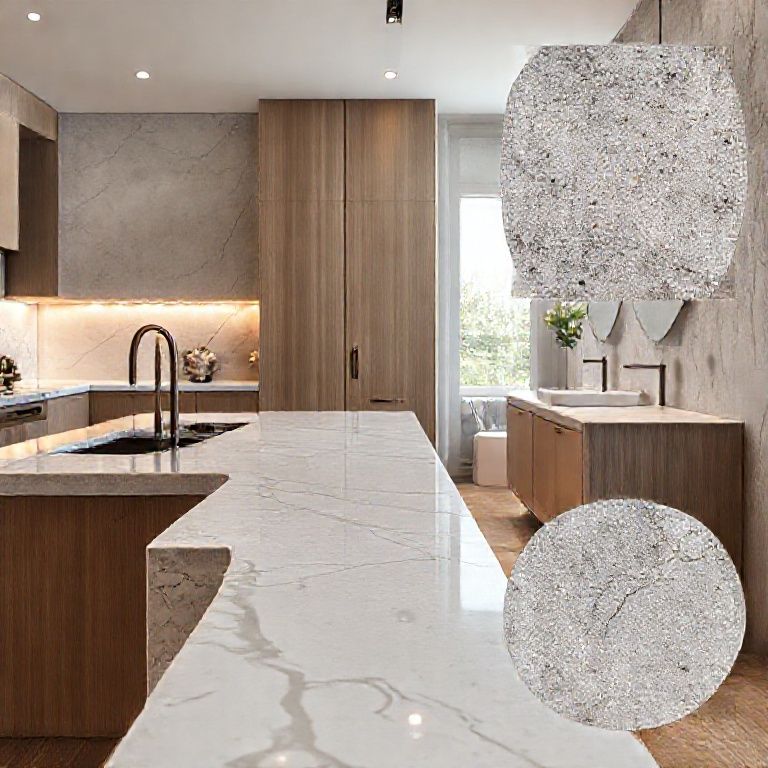
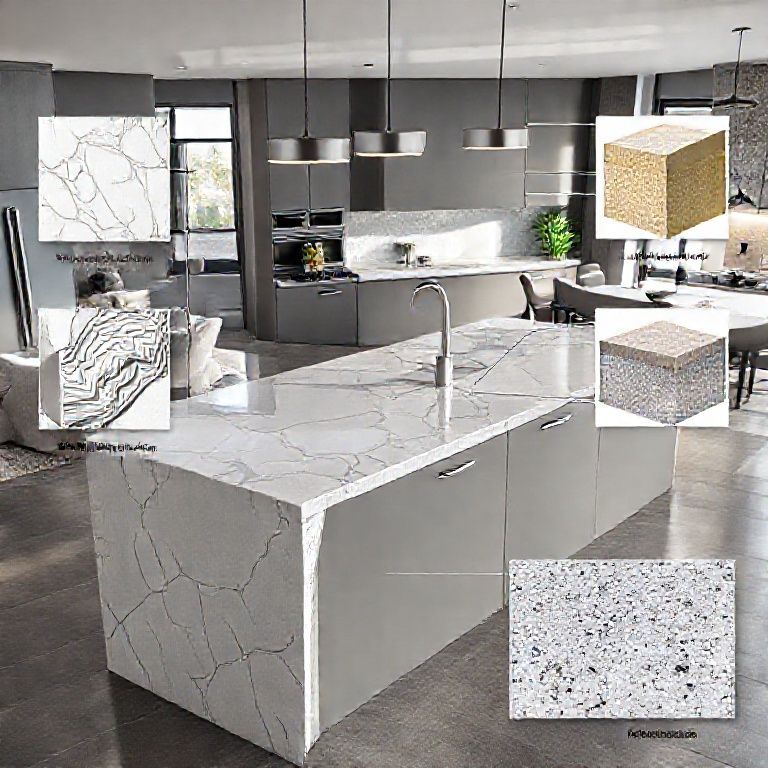
How to Repair Cracks in Artificial Stone Countertops: Step-by-Step Video Guide
Artificial stone countertops have become incredibly popular due to their durability, aesthetic appeal, and low maintenance requirements. However, even these robust surfaces can develop cracks over time due to various factors such as impact, aging, or improper installation. Fortunately, repairing these cracks is easier than you might think. In this comprehensive guide, we will walk you through the step-by-step process of repairing cracks in artificial stone countertops using techniques that are both effective and easy to follow. Whether you’re a DIY enthusiast or just looking to save on professional repair costs, this video guide will have you restoring your countertops to their former glory in no time.

Step 1: Assess the Crack
The first step in repairing a crack in your artificial stone countertop is to assess the damage. Take a close look at the crack to determine its size, depth, and location. It’s crucial to understand the nature of the crack before proceeding with any repair method. Minor surface cracks can often be fixed with a simple sealant, while deeper cracks may require more intensive repair techniques.
Step 2: Clean the Area
Before applying any repair materials, it’s essential to clean the affected area thoroughly. Use a mild detergent and warm water to remove any dirt, grease, or debris from the surface. Once the area is clean, dry it completely with a clean, dry cloth. This ensures that the repair material adheres properly to the surface.
Step 3: Choose the Right Repair Material
Selecting the appropriate repair material is key to a successful fix. For minor cracks, an epoxy resin or a countertop repair kit specifically designed for artificial stone is ideal. These products are available at most hardware stores and are easy to use. For larger or deeper cracks, consider using a stone countertop repair putty or a two-part epoxy system. These materials provide a more robust and durable repair.

Step 4: Apply the Repair Material
Using a small putty knife or a specialized repair tool, apply the chosen repair material into the crack. Press the material firmly into the crack to ensure it fills the space completely. For larger cracks, you may need to apply multiple layers of the repair material. Allow each layer to dry according to the manufacturer’s instructions before applying the next layer.
Step 5: Smooth the Surface
Once the repair material has dried, use a damp cloth to smooth the surface of the countertop. This will help blend the repaired area with the surrounding surface, ensuring a seamless finish. For a more polished look, you can use a fine-grit sandpaper to lightly sand the repaired area and then wipe it clean with a damp cloth.
Step 6: Apply a Sealant
To protect the repaired area and give your countertop a fresh, new look, apply a high-quality sealant over the repaired surface. This will not only enhance the appearance but also provide an additional layer of protection against future damage. Follow the manufacturer’s instructions for applying the sealant, and make sure to wipe away any excess with a clean cloth.
Part 1 Summary
Repairing cracks in artificial stone countertops doesn’t have to be a daunting task. By following these straightforward steps—assessing the crack, cleaning the area, choosing the right repair material, applying the repair material, smoothing the surface, and applying a sealant—you can restore your countertops to their original beauty. In the next part of our guide, we will delve deeper into advanced techniques and tips for ensuring a perfect repair, as well as address common mistakes to avoid. Stay tuned for more expert advice on countertop maintenance and repair!
How to Repair Cracks in Artificial Stone Countertops: Step-by-Step Video Guide
Advanced Techniques and Tips for Perfect Repairs
In the previous part of our guide, we covered the basic steps for repairing cracks in artificial stone countertops. Now, let’s dive deeper into advanced techniques and additional tips to ensure a flawless repair. Whether you’re a seasoned DIYer or new to countertop maintenance, these expert tips will help you achieve professional-looking results.
Step 7: Advanced Repair Techniques
For larger or more complex cracks, traditional methods might not be enough. Here are some advanced techniques to consider:
1. Using a Two-Part Epoxy System
For extensive damage, a two-part epoxy system is a highly effective solution. This system consists of a resin and a hardener that are mixed together before application. The epoxy provides a strong, durable bond and can be colored to match your countertop. Follow these steps:
Mix the epoxy according to the manufacturer’s instructions. Apply the mixed epoxy into the crack using a putty knife or a specialized epoxy applicator. Smooth the surface of the epoxy to blend it with the surrounding countertop. Allow the epoxy to cure completely before applying a sealant.
2. Stone Countertop Repair Putty
For large cracks or breaks, stone countertop repair putty is a versatile and durable option. This putty can be molded to fit the crack and provides a seamless finish. Here’s how to use it:
Apply the putty directly into the crack using a putty knife. Mold the putty to the shape of the crack and smooth the surface. Allow the putty to cure as per the manufacturer’s instructions. Once cured, sand the surface lightly if needed, and apply a sealant.
Step 8: Color Matching for Seamless Repairs
Matching the color of the repair material to the existing countertop is crucial for a seamless finish. Here are some tips for achieving the perfect color match:
1. Sample Testing
Before applying the repair material to the entire crack, do a small test on an inconspicuous area of the countertop. Mix the repair material with a colorant if necessary to achieve the exact shade. This helps ensure that the repair blends seamlessly with the surrounding surface.
2. Use Colorants
Most repair materials come with colorants that allow you to customize the color. Follow the manufacturer’s instructions for mixing the colorant with the repair material. This ensures that the repaired area matches the original color of your countertop.
Step 9: Avoiding Common Mistakes
To ensure a successful repair, it’s important to avoid common mistakes that can compromise the integrity of the fix. Here are some common pitfalls to watch out for:
1. Applying Too Much Repair Material
Over-application can lead to an uneven surface that is difficult to smooth. Apply the repair material sparingly and build up the layers gradually. Allow each layer to dry completely before applying the next.
2. Not Cleaning the Area Properly
Failure to clean the area thoroughly can result in poor adhesion of the repair material. Make sure the surface is clean and dry before applying any repair materials.
3. Not Allowing Sufficient Curing Time
Skipping the curing time or curing the repair material in an environment with incorrect temperature or humidity can lead to weak repairs. Always follow the manufacturer’s instructions for curing times and conditions.
Step 10: Maintenance Tips
To keep your artificial stone countertops looking their best and to prevent future cracks, follow these maintenance tips:
1. Use Proper Cleaning Products
Artificial stone countertops are resistant to most household cleaners, but it’s best to use products specifically designed for stone surfaces. Avoid using harsh chemicals or abrasive cleaners that can damage the surface.
2. Avoid Sharp Objects
To prevent cracks, avoid placing sharp or heavy objects directly on the countertop. Use cutting boards or other protective surfaces when cutting food.
3. Regular Maintenance
Regularly clean and maintain your countertops to prevent minor issues from turning into major problems. Wipe down the surface regularly with a damp cloth and apply a stone countertop protector periodically.
Part 2 Summary
By mastering advanced techniques, color matching, and avoiding common mistakes, you can ensure that your repairs are not only effective but also aesthetically pleasing. Regular maintenance and proper care will keep your artificial stone countertops looking beautiful and functional for years to come. With this comprehensive guide, you now have all the tools and knowledge needed to tackle countertop repairs with confidence. Enjoy your beautifully restored countertops and the peace of mind that comes with knowing they’re well taken care of!