Cracks in quartz countertops can be a major concern for homeowners and businesses alike. This detailed guide will explore the effective methods to repair cracks in quartz countertops, ensuring they look as good as new. We’ll cover everything from preparation and tools needed to the step-by-step repair process and maintenance tips to prevent future damage. Read on to restore your quartz surfaces to their pristine condition.
quartz countertop repair, crack repair quartz, fixing quartz countertops, quartz crack restoration, quartz surface repair, countertop repair techniques, quartz countertop maintenance
How to Repair Cracks in Quartz Countertops: A Comprehensive Guide
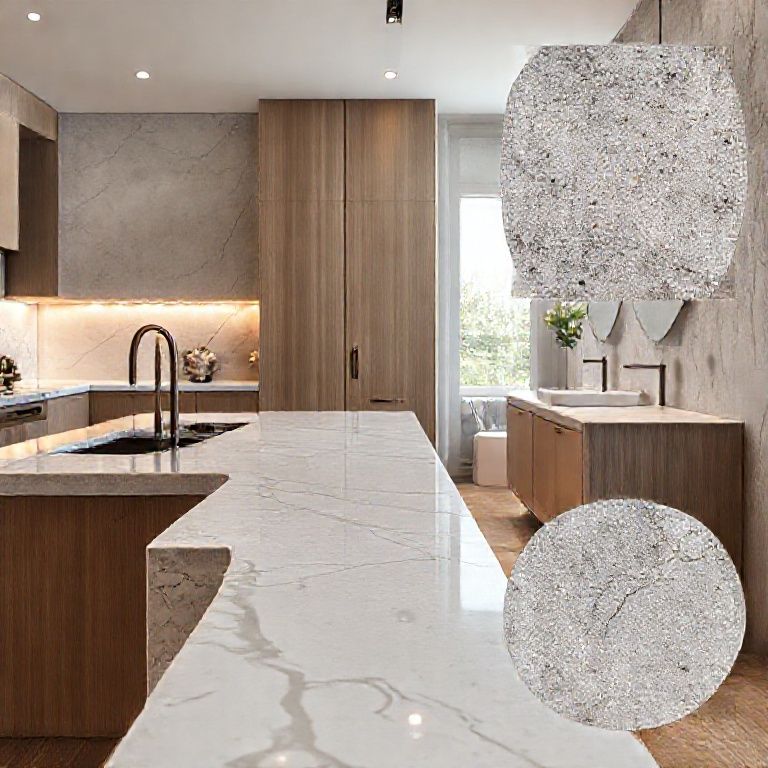
Quartz countertops are known for their durability and beauty, but even the best materials can develop cracks over time. These cracks can be caused by various factors such as heavy objects falling on the surface, thermal shock, or even improper installation. Fortunately, repairing cracks in quartz countertops is a manageable task that can be accomplished with the right tools and techniques.
Understanding the Importance of Repair
Before diving into the repair process, it’s essential to understand why repairing cracks is crucial. Cracks not only affect the aesthetic appeal of your countertops but can also lead to more significant structural damage if left untreated. They can act as stress concentrators, making the surface more prone to additional damage and making repairs more complicated over time. Therefore, addressing cracks promptly is not just about maintaining appearance but also about preserving the integrity of your countertop.

Tools and Materials Needed
To effectively repair cracks in quartz countertops, you’ll need a few essential tools and materials. Here’s a list to get you started:
Quartz countertop repair kit: These kits usually contain all the necessary materials, including epoxy resin, curing agents, and mixing tools. Sandpaper: With varying grits, such as 400-grit and 1200-grit. Cleaning supplies: Isopropyl alcohol or a similar high-proof alcohol, microfiber cloths. Masking tape: To protect surrounding areas. Mixing palette: To thoroughly mix the epoxy resin. Epoxy resin applicator: For precise application of the repair material. A small brush: To clean the surface before applying the epoxy. Clamps: To hold the epoxy in place while it cures. Protective gloves and eyewear: To ensure your safety during the repair process.
Step-by-Step Repair Process
Preparation: Begin by thoroughly cleaning the cracked area with isopropyl alcohol to remove any dirt, grease, or debris. This ensures the epoxy resin adheres properly. Use sandpaper with a 400-grit to gently sand the crack, creating a rough surface for better adhesion. Be careful not to sand too deeply as it can compromise the structural integrity of the countertop. Wipe the surface again with a clean microfiber cloth dampened with isopropyl alcohol to remove any sanding dust. Masking: Apply masking tape around the crack to protect surrounding areas from epoxy splatter. Ensure the tape is placed close to the crack to prevent any epoxy from getting on areas you want to keep clean. Mixing the Epoxy Resin: Open the epoxy resin kit and carefully follow the instructions for mixing the resin and curing agent. The resin and curing agent should be mixed in a specific ratio to ensure the proper curing process. Use a mixing palette to thoroughly combine the two components until you achieve a uniform, smooth consistency. Applying the Epoxy: Using the epoxy resin applicator, carefully apply the mixed epoxy resin into the crack. Make sure to fill the crack completely and smooth out any air bubbles. If the crack is deep, you might need to apply multiple layers. Use the small brush to clean any epoxy that might have splattered onto the surrounding surface. Clamping and Curing: Once the epoxy is applied, use clamps to hold the countertop pieces together if the crack runs between two parts. This ensures the epoxy is under pressure, which helps it cure more effectively. Allow the epoxy to cure as per the manufacturer’s instructions. This usually involves letting it sit undisturbed for a specific period, sometimes up to 24 hours. Finishing Touches: After the epoxy has cured, remove the masking tape and clean the area again with isopropyl alcohol to remove any residue. Use 1200-grit sandpaper to lightly sand the epoxy surface, ensuring it is smooth and flush with the countertop. Finally, clean the surface with a microfiber cloth to give it a polished, professional finish.

Maintenance Tips
To ensure your quartz countertop remains crack-free for as long as possible, follow these maintenance tips:
Use trivets and coasters: When placing hot pots, pans, or glassware on your countertop, always use trivets or coasters to prevent thermal shock. Handle with care: Avoid placing heavy objects directly on the surface and always use the backsplash when placing items. Regular cleaning: Clean your countertops regularly with a pH-neutral cleaner to maintain their integrity and appearance. Avoid sharp objects: Do not use sharp objects to scrape or cut on the surface as this can cause micro-cracks.
By following these steps and maintenance tips, you can effectively repair cracks in your quartz countertops and extend their lifespan, ensuring they remain a stunning focal point in your home or business.
How to Repair Cracks in Quartz Countertops: A Comprehensive Guide
As we continue our deep dive into repairing cracks in quartz countertops, it’s essential to explore additional methods and advanced techniques to ensure the best possible results. In this part, we will delve into alternative repair methods, troubleshooting common issues, and the importance of professional repair services in certain cases.
Alternative Repair Methods
While the epoxy resin method is highly effective for most cracks, there are alternative techniques that can be used depending on the nature and severity of the damage.
Polyurethane Resin: Polyurethane resin is another excellent option for repairing cracks in quartz countertops. It’s similar to epoxy but often has a faster curing time and can be more flexible, making it suitable for some types of cracks. Follow the same preparation steps as with epoxy resin, but refer to the specific instructions provided with the polyurethane kit for mixing and application. Filler Compounds: For smaller, less visible cracks, a filler compound can be used. These compounds are easy to apply and can blend in seamlessly with the surface. Apply the filler compound using a small applicator tool, then smooth it out to match the countertop surface. Allow it to cure as per the product instructions.
Troubleshooting Common Issues
Even with careful preparation and application, issues can arise during the repair process. Here are some common problems and how to troubleshoot them:
Epoxy Not Adhering: If the epoxy resin is not adhering properly to the crack, it’s likely that the surface was not properly cleaned or sanded. Ensure the surface is thoroughly cleaned with isopropyl alcohol and sanded with fine-grit sandpaper before applying the epoxy. Air Bubbles: Air bubbles can form if the epoxy is not applied smoothly or if it’s not mixed correctly. To avoid this, apply the epoxy in small sections and use a spatula or epoxy applicator to smooth it out immediately. Cracks Reappearing: If cracks reappear after the initial repair, it might indicate that the original crack was too severe or that the repair method was not suitable. In such cases, consider consulting a professional for a more robust repair solution.
When to Call a Professional
While DIY repair methods are effective for many cracks, there are scenarios where professional repair services are recommended:
Large or Complex Cracks: For large cracks or cracks that run through multiple layers of the countertop, professional services have the expertise and specialized equipment to ensure a durable and seamless repair. Structural Integrity Concerns: If there is any doubt about the structural integrity of the countertop after a crack, it’s best to have a professional assess the damage. They can determine whether the crack compromises the strength of the countertop and recommend the best course of action. Aesthetic Concerns: For clients who prioritize the aesthetic appeal of their countertop, professional repair services can offer a more polished and precise repair job, ensuring the surface looks as good as new.
Long-Term Maintenance and Prevention
To keep your quartz countertops in top condition and prevent future cracks, consider these long-term maintenance and prevention strategies:
在保护和维护石英石台面方面,还有一些重要的小技巧和注意事项,可以帮助延长其使用寿命。
使用和清洁技巧
适当使用工具:尽量避免在石英石台面上使用金属工具或锋利的物品。如果必须使用,请在操作前放置砧板或保护垫。
防止溅水:烹饪时,尽量避免油烟和水溅到台面上,以防止污渍和损伤。
正确清洁:使用pH中性的清洁剂和软布进行清洁。避免使用钢丝球或其他粗糙的清洁工具,以免划伤表面。
日常维护
定期检查:定期检查石英石台面是否有细小的裂缝或损伤。早期发现问题可以及时修复。
避免化学品:尽量避免在台面上储存或使用强烈的化学清洁剂,因为这些化学品可能会对石英石表面造成损害。
保护灶具:在使用炉灶时,使用锅盖和炒锅盖,以减少台面直接接触高温的几率。
特殊维护
定期抛光:虽然石英石表面通常非常耐用,但定期轻微抛光可以保持其光泽和美观。
专业保养:每隔一段时间,可以考虑请专业人员进行一次深度清洁和表面处理,以确保石英石台面的最佳状态。
紧急处理
小裂痕处理:如果石英石台面上出现小裂痕,可以使用专门的石英石修复胶或填充剂进行修复,并让其自然干燥。
紧急污渍处理:遇到顽固污渍或溢出物,应尽快用湿布擦拭干净,然后用pH中性清洁剂进行再次清洁。
长期保护
防护罩:对于高频使用的厨房台面,可以考虑在台面下方安装防护罩,以防止物品直接撞击台面。
定期检修:在大型家电或重物搬动时,注意检查台面是否受损,及时进行维修。