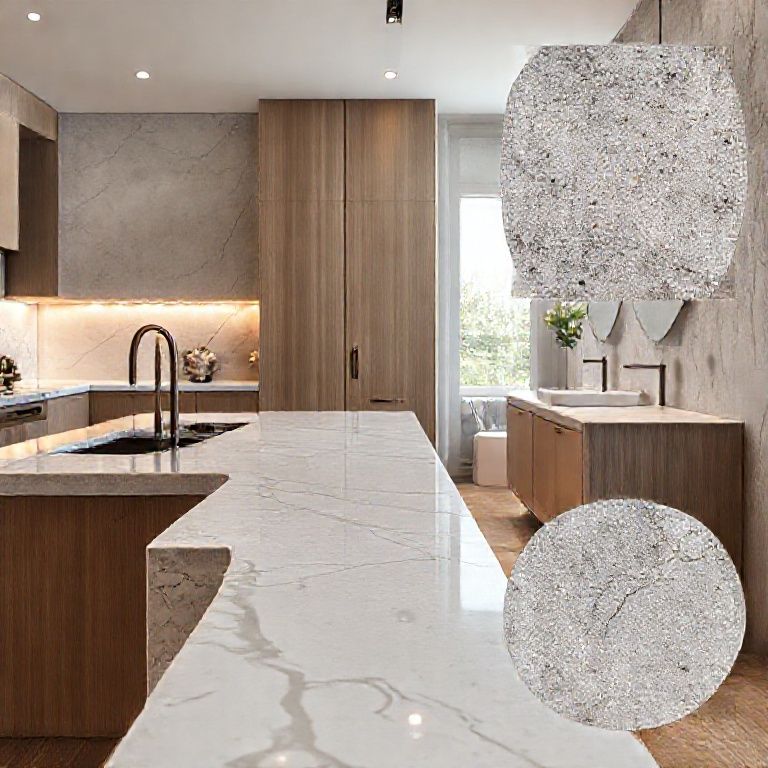
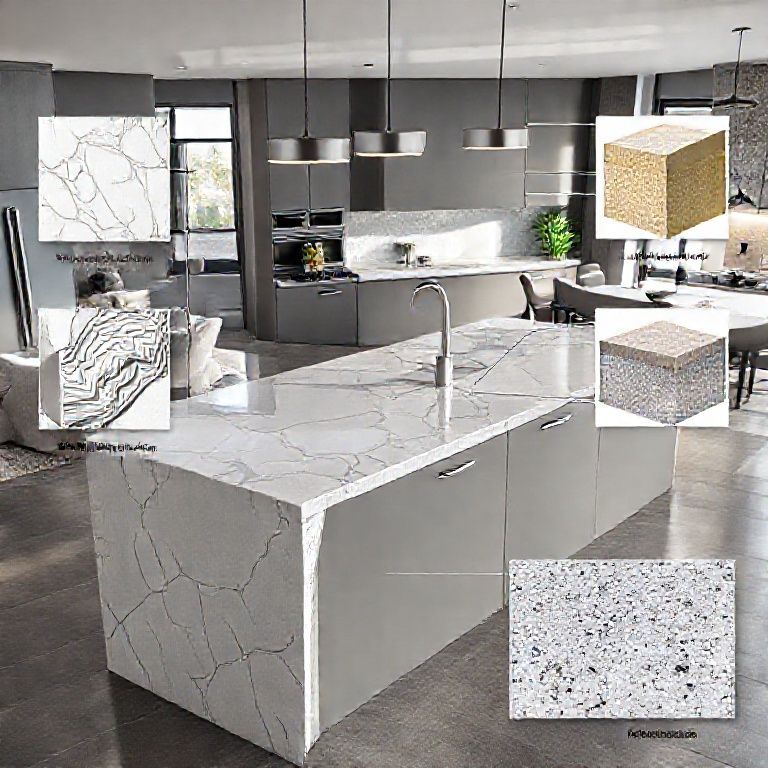
Understanding Quartz Countertop Cracks and Preparation for Repair
Introduction: Quartz countertops are known for their durability, strength, and resistance to scratches, stains, and heat. However, despite their robustness, they are not entirely invulnerable. Over time, they can develop cracks due to various reasons such as impacts from heavy objects, improper installation, or even the natural aging process. This part of the guide will delve into understanding the causes of cracks and the necessary preparations for a successful repair.

Understanding the Causes of Cracks:
Impact Damage: Quartz can crack when subjected to sudden impacts, such as dropping a heavy object on the surface. This is the most common reason for cracks in quartz countertops.
Installation Issues: If the quartz countertop wasn’t installed properly, it can lead to cracks over time due to uneven surfaces or improper support.
Aging and Wear: Like any material, quartz can develop tiny cracks over time due to natural wear and tear.

Preparation for Repair: Before starting the repair process, it’s essential to gather the necessary tools and materials. Here’s a list of what you’ll need:
Quartz countertop repair kit (including resin, curing agent, and mixing tools) Clean cloths Safety goggles Gloves A small brush
Step-by-Step Preparation:
Clean the Area: Start by thoroughly cleaning the cracked area with a suitable cleaner. Any dirt, grease, or debris can interfere with the repair process. Use a clean cloth to wipe down the area around the crack.

Inspect the Crack: Examine the crack to determine its depth and extent. Ensure it’s not too deep or wide, as deeper cracks might require professional help.
Safety First: Wear safety goggles and gloves to protect yourself from the resin and curing agent. These substances can be irritating to the skin and eyes.
Dry the Surface: Make sure the surface is completely dry before starting the repair. Moisture can interfere with the curing process.

Gather Tools: Organize all your repair tools and materials within easy reach. Having everything ready will streamline the process.
Tips for Successful Repair:
Patience is Key: Allow ample time for each step to ensure the best results. Rushing can lead to incomplete repairs. Practice Makes Perfect: If you’re new to repairing quartz, practice on a small, inconspicuous area first to get a feel for the process.
In the next part, we will dive into the detailed repair process, from mixing the resin to applying the repair compound and curing it properly. Stay tuned for an in-depth look at making your quartz countertop as good as new!
Repairing Cracks in Quartz Countertops with Step-by-Step Guidance
Introduction: With your preparation complete, it’s time to tackle the actual repair of the crack in your quartz countertop. This part will provide a detailed, step-by-step guide to repairing cracks, ensuring that even beginners can achieve professional results. We’ll break down each stage with clear instructions and tips to make the process as straightforward as possible.
Mixing the Resin: The first step in repairing a crack is to mix the resin provided in your quartz countertop repair kit. This is a critical step that ensures the repair compound is of the correct consistency.
Read Instructions: Carefully read the instructions provided with your repair kit. Different brands may have slight variations in their processes.
Mixing Ratio: Follow the recommended mixing ratio for the resin and curing agent. This is typically provided in the kit and is crucial for achieving the right consistency.
Mix Thoroughly: Use the mixing tools provided to combine the resin and curing agent. Make sure to mix until you achieve a uniform color, indicating that the two components are fully blended.
Applying the Repair Compound: Once the resin is mixed, it’s time to apply it to the crack.
Apply in Small Sections: For larger cracks, apply the resin in small sections to ensure it adheres well and dries properly.
Follow the Crack: Use a small brush or the applicator tool to fill the crack with the resin compound. Make sure to fill the crack completely, but avoid overfilling.
Smooth the Surface: After applying the resin, use a clean cloth or brush to smooth out the surface. This ensures a seamless repair and prevents any rough spots.
Curing the Repair: Proper curing is essential for the repair to set correctly and provide the necessary strength.
Initial Cure Time: Allow the resin to cure as per the instructions on the kit. This is usually a few hours but can vary.
Heat Curing: Some kits may require a heat cure process. This involves placing the countertop in an oven at a specific temperature for a designated period to ensure the resin hardens fully.
Final Cure: After the initial cure, allow the repair to set for an extended period, often overnight, to ensure maximum strength.
Final Touches: Once the repair has cured completely, it’s time for the final touches to ensure your quartz countertop looks as good as new.
Inspect the Repair: Check the repaired area to ensure there are no visible imperfections. If necessary, lightly sand any rough areas with fine-grit sandpaper and then wipe away the dust.
Seal the Repair: For added protection, consider sealing the repaired area with a suitable quartz countertop sealant. This not only enhances the appearance but also provides additional protection against stains and scratches.
Clean the Surface: Clean the countertop with a suitable cleaner to remove any residue from the repair process.
Tips for Long-Lasting Repairs:
Regular Maintenance: Regularly clean and maintain your quartz countertop to prevent future cracks. Avoid Sharp Objects: Do not use sharp objects on the surface, as this can lead to scratches or cracks. Proper Handling: Handle heavy objects with care and avoid placing them directly on the countertop.
Conclusion: Repairing cracks in quartz countertops is a manageable task with the right tools, materials, and guidance. By following the detailed steps outlined in this guide, you can restore your countertop to its original beauty and functionality. Remember, patience and precision are key to achieving the best results. For visual learners, we recommend checking out our video tutorials for a step-by-step demonstration of the repair process. Happy repairing!