Discover the ultimate guide to fixing cracks in your artificial stone countertops with our detailed video tutorial. Learn step-by-step techniques to restore your kitchen or bathroom countertop to its former glory. This comprehensive guide will provide you with all the tools and knowledge you need to tackle this DIY project confidently.

artificial stone countertop, crack repair, DIY repair, kitchen countertop repair, bathroom countertop repair, stone countertop restoration, crack repair tutorial, home improvement, video tutorial, crack fix guide
How to Repair Cracks in Your Artificial Stone Countertop: A Comprehensive Video Tutorial
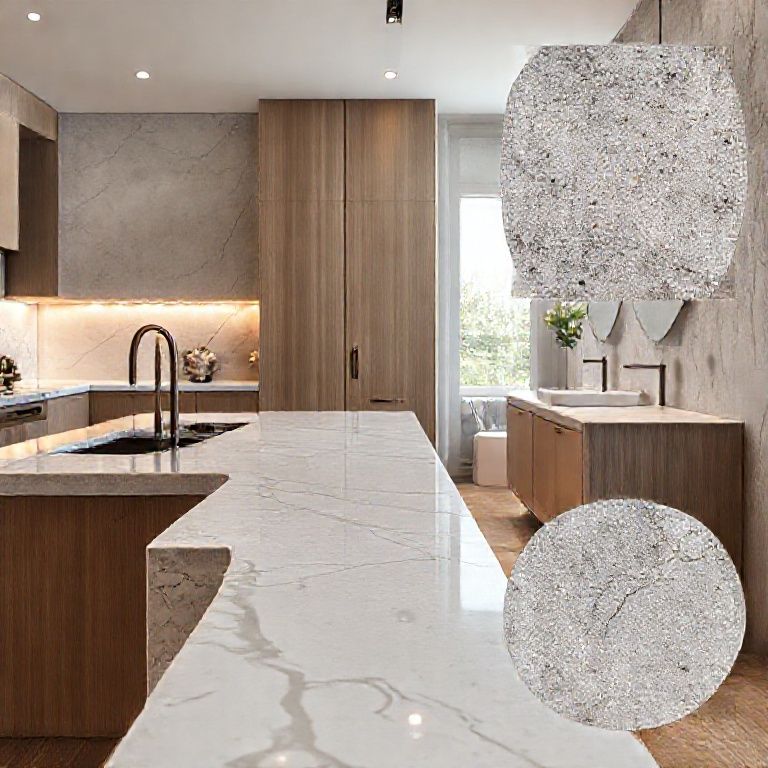
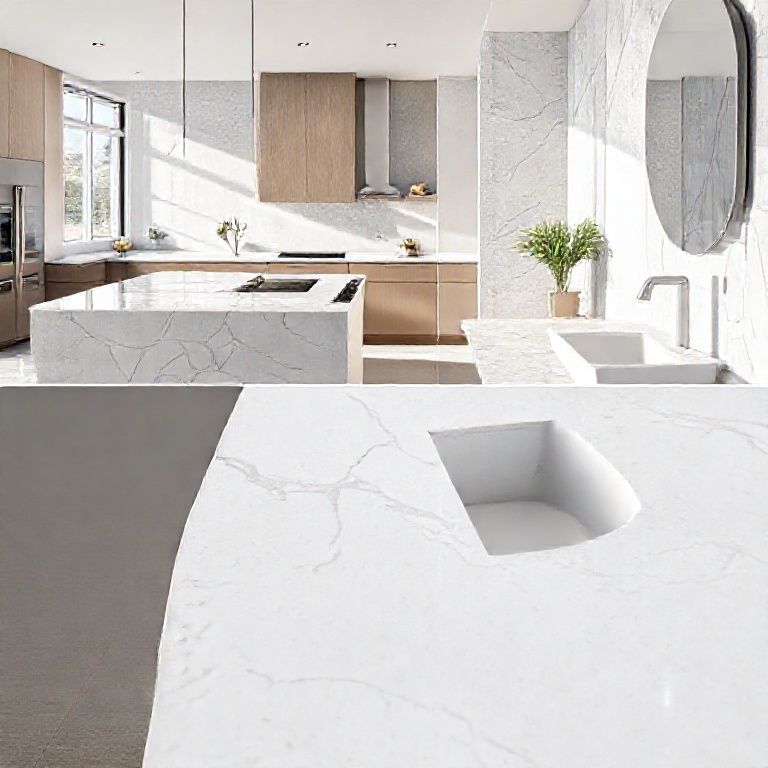
Artificial stone countertops are a popular choice for modern kitchens and bathrooms due to their durability and aesthetic appeal. However, despite their robustness, they can sometimes develop cracks that may compromise their appearance and functionality. Fortunately, repairing these cracks is often a straightforward process that you can tackle with the right tools and a bit of patience. In this comprehensive video tutorial, we’ll walk you through every step of the repair process to ensure your artificial stone countertop looks as good as new.
Understanding Your Countertop
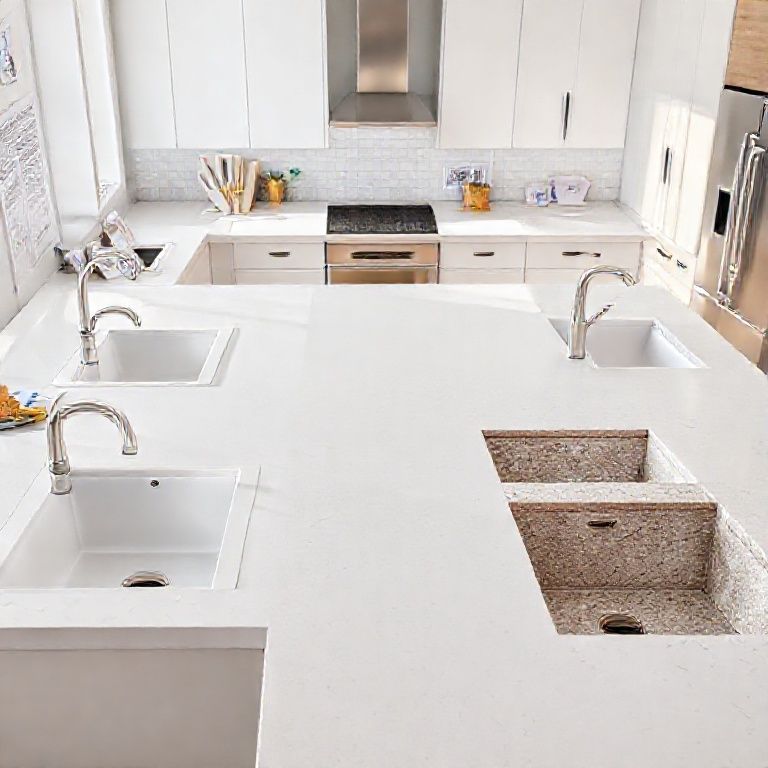
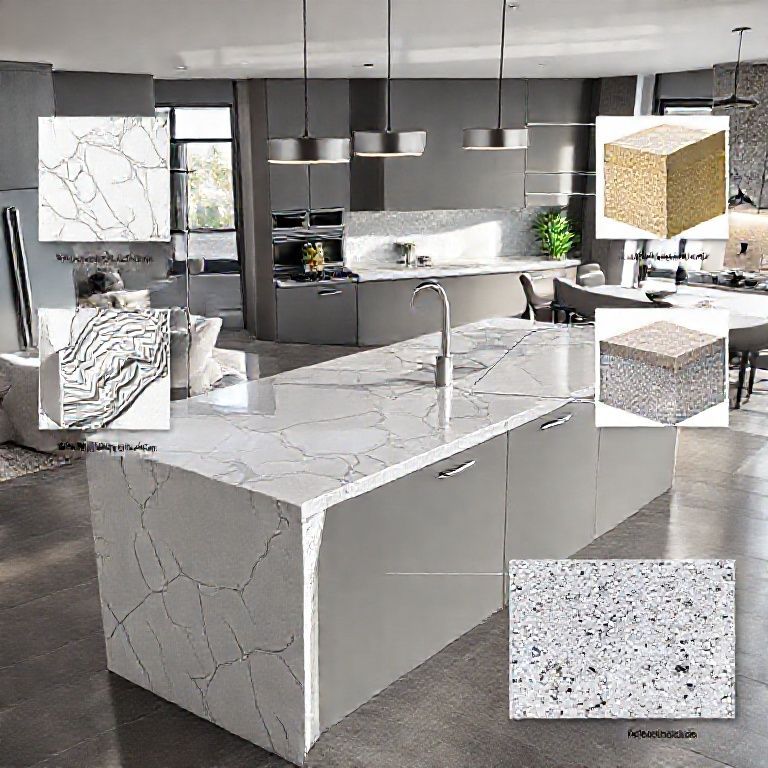
Before diving into the repair process, it’s essential to understand the type of artificial stone your countertop is made from. Common types include quartz, granite, and composite stones, each with its unique properties. Knowing your material will help you select the appropriate repair materials and techniques.
Materials You’ll Need
To repair cracks in your artificial stone countertop, you’ll need the following materials:
Epoxy resin specifically designed for stone repairs A putty knife or spatula A mixing stick A clean cloth Safety goggles and gloves A drill with a suitable bit for mixing the epoxy A container for mixing the epoxy A plastic scraper or a similar tool for smoothing the epoxy
Step-by-Step Repair Process
Preparation: Clean and Dry the Area Begin by thoroughly cleaning the cracked area with a mild detergent and water. Use a clean cloth to remove any grease, dirt, or debris. Allow the area to dry completely before proceeding.
Mix the Epoxy Resin Open the epoxy resin and hardener containers. Use the mixing stick to thoroughly combine the two components. The mixture should be done in a well-ventilated area. Follow the manufacturer’s instructions for the correct ratio of resin to hardener.
Apply the Epoxy Using the putty knife or spatula, apply a thin layer of epoxy to the crack. This will help to seal the crack and prepare it for the main application. Once this layer is set, apply the main layer of epoxy. Make sure to fill the crack completely and smooth it out with the plastic scraper.
Smooth and Polish the Surface After the epoxy has cured (usually as per the manufacturer’s instructions, often 24 hours), use a fine-grit sandpaper to smooth the surface of the repair. Follow up with a polishing compound to restore the shine of your countertop.
Tips for a Successful Repair
Precision Matters: Ensure the crack is completely dry before applying epoxy. Moisture can weaken the repair. Patience is Key: Allow ample time for the epoxy to cure fully. Rushing this process can lead to an incomplete repair. Use Quality Materials: Investing in high-quality epoxy resin will yield better results and ensure a longer-lasting repair.
By following these steps, you can effectively repair cracks in your artificial stone countertop, restoring its beauty and functionality. Remember, practice makes perfect, so don’t be discouraged if it takes a few tries to get it just right.
How to Repair Cracks in Your Artificial Stone Countertop: A Comprehensive Video Tutorial
Continuing from where we left off, in this second part of our comprehensive video tutorial, we’ll delve deeper into advanced techniques and troubleshooting tips to ensure your artificial stone countertop repair is flawless.
Advanced Repair Techniques
For Larger Cracks If the crack is particularly large, you may need to use a more substantial method to ensure a durable repair. For extensive damage, consider using a stone repair patch kit, which includes pre-mixed epoxy and a flexible filler. Follow the kit’s instructions for application, but remember to use a plastic scraper to smooth out the filler to match the countertop’s surface.
Color Matching Artificial stone countertops often come in a variety of colors. Matching the epoxy color to your countertop can be tricky, but it’s essential for a seamless repair. Some epoxy kits come in different colors; if your kit doesn’t match, consider using a color-matched epoxy resin. Always test a small area first to ensure the color matches before applying it to the crack.
Troubleshooting Common Issues
Epoxy Didn’t Stick If the epoxy does not adhere well, it may be due to an unclean surface or insufficient mixing. Clean the area again and ensure the epoxy is thoroughly mixed. If the problem persists, consider using a primer designed for stone repairs.
Epoxy Is Too Thick If the epoxy appears too thick after application, it may not blend well with the countertop. To remedy this, lightly sand the area with fine-grit sandpaper until the epoxy is smooth and even. Be careful not to sand too much, as this can damage the countertop.
Cracks Reappear If the crack reappears after some time, it might indicate an underlying structural issue. Inspect the countertop for any signs of further damage or stress points. If necessary, consult a professional for a more thorough inspection and repair.
Preventative Maintenance
To prolong the life of your artificial stone countertop, regular maintenance is essential. Here are some tips to keep your countertop in top condition:
Clean Regularly: Use a mild detergent and water to clean your countertop regularly. Avoid abrasive cleaners that can scratch the surface. Use Coasters and Placemats: Protect your countertop from heat and liquid damage by using coasters and placemats. Avoid Sharp Objects: Do not use sharp objects on the countertop, as they can cause scratches and cracks. Seal Periodically: Consider sealing your countertop periodically to protect it from stains and minor scratches.
Final Thoughts
Repairing cracks in an artificial stone countertop is a manageable DIY project that can save you time and money. By following our detailed video tutorial and tips provided, you can achieve a professional-looking repair. Remember, patience and precision are key to a successful repair. If you find the task too challenging or the crack too extensive, don’t hesitate to seek professional help. With the right approach, your artificial stone countertop can look as good as new, enhancing the beauty and functionality of your kitchen or bathroom.
Stay tuned for more home improvement tips and tutorials, and don’t forget to like, share, and subscribe for more valuable content!