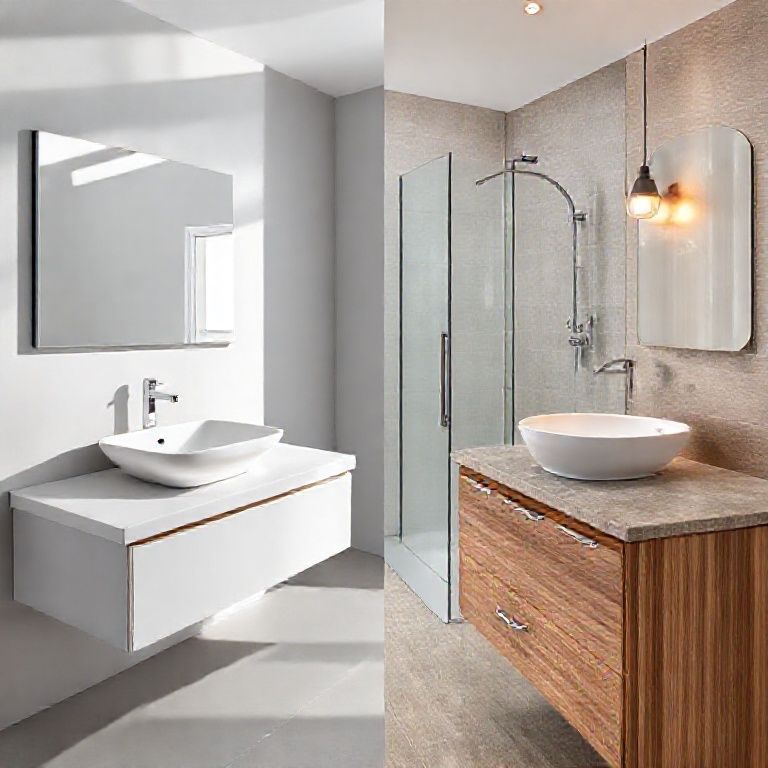
How to Repair Damaged Artificial Stone: A Comprehensive Guide
Artificial stone has become a popular choice for countertops, sinks, and other surfaces due to its durability, aesthetic appeal, and ease of maintenance. However, even the most resilient artificial stone can suffer damage over time, such as scratches, chips, or discoloration. Repairing damaged artificial stone is not only feasible but also essential to maintain the beauty and functionality of your surfaces. In this guide, we will explore the most effective methods for repairing damaged artificial stone, providing you with the knowledge to restore your surfaces to their former glory.
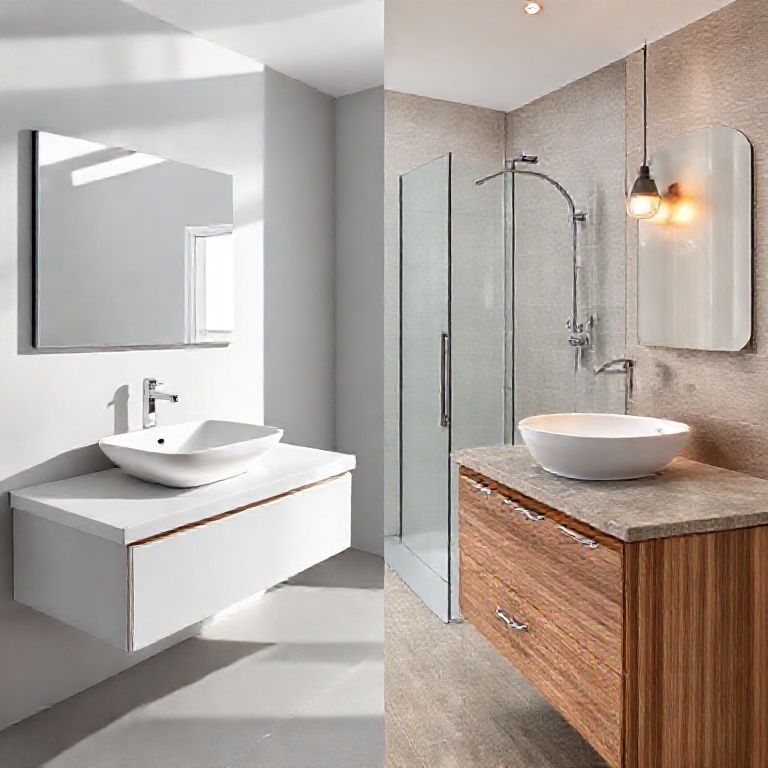
Understanding the Nature of Artificial Stone
Before diving into the repair process, it’s important to understand what artificial stone is made of. Artificial stone, also known as cultured marble, is a composite material made from a combination of minerals, resins, and pigments. Its composition makes it both durable and relatively easy to repair compared to natural stone.
Common Types of Damage
Scratches and Chips: Everyday use often leads to minor scratches or chips on artificial stone surfaces. These damages can be caused by sharp objects, such as knives or tools, and may require careful attention to restore the surface.
Discoloration: Exposure to heat, food stains, or chemicals can cause artificial stone to discolor. This can lead to an unsightly appearance that needs addressing.
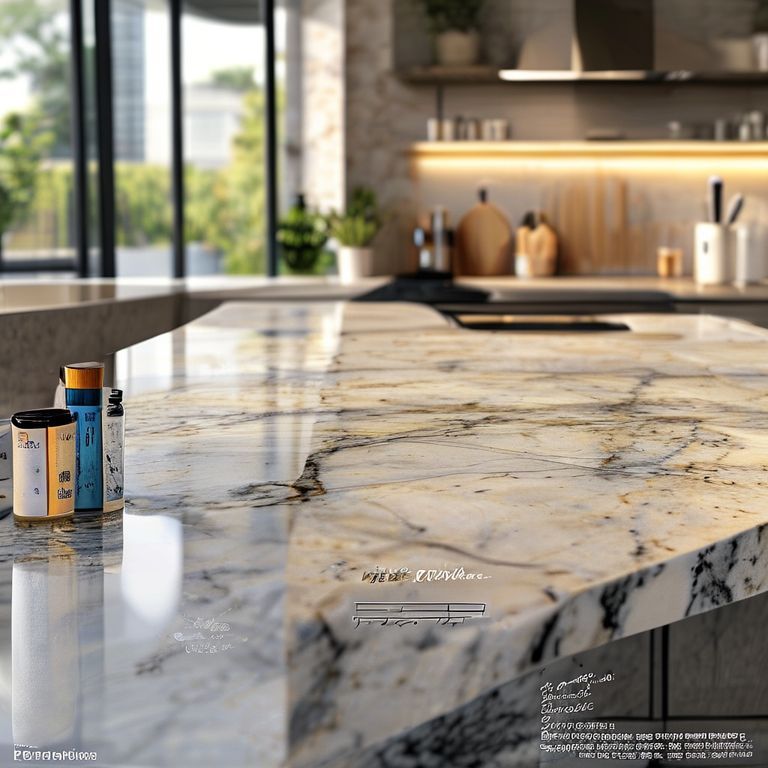
Cracks: Although rare, cracks can occur due to impacts or thermal shock. These require more extensive repair methods to ensure the integrity of the surface.
Preparation for Repair
Before beginning the repair process, it’s essential to gather the necessary tools and materials. Here’s what you’ll need:
Fine-grit sandpaper or a sanding block Abrasive polish or stone repair paste Microfiber cloths Water Soft-bristle brush Protective gloves
Step-by-Step Repair Process
Assess the Damage: Start by thoroughly inspecting the damaged area. Determine the type and extent of the damage to choose the appropriate repair method.
Clean the Surface: Use a microfiber cloth dampened with water to clean the surface of the artificial stone. Remove any dirt, grime, or residue that may interfere with the repair process.
Sanding: For minor scratches or chips, use fine-grit sandpaper or a sanding block to gently smooth out the damaged area. Avoid using too much pressure to prevent further damage. Sanding should be done in the direction of the grain.
Apply Polish or Repair Paste: Once the surface is smooth, apply an abrasive polish or stone repair paste to the damaged area. Use a soft-bristle brush to work the paste into the surface, following the manufacturer’s instructions. This will help to restore the shine and appearance of the artificial stone.
Polishing: After the paste has dried, use a clean microfiber cloth to polish the area until it matches the surrounding surface. Ensure that the repair is seamless and blends well with the rest of the stone.
Preventative Measures
To prevent future damage to your artificial stone, consider the following tips:
Use cutting mats and non-slip pads when working with sharp objects. Clean spills immediately to avoid stains and discoloration. Avoid using abrasive cleaners or tools that can scratch the surface.
Conclusion
Repairing damaged artificial stone is a straightforward process that can be accomplished with the right tools and techniques. By following the steps outlined in this guide, you can restore the beauty and functionality of your artificial stone surfaces. Remember to always assess the damage carefully, clean the surface thoroughly, and use appropriate repair methods to achieve the best results. With proper care and maintenance, your artificial stone will remain a stunning feature of your home for years to come.
How to Repair Damaged Artificial Stone: A Comprehensive Guide
In this second part of our detailed guide on repairing damaged artificial stone, we will delve deeper into more advanced repair techniques for cracks, discoloration, and other types of damage that may require professional intervention. Whether you’re a DIY enthusiast or a professional looking to enhance your skills, this comprehensive guide will provide you with the knowledge and tools needed to tackle any repair challenge.
Advanced Repair Techniques
Crack Repair
Cracks in artificial stone can be more challenging to repair due to their structural nature. Here’s how to address them effectively:
Assessment: Carefully examine the crack to determine its depth and length. If the crack is deep or extensive, it may be best to consult a professional for a more thorough repair.
Clean the Area: Clean the crack thoroughly using a damp microfiber cloth to remove any dirt or debris.
Fill the Crack: Use a stone repair compound or epoxy resin designed for artificial stone. Apply the compound into the crack using a small spatula or a similar tool. Follow the manufacturer’s instructions for application and curing times.
Smooth the Surface: Once the compound has dried, use a fine-grit sandpaper or a polishing block to smooth out the area around the crack. Ensure that the repaired area blends seamlessly with the surrounding surface.
Polish: Finally, polish the repaired area with a microfiber cloth to restore the shine and appearance of the artificial stone.
Discoloration Repair
Discoloration can mar the appearance of artificial stone, but it’s often possible to restore its original look with the right approach:
Identify the Cause: Determine whether the discoloration is caused by heat, food stains, or chemical exposure. This will help you choose the appropriate cleaning and repair method.
Clean the Surface: Use a mild, non-abrasive cleaner designed for artificial stone. Gently scrub the discolored area with a soft-bristle brush to remove stains without scratching the surface.
Deep Cleaning: For more stubborn stains, consider using a specialized stone cleaner or a polishing compound. Follow the product instructions carefully to avoid further damage.
Refinishing: If the discoloration is extensive, you may need to refinish the surface. This involves sanding down the area with fine-grit sandpaper, applying a new layer of stone repair compound, and polishing the surface to restore its original appearance.
Professional Repair Services
While many repairs can be done at home, some damages may require professional intervention. Here’s when to consider hiring a professional stone repair service:
Extensive Damage: If the damage is extensive, involving multiple cracks, deep scratches, or large areas of discoloration, it’s best to consult a professional.
Complex Repairs: For intricate designs or custom installations, professional expertise ensures that repairs are done accurately and safely.
Guarantee of Quality: Professional repair services often come with a guarantee, ensuring that the repair work meets high standards of quality and durability.
Maintenance Tips for Long-Lasting Artificial Stone
To ensure that your artificial stone remains in pristine condition and minimizes the need for repairs, consider these maintenance tips:
Regular Cleaning: Clean artificial stone surfaces regularly with a mild soap and water solution. Avoid using harsh chemicals or abrasive cleaners that can damage the surface.
Immediate Spill Response: Clean up spills immediately to prevent stains and discoloration. For tougher stains, use a specialized stone cleaner designed for artificial surfaces.
Avoid Heat Sources: Keep artificial stone surfaces away from direct heat sources, such as stovetops or hot pots, to prevent discoloration and warping.
Use Cutting Pads: Always use cutting pads and non-slip mats when working with sharp objects on artificial stone surfaces to avoid scratches and chips.
Conclusion
Repairing damaged artificial stone is a manageable task that can be accomplished with the right tools, techniques, and a bit of patience. By following the detailed steps outlined in this guide, you can restore the beauty and functionality of your artificial stone surfaces. Remember to always assess the damage carefully, clean the surface thoroughly, and use appropriate repair methods to achieve the best results. With proper care and maintenance, your artificial stone will continue to be a stunning feature of your home for years to come.