Identifying and Preparing for Repair
When it comes to maintaining the beauty and functionality of your artificial stone countertops, addressing scratches promptly is essential. Artificial stone, while durable, can still suffer from minor to severe damage over time. Identifying and preparing for the repair process is the first and crucial step in ensuring a successful restoration.
Understanding Artificial Stone
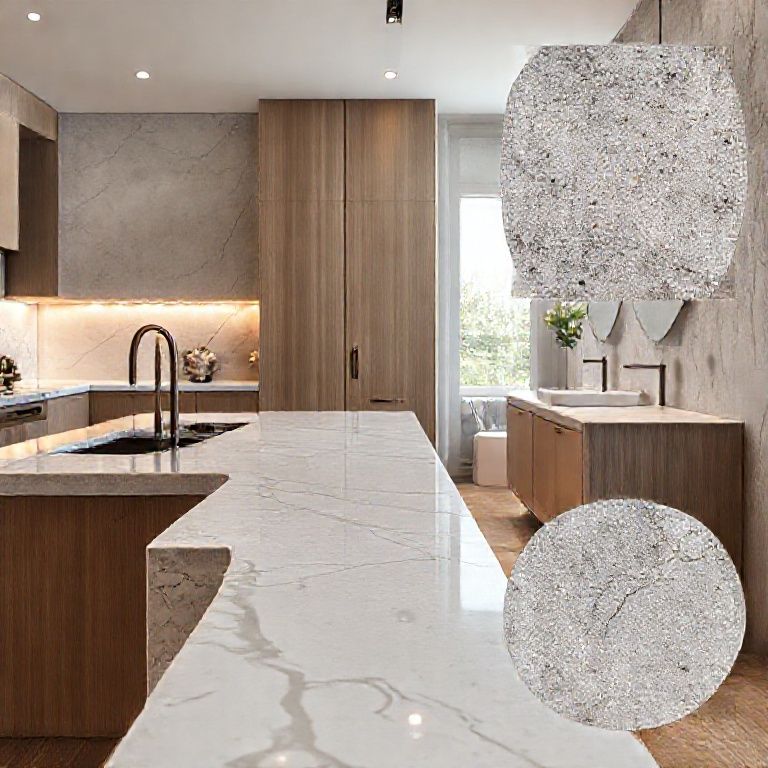
Artificial stone, often made from a combination of resin and minerals, is known for its durability, resistance to stains, and ease of maintenance. However, it can still be susceptible to scratches from everyday use. Knowing the type of stone you have can help determine the best repair method.
Identifying the Damage
Before diving into the repair process, it’s important to identify the extent of the scratches. Scratches can vary from minor surface scratches to deeper indentations. Here are a few tips to help you determine the severity:
Visual Inspection: Carefully examine the countertop under good lighting. Look for lines or discolorations that indicate scratches. Touch Test: Gently run your fingers over the surface. Deeper scratches will feel more pronounced. Comparative Analysis: Compare the scratched area with an unscratched part of the countertop to gauge the depth and severity.
Preparation Steps
Once you have identified the damage, the next step is to prepare your countertop for repair. Proper preparation ensures that the repair materials adhere properly and the final result is long-lasting.
Clean the Surface: Use a mild soap and water solution to clean the countertop. Dry it thoroughly with a clean cloth to remove any dust or debris. Protect Surrounding Areas: Use painter’s tape to cover any adjacent areas that you do not want to be affected by the repair process. Gather Repair Materials: Depending on the severity of the scratches, you may need different materials. Common items include polishing compounds, diamond polishing pads, and specialized stone repair kits.
Tools and Materials Needed
To repair your artificial stone countertop, you will need the following tools and materials:
Mild soap and water Soft cloths Painter’s tape Diamond polishing pads Polishing compounds or creams Microfiber cloths Safety goggles (optional)

Step-by-Step Preparation
Surface Cleaning: Start by cleaning the entire surface of the countertop to remove any dirt, oils, or residue. This ensures that the repair materials will adhere properly. Isolate the Area: Use painter’s tape to mask off the surrounding areas. This prevents the repair materials from coming into contact with undamaged parts of the countertop. Dry Thoroughly: Ensure the countertop is completely dry before starting the repair process. Moisture can interfere with the adhesion of polishing compounds.
Safety First
When working with polishing compounds and pads, it’s important to take safety precautions. Wear safety goggles to protect your eyes from any splashes or debris. If possible, work in a well-ventilated area to avoid inhaling any fumes from the polishing compounds.
Repairing Scratched Artificial Stone Countertops
Once you have identified the extent of the damage and prepared your countertop, it’s time to move on to the actual repair process. Here, we will provide a detailed, step-by-step guide to help you restore your artificial stone countertop to its former glory.

Minor Scratches Repair
For minor scratches, a polishing compound or cream can often do the trick. These products are designed to smooth out minor imperfections and restore the shine of your countertop.
Apply the Compound: Using a clean microfiber cloth, apply a small amount of the polishing compound to the scratched area. Polish the Surface: Using a soft cloth or a diamond polishing pad, gently rub the compound into the scratch in a circular motion. Apply moderate pressure to help the compound penetrate the scratch. Buff the Area: Once the scratch has been polished out, use a clean microfiber cloth to buff the area until it matches the rest of the countertop.
Moderate to Severe Scratches Repair
For deeper scratches, a more intensive polishing process is required. This often involves using a diamond polishing pad and a higher-grit compound.
Select the Right Pad: Choose a diamond polishing pad that matches the grit level recommended for your artificial stone. Higher grit pads are used for more severe scratches. Apply the Compound: Generously apply the polishing compound to the scratched area. Polish with Care: Using a circular motion, apply gentle pressure as you polish the scratch. It’s important to go slowly to avoid creating new scratches. Rinse and Buff: After the scratch has been polished out, rinse the area with clean water to remove any residue. Buff the area with a microfiber cloth until it is smooth and shiny.
Using a Stone Repair Kit
For more severe damage, a specialized stone repair kit may be necessary. These kits often include various compounds and polishing pads designed specifically for artificial stone.
Follow the Instructions: Carefully read and follow the manufacturer’s instructions for using the repair kit. Apply the Repair Compound: Apply the repair compound as directed, often using a pad or cloth to work it into the scratch. Polish the Area: Use a polishing motion to blend the repair compound into the countertop. This may require multiple passes with different grit pads. Final Buffing: Once the scratch is repaired, buff the area thoroughly to ensure a seamless finish.
Final Touches and Maintenance
After repairing your artificial stone countertop, it’s important to maintain its beauty and longevity.
Seal the Surface: Consider sealing your countertop to protect it from future scratches and stains. Many artificial stone countertops can be sealed with a suitable sealant. Regular Cleaning: Keep your countertop clean by wiping it down regularly with a mild soap and water solution. Avoid using abrasive cleaners that can scratch the surface. Avoid Sharp Objects: To prevent future scratches, avoid placing sharp objects or heavy items directly on the countertop.
Professional Help
If the damage is extensive or if you’re unsure about the repair process, it’s always a good idea to consult a professional. Professional stone repair specialists have the expertise and tools to restore your countertop to its original condition.
Visual Guide
To help you through the repair process, we have included a series of images that detail each step:
Before Repair: Image showing the extent of the scratches. Cleaning the Surface: Image of the countertop being cleaned. Applying the Compound: Image of the polishing compound being applied. Polishing: Image of the polishing pad in action. Final Buffing: Image showing the final buffed and polished surface.
Conclusion
Repairing scratched artificial stone countertops doesn’t have to be a daunting task. By following these detailed steps, you can restore your countertop’s beauty and functionality, ensuring it looks as good as new. Remember to prepare properly, use the right materials, and take your time to achieve the best results. With a bit of effort and the right techniques, your artificial stone countertop can look pristine once again.