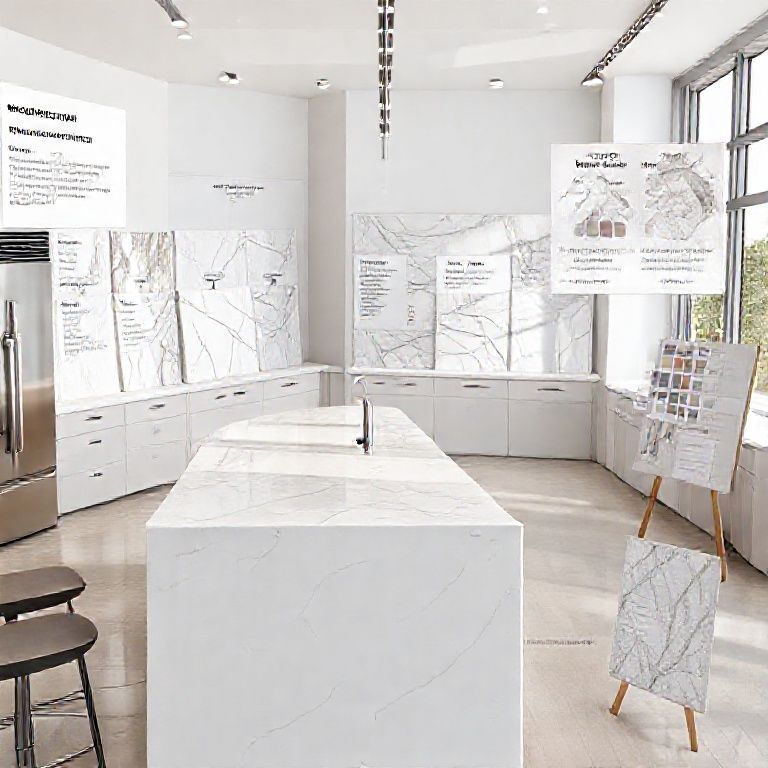
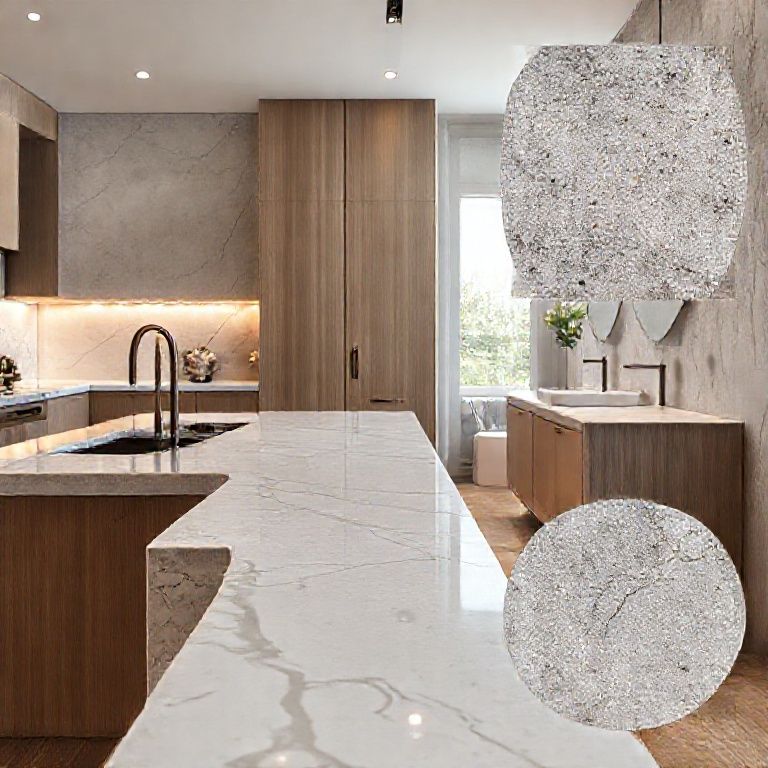
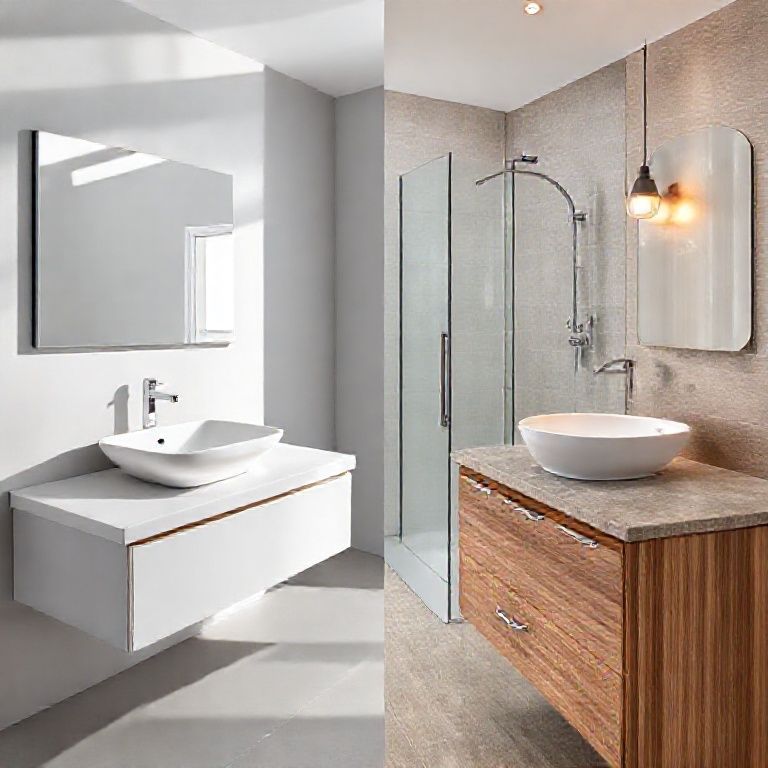
How to Restore and Repair Artificial Marble That Has Been Damaged: A Comprehensive Guide
Artificial marble has gained immense popularity due to its durability, aesthetic appeal, and relatively low maintenance. However, despite its resilience, artificial marble can still suffer damage, whether from spills, scratches, or prolonged exposure to harsh chemicals. This comprehensive guide will walk you through the necessary steps to repair and restore your artificial marble, ensuring it looks as good as new.
Understanding Artificial Marble
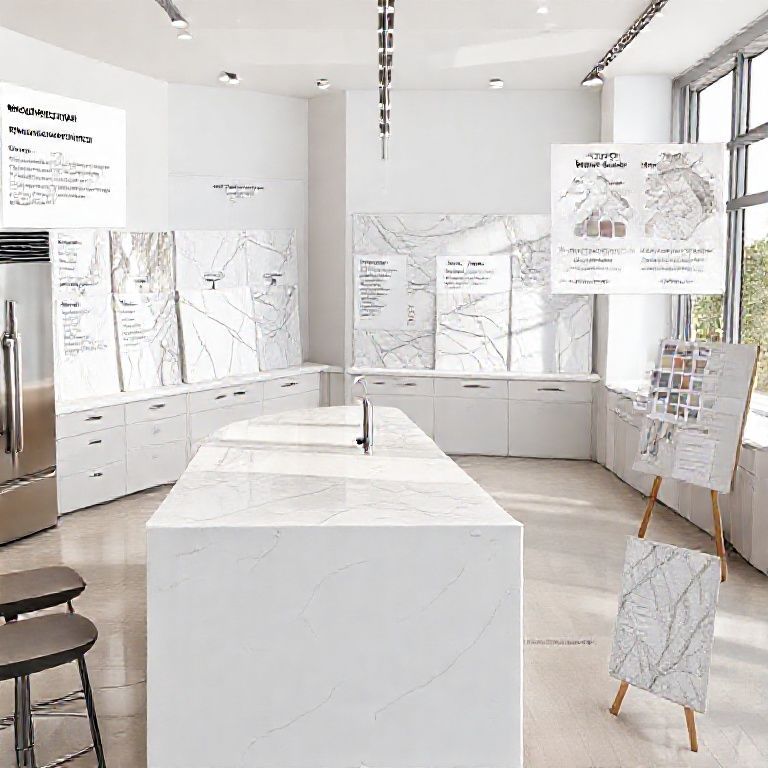
Before diving into the repair process, it’s essential to understand what artificial marble is. Artificial marble is a composite material made from a combination of minerals, resins, and other substances, which are fused together at high temperatures to create a stone-like appearance. Unlike natural stone, it’s more resistant to staining and scratches, but it’s not invincible. Over time, it can still show signs of wear and tear.
Identifying the Damage
The first step in restoring your artificial marble is identifying the type and extent of the damage. Common issues include:
Stains and Spills: Coffee, wine, or other liquids can leave marks on the surface. Scratches: Although less common, scratches can mar the surface of the artificial marble. Chips and Cracks: These can occur from accidental impacts or rough handling.

Tools and Materials Needed
To repair artificial marble, you will need the following tools and materials:
Cleaning Solution: A mild detergent or a specialized marble cleaner. Soft Cloths: For cleaning and buffing. Damp Cloth: For wiping down surfaces. Microfiber Cloth: For final polishing. Toothbrush: For scrubbing intricate areas. Fine-grit Sandpaper: For minor scratches (optional). Epoxy or Marble Repair Kits: For repairing chips and cracks.
Cleaning the Surface
The first step in restoring artificial marble is to clean the surface thoroughly. Here’s how:
Prepare a Cleaning Solution: Mix a small amount of mild detergent with warm water. Wipe Down the Surface: Use a soft cloth to gently clean the surface, working in the direction of the grain. Rinse with a Damp Cloth: Remove any detergent residue with a damp cloth. Dry and Polish: Use a microfiber cloth to dry the surface and give it a final polish.
Repairing Minor Scratches
For minor scratches, a little effort can go a long way:
Assess the Scratch: Determine if the scratch is superficial or deeper. Clean the Area: Wipe the scratched area with a cleaning solution and a soft cloth. Sanding (Optional): For deeper scratches, use fine-grit sandpaper to gently sand the area until the scratch is less visible. Clean Again: Wipe down the area with a damp cloth. Polish: Use a microfiber cloth to polish the area, ensuring it blends seamlessly with the surrounding surface.

Repairing Chips and Cracks
For chips and cracks, specialized repair kits are available:
Assess the Damage: Determine the extent of the damage. Clean the Area: Thoroughly clean the damaged area to remove any debris or old repair material. Apply Repair Compound: Follow the instructions on the repair kit to apply the compound to the chip or crack. Smooth the Surface: Use a putty knife or a similar tool to smooth the repair compound. Let it Cure: Allow the compound to cure as per the manufacturer’s instructions. Sand and Polish: Once cured, sand the area lightly and polish it to blend with the surrounding surface.
Preventing Future Damage
To prevent future damage to your artificial marble, follow these tips:
Use Coasters and Placemats: Protect surfaces from spills and heat. Avoid Abrasive Cleaners: Use mild detergents and soft cloths to clean. Regular Maintenance: Clean and polish your artificial marble regularly to maintain its appearance. Use Protective Films: Consider using protective films on high-traffic areas.
Conclusion
Restoring and repairing artificial marble doesn’t have to be a daunting task. With the right tools, techniques, and a bit of patience, you can restore your artificial marble to its former glory. In the next part of this guide, we will delve deeper into advanced repair techniques and explore how to maintain your artificial marble for long-lasting beauty.
Advanced Techniques for Restoring and Repairing Artificial Marble
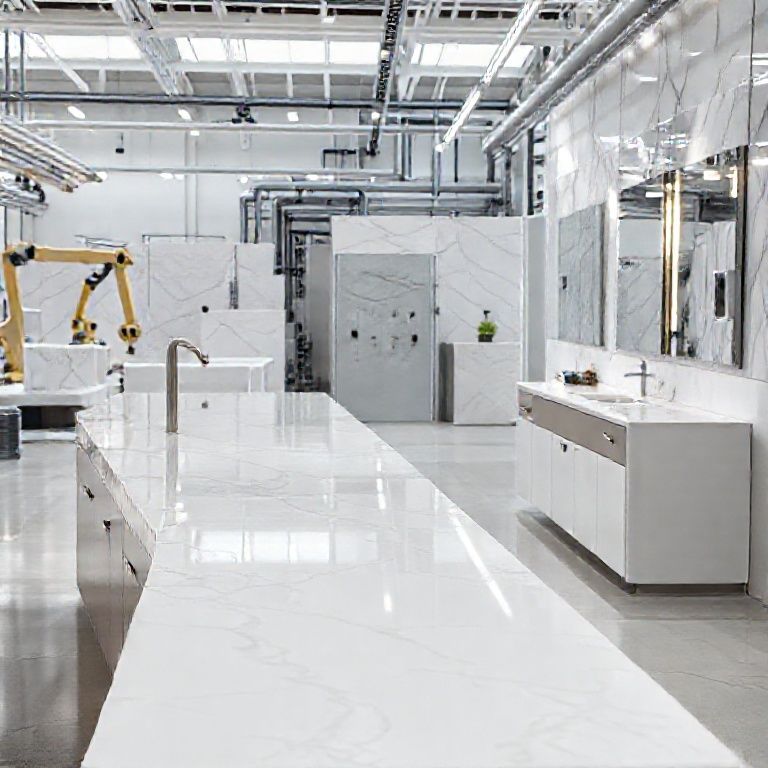
Artificial marble, known for its durability and aesthetic appeal, can sometimes suffer from more significant damage that requires advanced repair techniques. In this part of our comprehensive guide, we will explore advanced methods to repair and restore artificial marble, ensuring it retains its pristine look for years to come.
Advanced Cleaning Techniques
Maintaining the cleanliness of artificial marble is crucial for its longevity. Here are some advanced cleaning techniques:
Ultrasonic Cleaners: For heavily soiled areas, an ultrasonic cleaner can be used to remove stubborn stains. This device uses high-frequency sound waves to clean surfaces thoroughly.
Steam Cleaners: Steam cleaners are effective for removing deep-seated stains and grime. They work by heating water to produce steam that can penetrate and break down tough residues.
Chemical Cleaners: Specialized chemical cleaners designed for artificial marble can help remove persistent stains. Always follow the manufacturer’s instructions to avoid damaging the surface.
Advanced Repair Techniques
When it comes to repairing artificial marble, advanced techniques can help address more significant damage:
Repairing Deep Scratches
For deep scratches that cannot be removed with light sanding, a more sophisticated approach is needed:
Assess the Scratch: Determine the depth and width of the scratch. Clean the Area: Thoroughly clean the area to remove any dirt or debris. Use a Filler Compound: Apply a filler compound that matches the color of your artificial marble. This compound is available in various colors and can be found in hardware stores or specialty shops. Smooth the Filler: Use a putty knife to spread the filler compound over the scratch, ensuring it covers the entire area. Cure the Compound: Allow the filler to cure as per the manufacturer’s instructions. Sand and Polish: Once cured, sand the area lightly to smooth the surface. Finally, polish to blend the repaired area with the surrounding surface.
Repairing Large Chips and Cracks
Large chips and cracks require more extensive repairs:
Clean the Area: Thoroughly clean the damaged area to remove any debris or old repair material. Apply a Repair Epoxy: Use a two-part epoxy repair kit designed for artificial marble. Mix the epoxy according to the manufacturer’s instructions. Fill the Crack/Chip: Apply the epoxy to the crack or chip, ensuring it fills the gap completely. Smooth the Surface: Use a putty knife or a similar tool to smooth the epoxy. Cure the Epoxy: Allow the epoxy to cure completely as per the manufacturer’s instructions. Sand and Polish: Once cured, sand the area lightly and polish it to blend with the surrounding surface.
Advanced Restoration Techniques
For more extensive restoration, consider these advanced techniques:
Color Matching and Blending
When repairing large areas or restoring the overall color of artificial marble, color matching and blending are essential:
Color Matching: Use a color matching kit to find the exact shade of your artificial marble. This kit usually includes a color chart and a sample applicator. Apply Matching Compound: Apply the matching compound to the damaged area, ensuring it blends seamlessly with the surrounding surface. Cure and Blend: Allow the compound to cure and then blend it with the surrounding area using a putty knife or similar tool.
Layering and Buffing
For extensive repairs, layering and buffing can help achieve a uniform finish:
Layering: Apply multiple layers of repair compound, allowing each layer to cure before applying the next. Buffing: Use a polishing buffer to smooth and blend the layers, ensuring a uniform finish.
Long-term Maintenance
To ensure your artificial marble remains in excellent condition, follow these long-term maintenance tips:
Regular Cleaning: Clean your artificial marble regularly using mild detergents and soft cloths. Avoid Harsh Chemicals: Avoid using abrasive cleaners or harsh chemicals that can damage the surface. Protect from Heat: Use trivets or heat-resistant pads to protect surfaces from heat sources like hot pots and pans. Regular Polishing: Polish your artificial marble periodically to maintain its shine and prevent dullness.
Conclusion
Restoring and repairing artificial marble can be a rewarding DIY project, especially when you have the right techniques and tools. By following advanced repair methods and maintaining your artificial marble regularly, you can extend its lifespan and keep it looking pristine. Whether dealing with minor scratches or extensive damage, this当然,继续我们的指南,让我们深入探讨一些更高级的技术和最佳实践,以确保你能够有效地修复和维护人造大理石。
使用专业修复工具
对于那些需要高级修复的人造大理石表面,使用专业级的修复工具和材料可以显著提高修复的质量和耐久性。
专业修复套件
许多专业的修复套件包含多种配料,如填充剂、抛光膏和涂层,这些工具可以帮助你修复多种类型的损坏,包括深层划痕、大型缺口和颜色恢复。
填充剂:这些填充剂通常是高强度的,能够填补大面积的损坏,并且可以调整颜色以匹配原始表面。 抛光膏:用于最终的抛光步骤,使修复区域与未受损区域完美融合。 涂层:最后的保护层,可以增加表面的耐用性,并恢复光泽。
专业抛光技术
机械抛光:使用专业抛光机和抛光膏,可以有效去除表面的划痕和污渍,并恢复光泽。这种方法需要一定的技术和设备。 化学抛光:使用化学药剂和手动工具,可以在无机械动作的情况下恢复表面。这种方法适用于需要精细处理的小面积。
颜色恢复技术
颜色恢复是修复人造大理石中的一个复杂部分,尤其是当大理石因为时间或化学物质而褪色时。
染色技术:使用专业染色工具,可以将大理石表面重新染色以匹配原始颜色或更改为新的设计颜色。 热处理:通过加热,可以使某些类型的人造大理石表面重新获得光泽和颜色。
预防措施
使用保护垫:在放置热或重物时,使用保护垫来防止热损伤和压痕。 及时清理溢出物:及时清理溢出的液体,特别是酸性或碱性液体,可以防止深层损坏。 定期保养:定期清洁和抛光,可以保持表面的光泽并预防小划痕累积。
最后的建议
无论你选择进行哪种修复,记住总是从小面积测试开始,以确保修复材料和方法与你的人造大理石材质兼容。如果你对任何步骤感到不确定,考虑寻求专业帮助,以避免进一步的损坏。
通过这些高级技术和最佳实践,你将能够更有效地修复和维护你的人造大理石表面,使其看起来焕然一新。