Understanding and Preparing for Repair
Introduction: Artificial stone countertops are a popular choice for kitchens and bathrooms due to their durability, low maintenance, and aesthetic appeal. However, like any material, they can sustain damage over time. Whether it’s scratches, chips, or cracks, knowing how to repair a damaged artificial stone countertop can save you time and money. This guide will walk you through everything you need to know to restore your countertops to their former glory.

Identifying the Damage: The first step in repairing your artificial stone countertop is to identify the type and extent of the damage. Artificial stone, often composed of minerals, resins, and pigments, can suffer from various types of wear:
Scratches: Minor scratches can mar the surface but are often repairable. Chips: Small chips can occur from impacts or improper cleaning. Cracks: Larger cracks can result from heavy impacts or thermal stress. Discoloration: This might occur due to spills or prolonged exposure to certain chemicals.
Gathering Materials and Tools: Before you begin the repair process, gather the necessary tools and materials. Having everything ready will streamline the process and ensure you don’t have to stop midway. Here’s a list of what you’ll need:
Repair Kit: Specialized kits for artificial stone are available which include polishing compounds, abrasive pads, and repair fillers. Cleaning Supplies: Mild soap, water, and a soft cloth. Sandpaper: Various grits, from coarse to fine. Fine Polish: To restore the shine after repair. Protective Gear: Gloves and goggles for safety.
Preparation Steps:
Clean the Area: Thoroughly clean the countertop with a mild soap solution to remove any dirt, grease, or residue. This ensures the repair materials adhere properly. Dry the Surface: Use a clean, dry cloth to dry the area completely. Moisture can interfere with the repair process. Inspect the Damage: Once dry, inspect the damage closely to determine the appropriate repair method. This might involve a bit of trial and error with different tools and materials.
Repairing Minor Damage: For minor scratches and chips, a polishing compound and fine sandpaper can often do the trick.

Sanding: Start with coarse sandpaper to gently abrade the damaged area. Gradually move to finer grits until the scratch or chip is no longer visible. Polishing: Apply a fine polish to the area to restore the surface shine. This step is crucial for a seamless finish.
Restoring Larger Areas: For larger chips or cracks, a more extensive repair process is necessary.
Filling the Cracks: Use a repair filler that matches the color of your countertop. Apply it into the crack using a small spatula or tool, then smooth it out. Sanding: Once the filler is dry, sand the area lightly to blend it with the surrounding surface. Polishing: Finally, polish the area to restore the shine and blend it seamlessly with the rest of the countertop.
Conclusion: Repairing a damaged artificial stone countertop can seem daunting, but with the right tools and techniques, it’s entirely manageable. By carefully identifying the damage and following a systematic approach, you can restore your countertop to its pristine condition. In the next part of this guide, we will dive deeper into more advanced repair techniques and provide visual aids to help you through the process.
Advanced Techniques and Visual Aids
Introduction: In the previous section, we covered the basics of repairing minor scratches and chips on artificial stone countertops. Now, let’s delve into more advanced techniques for addressing larger areas of damage. This section will provide detailed instructions along with visual aids to help you navigate through complex repairs with confidence.
Advanced Repair Techniques:
For Larger Chips and Cracks: Larger chips and cracks often require more than just filling and polishing. Here’s how to handle these more serious issues:
Step-by-Step Guide:
Clean and Dry: Ensure the area is thoroughly cleaned and dried. Any moisture can cause the filler to not adhere properly.
Use a Filler: Select a filler that matches the color of your countertop. Apply it generously into the crack or chip using a spatula. Make sure to fill the gap completely.
Smooth the Filler: Use a putty knife or a specialized filler smoothing tool to smooth out the filler so it blends seamlessly with the countertop.
Sanding: Once the filler is completely dry, sand the area lightly using fine-grit sandpaper. Make sure to blend the filler smoothly with the surrounding surface.
Polishing: Apply a fine polish to the repaired area to restore the shine and ensure it blends perfectly with the rest of the countertop.
For Discoloration: Discoloration can often be caused by spills or prolonged exposure to chemicals. Here’s how to address it:
Step-by-Step Guide:
Identify the Cause: Determine what caused the discoloration. This will help in choosing the right cleaning and repair method.
Clean the Area: Use a mild soap solution to clean the affected area. Avoid harsh chemicals that can further damage the surface.
Blot the Area: Use a clean, soft cloth to blot the area. Avoid scrubbing as it can scratch the surface.
Use a Discoloration Remover: For more stubborn stains, use a commercial discoloration remover designed for artificial stone. Follow the manufacturer’s instructions carefully.
Polish: Once the discoloration is removed, polish the area to restore its shine.
For Deep Grooves and Dents: Deep grooves and dents may require more intensive methods:
Step-by-Step Guide:
Clean and Dry: Thoroughly clean and dry the area.
Use a Filler: Apply a heavy-duty filler into the grooves and dents. Use a spatula to ensure it fills the area completely.
Smooth the Filler: Smooth out the filler with a putty knife or a specialized tool.
Sanding: Once the filler is dry, sand the area with fine-grit sandpaper. Ensure the filler is perfectly smooth.
Polishing: Finally, polish the area to blend it seamlessly with the rest of the countertop.
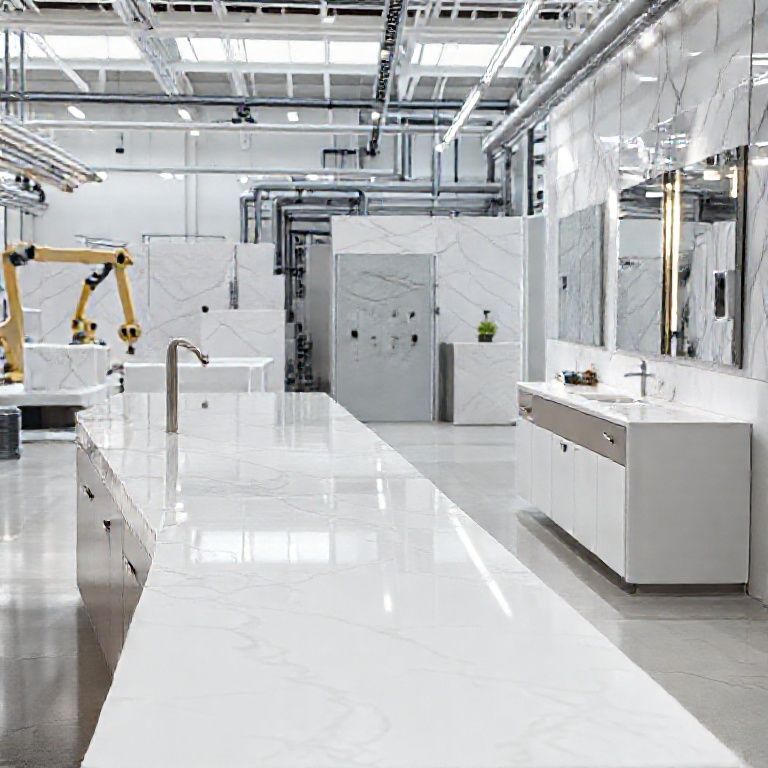
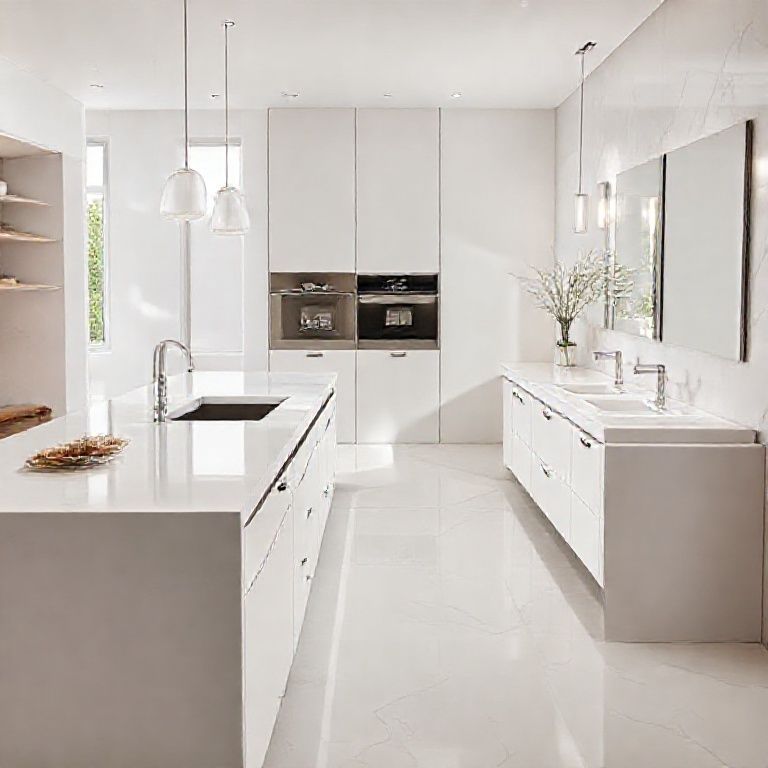
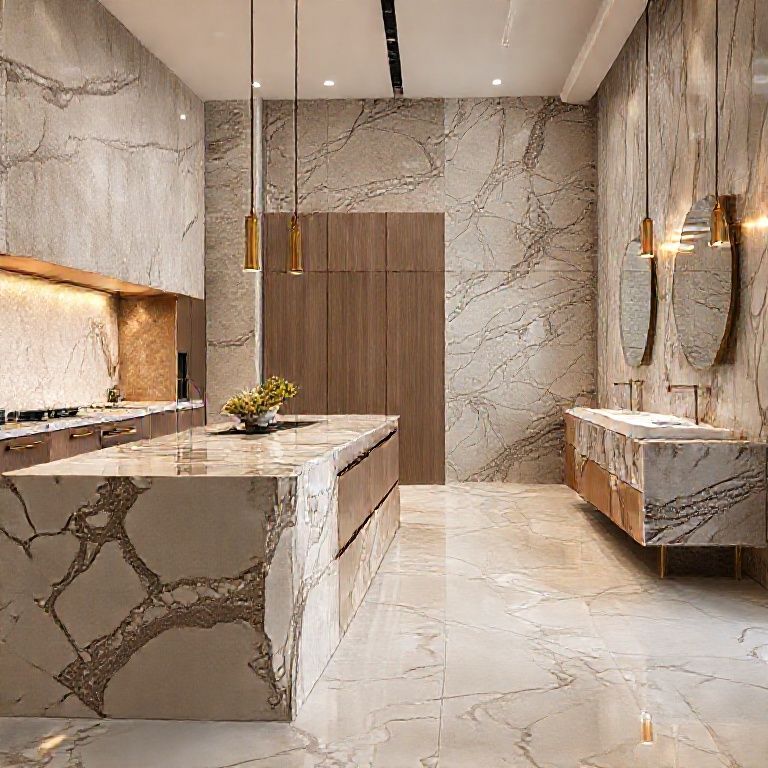
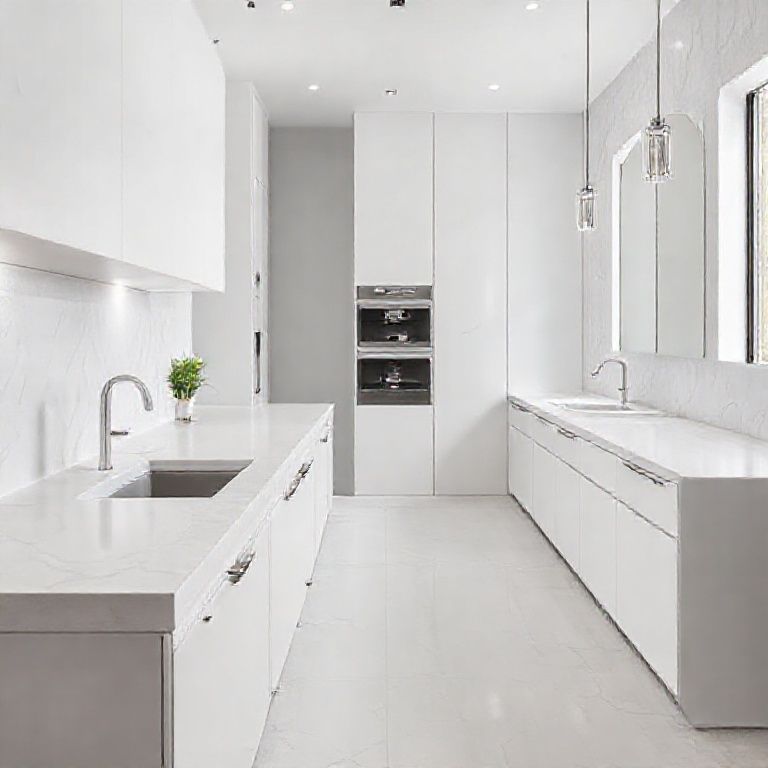
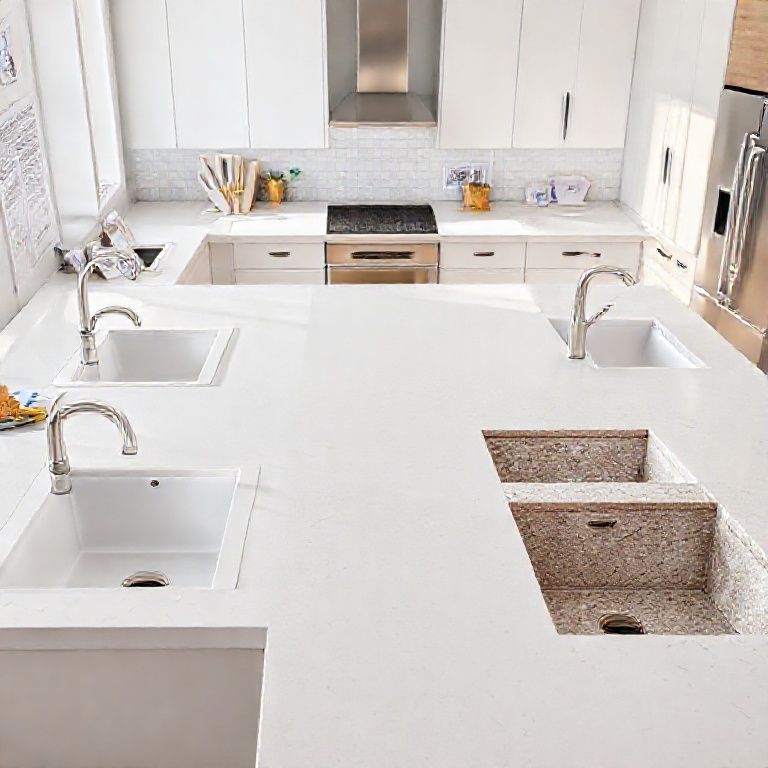
Visual Aids: To help you better understand each step, we have included visual aids throughout this section. These images will provide you with a clear visual reference for each part of the repair process.
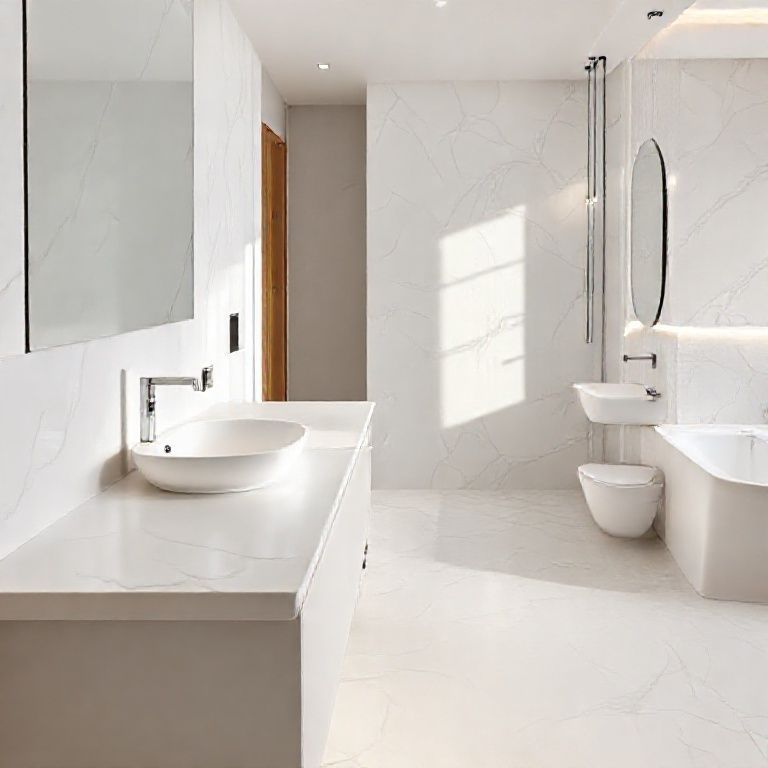
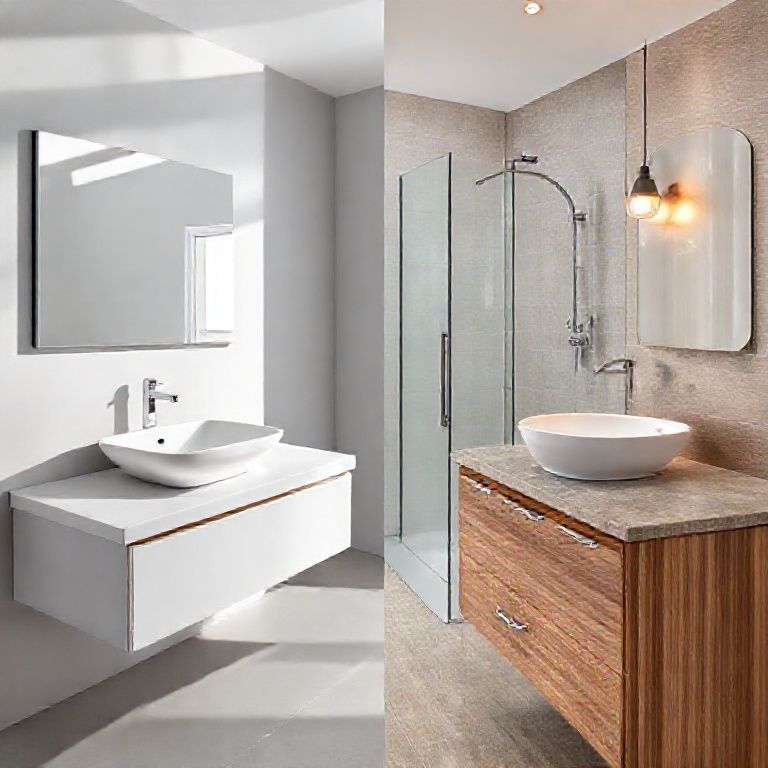
Visual Aid 1: Before and After images showing the difference in a countertop before and after a repair. This will give you a clear idea of what to expect and the effectiveness of the repair techniques.
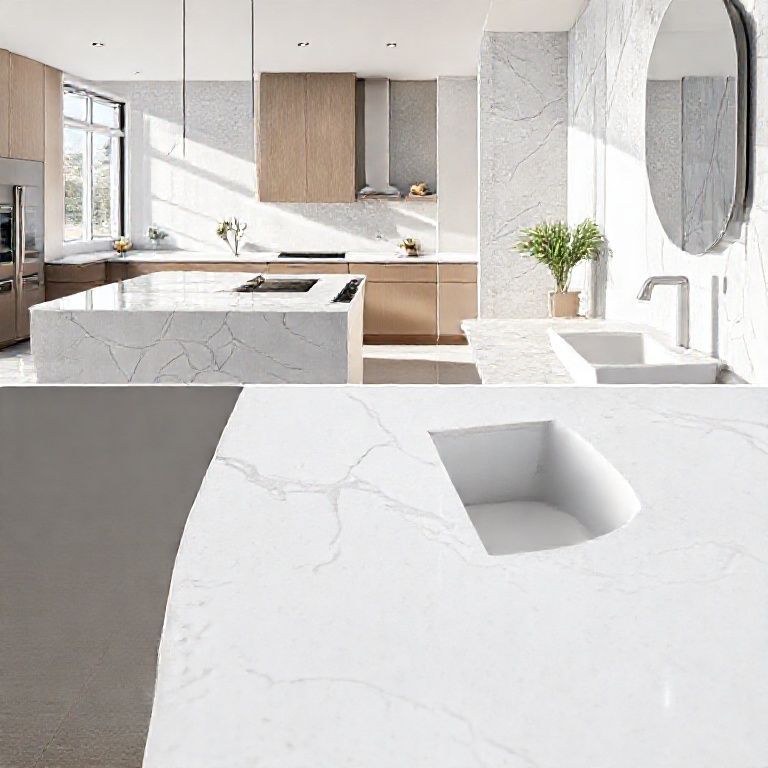
Visual Aid 2: A step-by-step photo series demonstrating the process of filling and sanding a large chip.
Visual Aid 3: Close-up images showing the application and smoothing of the filler, highlighting the importance of a precise and even application.
Final Thoughts: Repairing a damaged artificial stone countertop doesn’t have to be a daunting task. With the right approach and tools, you can restore your countertop to its original beauty. Remember, patience and careful attention to detail are key to achieving a flawless finish. By following these advanced techniques and utilizing the provided visual aids, you’ll be well-equipped to tackle any damage that comes your way.
In conclusion, whether dealing with minor scratches or extensive repairs, the methods outlined in this guide will help you bring your artificial stone countertops back to life. Happy repairing!
This comprehensive guide aims to provide you with the knowledge and confidence needed to repair your artificial stone countertops effectively. With practical tips, detailed instructions, and visual aids, you’ll be able to tackle any damage with ease.