How to Tackle a Damaged Kitchen Countertop: A Comprehensive Guide to Costs and Alternatives
When your kitchen countertop is damaged, it can feel like a daunting task to decide what to do next. Is it a minor fix that you can handle yourself, or is it time to invest in a new countertop? Understanding the options and costs involved is crucial for making the right choice. This guide will walk you through everything you need to know about repairing and replacing kitchen countertops, from DIY fixes to professional replacements.
Understanding the Damage
Before you decide on a course of action, it’s important to assess the extent of the damage. Is it a small chip, or does the countertop have significant cracks or scratches? Different types of damage require different approaches:
Minor Chips and Scratches: For small imperfections, a DIY fix might be sufficient. You can use countertop repair kits that include fillers and polishes. These kits are available at most hardware stores and are relatively inexpensive.
Major Cracks and Chips: If the damage is more severe, a professional repair might be necessary. This could involve resealing the countertop or, in some cases, replacing parts of it.
Severe Damage: When the countertop is beyond repair, the best option might be a complete replacement. This is often the most costly option but ensures a fresh, new look for your kitchen.
DIY Repairs: A Budget-Friendly Approach
If you opt for a DIY approach, there are several methods and materials you can use to repair your countertop. Here are some popular options:
Countertop Repair Kits: These kits often include everything you need to fill and smooth out minor imperfections. Look for kits that are suitable for your specific countertop material—whether it’s granite, quartz, marble, or another type.

Epoxy Resin: For more extensive repairs, epoxy resin can be used to fill in cracks and chips. This method requires a bit more skill but can be very effective. Epoxy resin is available in a wide range of colors, so you can match it to your countertop’s original hue.
Caulk: If your countertop has small gaps or cracks, caulk can be used to fill them in. Choose a caulk that is appropriate for your countertop material to ensure a good bond and long-lasting repair.
Professional Repairs: Ensuring Longevity
For more significant damage, professional repair services can be a worthwhile investment. Here’s what you can expect:
Resealing: Some types of countertops, like granite and quartz, can be resealed to restore their protective finish. This process can often be done by a professional, extending the life of your countertop.
Partial Replacement: In cases where only part of the countertop is damaged, a professional can remove the damaged section and replace it with a new piece. This method is particularly useful for countertops with a modular design.
Full Replacement: When the entire countertop is damaged beyond repair, the best option is often to replace it entirely. This can be a significant investment but ensures a fresh start for your kitchen.
Costs of Replacement: What to Expect
The cost of replacing a kitchen countertop can vary widely based on the material, design, and labor involved. Here’s a breakdown of what you might expect:
Material Costs: Different materials have different price points. For example: Granite: $100 to $300 per square foot. Quartz: $70 to $200 per square foot. Marble: $150 to $400 per square foot. Silestone: $80 to $180 per square foot. Cement: $40 to $100 per square foot.
Installation Costs: Professional installation can add to the overall cost. Expect to pay an additional $50 to $150 per square foot for installation, depending on the complexity of the job.
Labor Costs: If you hire a professional to do the work, labor costs can vary based on your location and the complexity of the installation. This can add another $200 to $1,000 to the total cost.
Choosing the Right Material: Factors to Consider
When considering a new countertop, several factors should guide your choice:
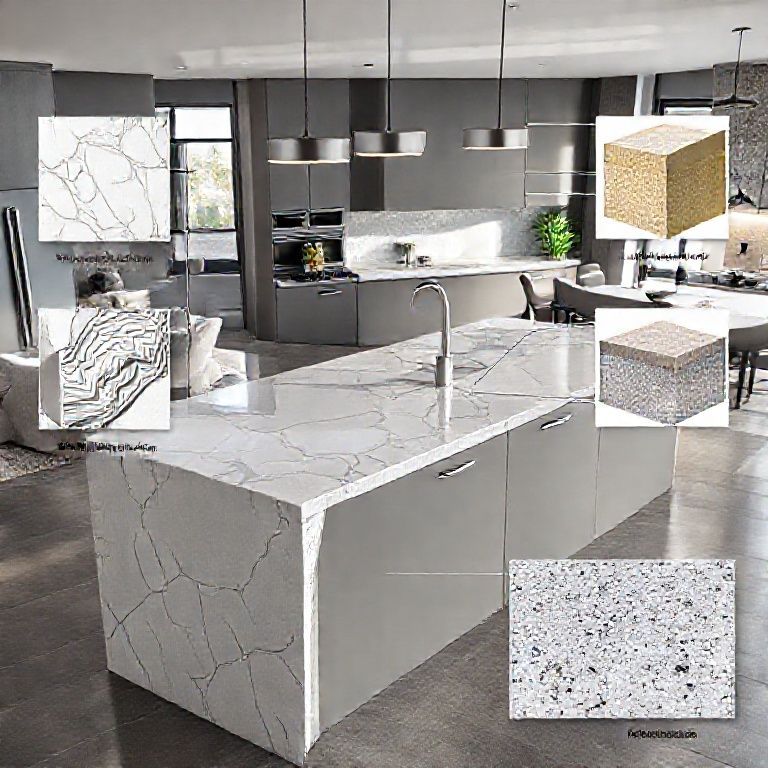
Durability: Different materials offer different levels of durability. Granite and quartz are highly durable and resistant to scratches and stains, making them excellent choices for busy kitchens.
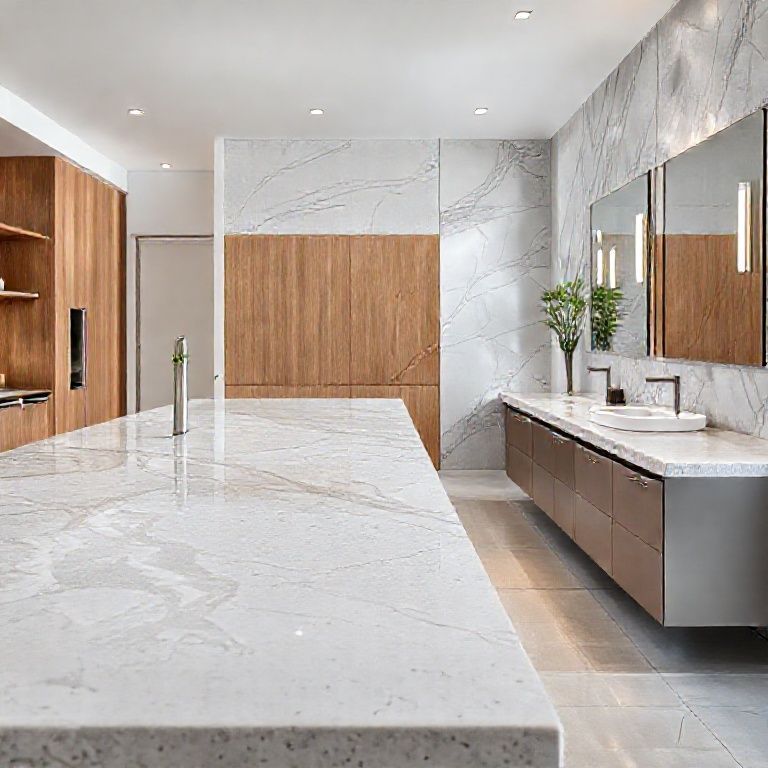
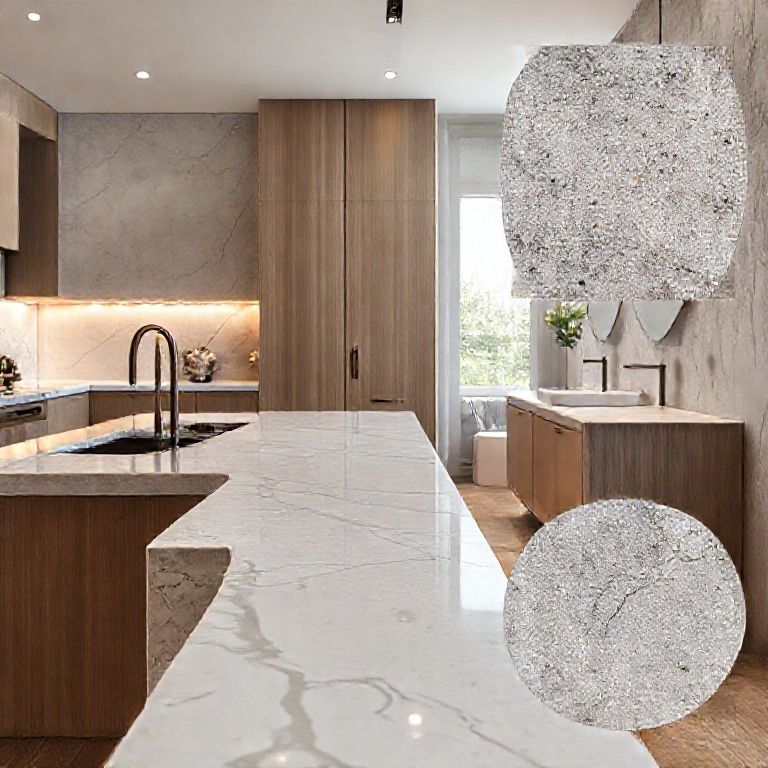
Aesthetic Appeal: Consider the style of your kitchen and choose a material that complements it. Marble offers a luxurious look, while modern materials like quartz and silestone provide sleek, contemporary designs.
Maintenance: Some materials require more maintenance than others. Natural stone like granite needs periodic sealing to maintain its protective finish. Quartz, on the other hand, is low-maintenance and easy to clean.
Budget: Finally, consider your budget. High-end materials like marble and onyx come at a premium price, while more affordable options like laminate and composite materials offer a cost-effective alternative.
Conclusion
Dealing with a damaged kitchen countertop doesn’t have to be overwhelming. By understanding the extent of the damage and weighing your options, you can make an informed decision that best suits your needs and budget. Whether opting for a DIY repair or a professional replacement, there are plenty of materials and techniques available to restore your kitchen’s functionality and beauty.
In the next part of this guide, we’ll delve deeper into the design and installation aspects of kitchen countertops, offering additional tips and insights to help you achieve the perfect kitchen makeover.
Designing and Installing Your Dream Kitchen Countertop: Detailed Insights and Tips
Now that you’ve assessed the damage and considered your options for repair or replacement, it’s time to dive deeper into the design and installation process. Whether you’re starting from scratch or revamping an existing countertop, here’s everything you need to know to achieve the perfect kitchen makeover.
Designing Your Kitchen Countertop: Style and Functionality
Designing a kitchen countertop involves balancing style and functionality. Here are some key considerations to keep in mind:
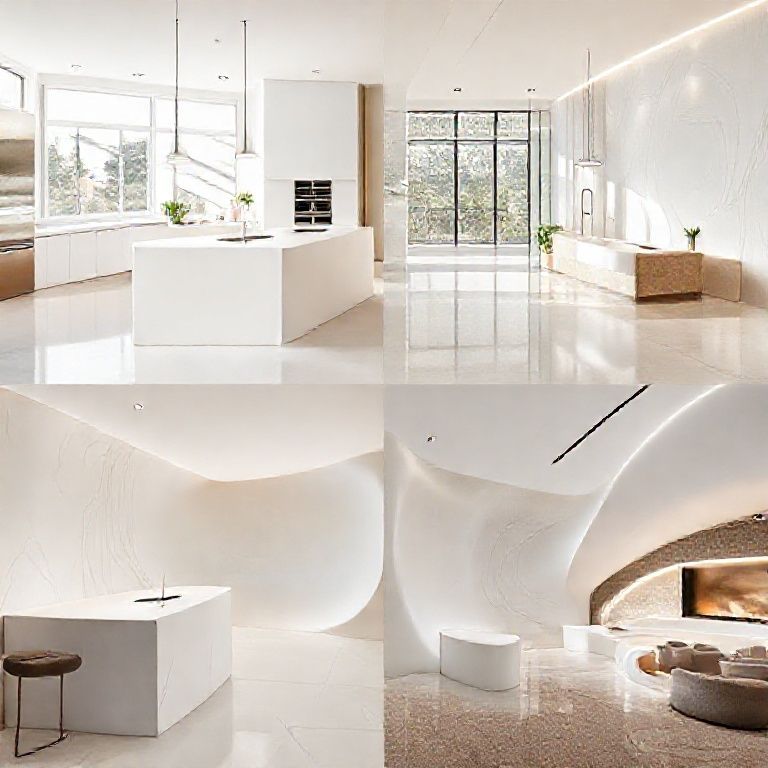
Style Matching: Your countertop should complement the overall style of your kitchen. Whether you prefer a modern, minimalist look or a classic, traditional design, choose a material and color that fits your vision.
Functionality: Consider the needs of your kitchen. If you frequently cook and prep food, a durable, easy-to-clean material like granite or quartz is ideal. If you’re more focused on aesthetics, a more decorative material like marble might be the way to go.
Surface Area: Measure the available space in your kitchen. This will help you choose a countertop size that fits well without overwhelming the space. Typically, countertops range from 2 to 4 feet wide, depending on the kitchen layout.
Edge Design: The edge of your countertop is often the most visible part. Consider options like bullnose, crumb-edge, or a seamless edge. Bullnose edges are popular for their natural, rounded appearance, while crumb-edges offer a more traditional look.
Color and Pattern: Choose a color and pattern that you love and that will stand the test of time. Neutral colors like gray, white, and beige are timeless, while bold colors and patterns can add personality to your kitchen.
Choosing the Right Installation Method: Do-It-Yourself vs. Professional
Deciding between a DIY installation and hiring a professional can significantly impact the outcome of your project. Here’s a look at both options:
DIY Installation: Pros and Cons
Pros:
Cost-Effective: DIY installations save you labor costs, making them a more affordable option. Personal Satisfaction: Completing the project yourself can be a rewarding experience. Flexibility: You can work at your own pace and make adjustments as you go.
Cons:
Time-Consuming: DIY installations can take much longer than professional jobs. Skill Level: Requires a certain level of skill and patience. Mistakes can be costly and difficult to fix. Tools and Materials: You’ll need to purchase tools and materials, which adds to the overall cost. Professional Installation: Pros and Cons
Pros:
Expertise: Professionals have the skills and experience to ensure a perfect fit and finish. Time-Saving: Professionals can complete the job much faster than DIY. Quality Assurance: Professional installations typically offer a higher level of quality and durability.
Cons:
Cost: Hiring a professional can be more expensive, both in terms of labor and the cost of materials. Limited Flexibility: You’ll have to work within the professional’s schedule and methods.
Installation Tips and Techniques
Regardless of whether you choose to install继续我们的对话,让我们深入探讨一些具体的安装技巧和步骤,无论你是打算自己动手还是选择聘请专业人员进行安装。这些建议将帮助你在整个过程中做得更顺利。
如果你选择DIY安装:
准备工具和材料: 工具:水平仪、铅笔、测量尺、锯子、扳手、胶水枪、橡皮擦、钳子等。 材料:你选择的橱柜台面材料、背胶、胶水、防水密封胶等。 测量和切割: 确保你的测量精确。如果你的橱柜台面是定制的,确保尺寸与橱柜台面孔的尺寸匹配。 使用铅笔在台面上标记切割线,然后使用适当的工具进行切割。
安装背胶: 在橱柜台面背面均匀地涂抹背胶。背胶可以帮助固定台面,并提供一定的防水性能。 放置台面: 小心地将台面放置在橱柜台面孔上,确保其对齐。用扳手和胶水固定台面。 密封处理: 使用防水密封胶密封台面与橱柜之间的接缝,以防止水分进入。 安装支撑件(如适用): 如果你的台面有支撑件,按照说明书进行安装。
清理和检查: 使用湿布清理台面表面的胶水和背胶,确保台面干净。 检查台面是否牢固,是否有任何松动。
如果你选择聘请专业人员安装:
选择专业人员: 确保你选择有经验和评价良好的专业安装人员。可以通过朋友推荐、网上评价或者当地的专业服务公司找到可靠的人选。 准备工作: 提前清理橱柜区域,确保安装人员有足够的工作空间。 安装过程: 专业人员将根据台面和橱柜的具体尺寸进行测量和切割。
他们会使用专业的工具和技术进行安装,确保台面的牢固和美观。 质量检查: 安装完成后,专业人员会对台面进行全面检查,确保没有任何松动或者安装缺陷。 他们还会提供一些后续维护的建议。
后续维护和保养:
无论你是自己安装还是聘请专业人员,正确的维护和保养都是延长台面寿命的关键。
日常清洁: 使用中性清洁剂和温水进行日常清洁。避免使用强酸、强碱或者钢丝球,以免损坏台面。 防水处理: 定期检查台面与橱柜的接缝,确保密封胶未干裂,及时更换。 避免尖锐物品: 尽量避免在台面上放置尖锐物品或者进行剧烈碰撞,以防止损坏。 定期检查: 每隔几个月检查台面的牢固度和是否有任何松动或者损坏。