Marble Renovation: The Ultimate Guide to a Timeless Transformation
In the realm of interior design, marble stands out as a symbol of elegance, luxury, and enduring beauty. However, maintaining the pristine condition of marble can be a daunting task. Whether you’re looking to refresh the look of your marble countertops, flooring, or any other marble surface, understanding the marble renovation process is essential. This comprehensive guide will walk you through every step of the marble renovation journey, ensuring your marble surfaces regain their luster and longevity.
Understanding Marble and Its Care Needs
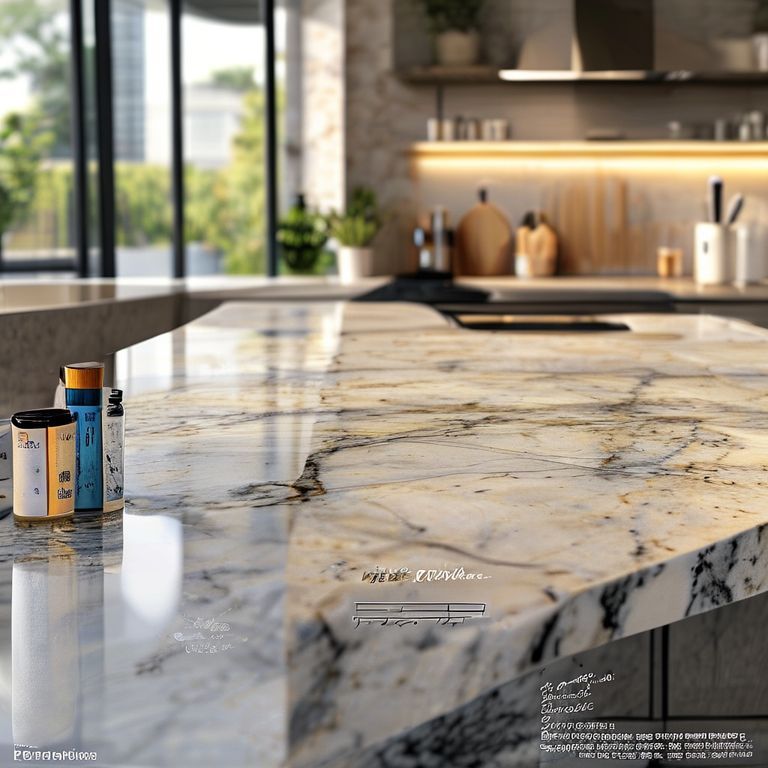
Marble is a metamorphic rock composed primarily of calcium carbonate, and it’s renowned for its unique, veined patterns and smooth texture. While its beauty is undeniable, marble is also a relatively soft stone, which makes it susceptible to scratches, stains, and etching. Proper care and regular maintenance are essential to keep marble in its best condition. Understanding the nature of marble is the first step in any renovation process.
Step 1: Initial Assessment and Planning
Before diving into the renovation process, a thorough assessment is crucial. Examine the marble surfaces for any signs of damage, including scratches, stains, etching, or water spots. This initial inspection will help you determine the extent of the renovation needed.
Planning Phase:
Define Goals: Determine what you want to achieve with the renovation. Are you looking to restore the marble to its original luster, or do you need to repair specific damages?
Budgeting: Marble renovation can vary in cost depending on the extent of work needed and the quality of materials used. Set a realistic budget to guide your choices.
Professional Consultation: Consult with a professional marble restoration expert to get a detailed assessment and a customized renovation plan. Their expertise can help identify any underlying issues that may require special attention.
Step 2: Cleaning and Preparation
Cleaning is a critical step in marble renovation. Due to its porous nature, marble can easily absorb stains and grime. A gentle yet effective cleaning process is essential to prepare the surface for further treatment.
Cleaning Process:
Surface Cleaning: Use a pH-neutral cleaner specifically designed for marble. Avoid harsh chemicals or abrasive cleaners that can damage the surface. Gently wipe the marble with a soft cloth to remove dirt and grime.
Deep Cleaning: For deeper stains, a professional deep-clean treatment might be necessary. This process involves using specialized cleaning agents and sometimes ultrasonic cleaning to remove ingrained dirt.
Drying: Ensure that the marble surface is completely dry before proceeding to the next steps. Moisture can lead to streaks and water spots during the renovation process.

Step 3: Repair and Restoration
Once the marble is clean and dry, it’s time to address any damage or imperfections.
Repair Techniques:
Scratches and Surface Chips: For minor scratches and surface chips, a marble polishing technique can help restore the surface. A professional will use specialized polishing compounds to smooth out the damaged areas.
Etching and Stains: For deeper etching or stubborn stains, a restorative treatment might be necessary. This involves filling in the affected areas with a marble filler that matches the surrounding surface. Once the filler is applied and allowed to cure, it is polished to blend seamlessly with the surrounding marble.
Cracks and Breaks: For larger cracks or breaks, a marble repair specialist can use a marble patch technique. This involves filling the cracks with a compatible filler and then polishing the surface to restore its appearance.
Step 4: Polishing and Sealing
The final step in the marble renovation process is polishing and sealing the surface to protect it from future damage.
Polishing:
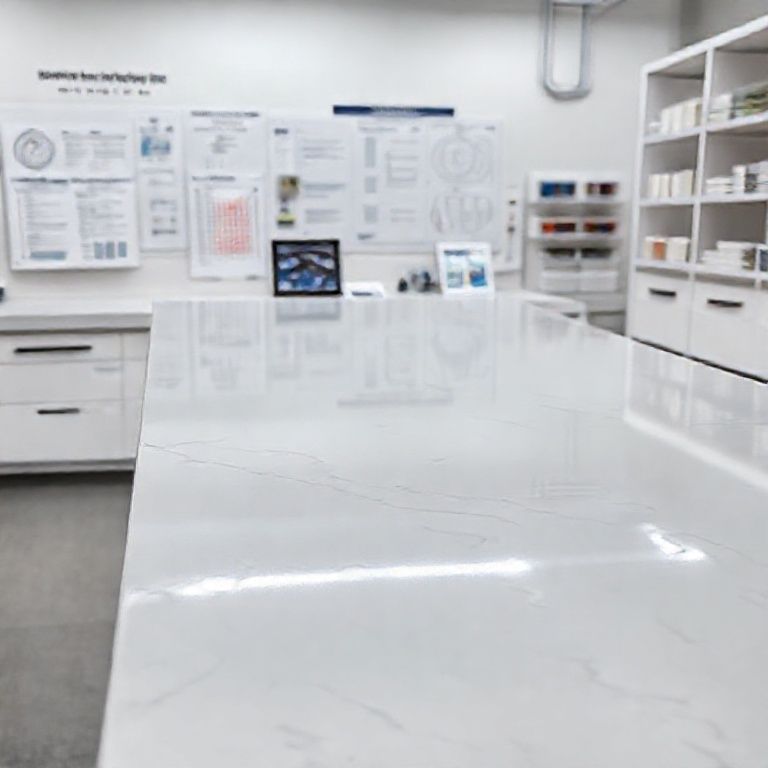
Surface Polishing: After repairs and restorations are complete, the marble surface is polished to achieve a smooth, glossy finish. This step enhances the natural beauty of the marble and restores its shine.
Sealing:
Application of Sealant: A high-quality marble sealant is applied to protect the surface from stains, spills, and daily wear. The sealant forms a protective barrier that makes cleaning easier and helps maintain the marble’s appearance over time.
Curing: Allow the sealant to cure according to the manufacturer’s instructions. This ensures that the sealant forms a durable and effective protective layer.
Conclusion
Marble renovation is a meticulous process that requires careful attention to detail. By following these steps, you can restore the beauty and elegance of your marble surfaces, ensuring they remain a stunning feature of your home for years to come. Remember, regular maintenance and timely professional intervention are key to preserving the timeless beauty of marble.
Mastering Marble Renovation: Advanced Techniques and Expert Tips
Building on the foundational steps outlined in our first part, this advanced guide will delve deeper into the nuances of marble renovation. Whether you’re a seasoned renovator or a novice looking to refine your skills, these expert techniques and tips will help you achieve impeccable results and ensure your marble surfaces maintain their elegance and longevity.
Advanced Cleaning Techniques
While regular cleaning is essential, advanced techniques can go a step further to ensure your marble remains pristine.
Ultrasonic Cleaning:
Process: Ultrasonic cleaning uses high-frequency sound waves to clean marble surfaces. This method is particularly effective for deep-seated stains and intricate designs.
Benefits: Ultrasonic cleaning is gentle on marble, reducing the risk of scratching or damaging the surface. It’s ideal for detailed areas and can remove tough stains that regular cleaning methods can’t tackle.
Chemical Cleaning:
Specialized Cleaners: Use pH-neutral, marble-specific cleaners for effective and safe cleaning. These cleaners are designed to break down grime without harming the marble’s surface.
Avoid Abrasives: Never use abrasive pads or cleaners that contain silica or other harsh particles. These can scratch the marble and lead to long-term damage.
Innovative Repair Solutions
When it comes to repairing damaged marble, advanced techniques can provide more durable and aesthetically pleasing results.
Micro-Filling:
Technique: Micro-filling involves using a fine marble dust mixed with a resin to fill in tiny cracks and imperfections. This method provides a seamless repair that blends perfectly with the surrounding marble.
Application: The micro-filler is applied to the damaged area, allowed to set, and then polished to match the surface. This technique is ideal for minor repairs that require a high level of precision.
3D Printing for Complex Repairs:
Technique: In cases of extensive damage, 3D printing can be used to create custom marble pieces that fit perfectly into the damaged area. These custom pieces can then be polished and sealed to blend seamlessly with the original marble.
Application: This innovative approach allows for highly detailed and precise repairs, ensuring that the marble surface looks as good as new.
Surface Protection and Durability
Protecting your marble from future damage is crucial for maintaining its beauty and longevity. Advanced sealing methods can provide a robust shield against stains, spills, and daily wear.
Nano-Sealants:
Technology: Nano-sealants are advanced sealing products that form a microscopic barrier on the marble surface. This barrier prevents stains and spills from penetrating the marble, making cleaning easier and preserving the surface’s appearance.
Application: Nano-sealants are applied using specialized equipment to ensure an even, high-quality finish. The curing process ensures that the sealant forms a durable, long-lasting protective layer.
Hybrid Sealants:
Composition: Hybrid sealants combine traditional sealant technology with nano-coating to provide superior protection. These sealants offer both immediate and long-term protection against stains and spills.
Application: Hybrid sealants are applied in multiple coats, each followed by a polishing step to ensure a smooth, even finish. This method provides a high level of protection while maintaining the natural beauty of the marble.
Professional Maintenance Tips
Regular maintenance by a professional can significantly extend the life and beauty of your marble surfaces.
Routine Inspections:
Frequency: Schedule routine inspections with a professional marble specialist at least once a year. These inspections can identify early signs of damage or wear that may require attention.
Professional Cleaning:
Frequency: Professional cleaning should be done at least twice a year. Professional cleaners have the expertise and equipment to thoroughly clean and prepare the marble for sealing or other treatments.
Immediate Repairs:
Prompt Action: Address minor scratches, chips, or stains as soon as they occur. Early intervention can prevent minor issues from becoming more significant problems that require extensive repair. # Conclusion: Ensuring Timeless Beauty with Expert Marble Renovation
The journey of marble renovation is an intricate process that blends science, art, and meticulous attention to detail. By understanding the nature of marble and employing advanced techniques, you can restore its original beauty and ensure it remains a stunning focal point in your home for years to come. Remember, the key to successful marble renovation lies in regular maintenance, timely professional intervention, and the use of high-quality materials and products.
Long-Term Maintenance and Care
Maintaining the beauty and longevity of your marble surfaces requires ongoing effort and care. Here are some essential tips for long-term marble maintenance:
1. Regular Cleaning:
Frequency: Clean marble surfaces at least once a week using a pH-neutral, marble-specific cleaner and a soft cloth. Avoid Harsh Chemicals: Never use cleaning products that contain bleach, ammonia, or other harsh chemicals. These can damage the marble’s surface.
2. Spot Cleaning:
Immediate Action: Clean up spills and stains immediately to prevent them from setting into the marble. Use Appropriate Cleaners: For tough stains, use specialized marble spot cleaners designed to break down the stain without harming the surface.
3. Sealing Maintenance:
Reapply Sealant: Depending on the usage and exposure, you may need to reapply the marble sealant every 12 to 24 months to maintain its protective properties. Choose High-Quality Sealants: Use only high-quality, pH-neutral sealants to ensure the best results and protection.
4. Avoid Abrasive Tools:
Use Soft Cloths: Always use soft, non-abrasive cloths for cleaning and polishing marble surfaces. Avoid Scrubbing: Do not scrub marble surfaces harshly. This can cause scratches and dull the surface.
5. Regular Professional Inspections:
Annual Check-Ups: Schedule annual inspections with a professional marble specialist to identify and address any early signs of damage or wear. Repair Minor Issues: Address minor scratches, chips, or stains promptly to prevent them from becoming more significant problems.
Final Thoughts
Marble renovation is a transformative process that requires expertise, precision, and a deep understanding of the material. By following the detailed steps and expert tips outlined in this guide, you can ensure that your marble surfaces not only look stunning but also endure the test of time. Embrace the timeless beauty of marble and enjoy its elegance for generations to come with the right care and maintenance.
This comprehensive guide aims to equip you with the knowledge and techniques needed for successful marble renovation, ensuring that your marble surfaces remain a beautiful and enduring feature of your home. Whether you are undertaking a small repair or a complete renovation, these insights will help you achieve professional-quality results and maintain the pristine beauty of your marble for years to come.