In today’s dynamic world of home improvement and design, artificial stone countertops have emerged as a popular choice for both residential and commercial spaces. Known for their durability, aesthetic appeal, and cost-effectiveness, these countertops are a game-changer in kitchen and bathroom design. But where do you begin if you’re eager to create your own artificial stone countertop? Look no further! In this first part of our video tutorial series, we’ll cover the basics, tools, materials, and essential steps to get you started on your DIY journey.
Understanding Artificial Stone Countertops
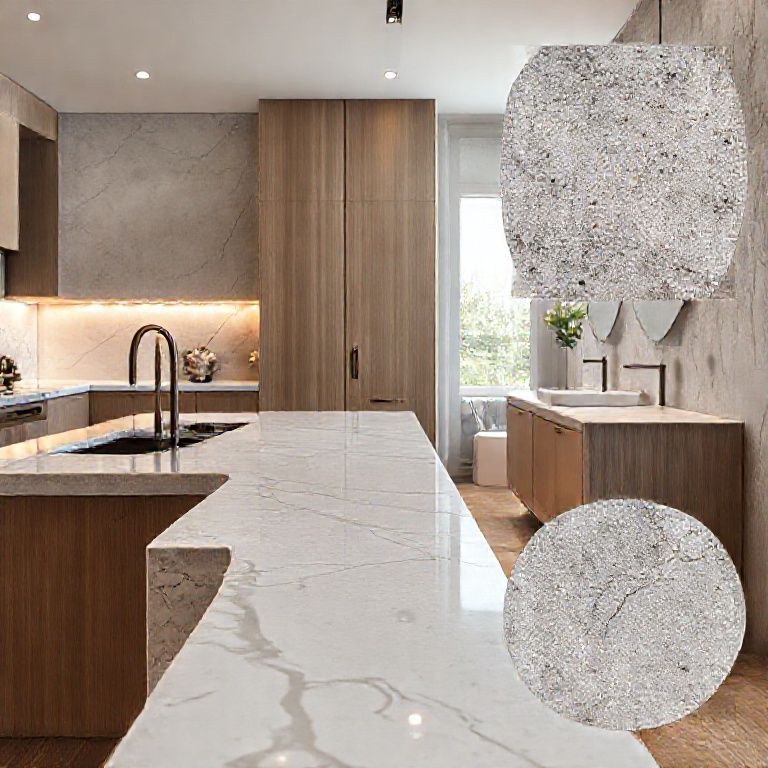
Artificial stone, often referred to as quartz, is a composite material made from natural quartz flour and resins. It’s known for its luxurious look, which mimics the appearance of natural stone while being more affordable and less prone to damage. The material is incredibly versatile, available in a myriad of colors and finishes, allowing for a wide range of design possibilities.
Why Choose Artificial Stone?
The allure of artificial stone countertops lies in their combination of beauty and practicality. Here are some key reasons why this material is gaining popularity:
Durability: Artificial stone is highly resistant to scratches, stains, and heat. This makes it an excellent choice for high-traffic areas like kitchens. Aesthetic Variety: With thousands of colors and patterns available, artificial stone allows for a unique and personalized design that can match any decor style. Cost-Effectiveness: While the initial investment might be higher than some other materials, the longevity and low maintenance of artificial stone make it a cost-effective option in the long run. Easy Maintenance: Unlike natural stone, artificial stone does not require sealing, and it’s easy to clean with a simple wipe down.

Essential Tools and Materials
Before diving into the creation process, it’s essential to gather the right tools and materials. Here’s a list of what you’ll need:
Artificial Stone Slab: The base material. Available in various colors and sizes. Saw: A tile saw or a countertop saw to cut the stone to the desired size. Sandpaper or a Grinder: For smoothing out any rough edges after cutting. Mixing Bowl and Spatula: For mixing the stone adhesive and other compounds. Countertop Adhesive: A strong adhesive specifically designed for artificial stone. Silicone Caulk: Used to seal the edges of the countertop. Level and Measuring Tape: To ensure your countertop is straight and accurately measured. Safety Gear: Gloves, goggles, and a dust mask to protect yourself while working.
Step-by-Step Instructions
Step 1: Measuring and Cutting
The first step in creating your artificial stone countertop is to measure and cut the slab to fit your desired space. Here’s how to do it:
Measure Your Space: Use a measuring tape to determine the dimensions of the area where the countertop will be installed. Take note of the width, length, and thickness of the slab you’ll be working with. Cut the Slab: Using a tile saw, carefully cut the slab to size. Make sure to cut straight lines and smooth out any rough edges with sandpaper or a grinder.
Step 2: Preparing the Surface
Before you can install the countertop, you need to prepare the area where it will be placed. Here’s what you should do:
Clean the Surface: Ensure the area is clean and free of any grease, dust, or debris. Use a cleaner appropriate for the surface beneath the countertop. Dry the Surface: Make sure the area is completely dry before proceeding.
Step 3: Applying Adhesive
Now it’s time to apply the adhesive that will secure the countertop to the surface. Here’s a step-by-step guide:
Mix the Adhesive: Follow the manufacturer’s instructions to mix the countertop adhesive in a bowl. Spread the Adhesive: Use a spatula to spread a thin, even layer of adhesive onto the surface where the countertop will be installed. Make sure to cover the entire area.
Step 4: Installing the Countertop
With the adhesive in place, you can now install the countertop:
Position the Countertop: Carefully place the cut slab onto the adhesive, making sure it is aligned correctly. Press Firmly: Use a level to ensure the countertop is straight and press it firmly onto the adhesive to ensure a good bond.
Step 5: Sealing the Edges
To complete the installation, you’ll need to seal the edges of the countertop:
Apply Silicone Caulk: Use a caulking gun to apply a bead of silicone caulk around the edges of the countertop. Smooth it out with a wet finger to ensure a tight seal. Clean Excess Caulk: Wipe away any excess caulk with a damp cloth while it’s still wet.
Tips and Tricks
Test Fit: Before fully committing to the installation, do a test fit to ensure everything is aligned correctly. Work in Sections: If you’re dealing with a large slab, consider working in sections to avoid any potential issues with adhesion. Follow Manufacturer’s Instructions: Always refer to the manufacturer’s guidelines for adhesive and other materials to ensure the best results.
By following these steps, you’ll be well on your way to creating a stunning artificial stone countertop that enhances the beauty and functionality of your kitchen or bathroom. In the next part of our series, we’ll delve deeper into advanced techniques, customization options, and maintenance tips to keep your artificial stone countertop looking its best.
In the second part of our comprehensive video tutorial series on artificial stone countertop creation, we’ll explore advanced techniques, customization options, and maintenance tips to help you take your DIY skills to the next level. Whether you’re looking to make intricate designs, add unique elements, or ensure your countertop lasts for years to come, this guide will cover it all.
Advanced Techniques
Creating an artificial stone countertop is not just about the installation; it’s also about the creative possibilities it offers. Here are some advanced techniques to consider:
1. Custom Shapes and Cuts
Artificial stone is incredibly versatile, allowing you to cut it into almost any shape you desire. Here’s how to achieve custom cuts:
Design Your Shape: Sketch out the shape you want for your countertop. Use graph paper to ensure precision. Mark the Slab: Carefully mark your design on the stone slab using a pencil and a ruler. Cut with Precision: Using a tile saw, carefully cut along your markings. Take your time to ensure clean, precise cuts.
2. Incorporating Unique Elements
To make your countertop stand out, consider incorporating unique elements such as:
Metal Accents: Attach metal trims or decorative pieces to the edge of the countertop for a modern touch. Glass Inlays: Integrate glass pieces into the countertop for a stunning visual effect. Embedded Features: Create embedded designs such as flowers, hearts, or intricate patterns using different colors of artificial stone.
3. Designing with Colors and Patterns
Artificial stone comes in a vast array of colors and patterns, allowing for endless design possibilities. Here’s how to use them effectively:
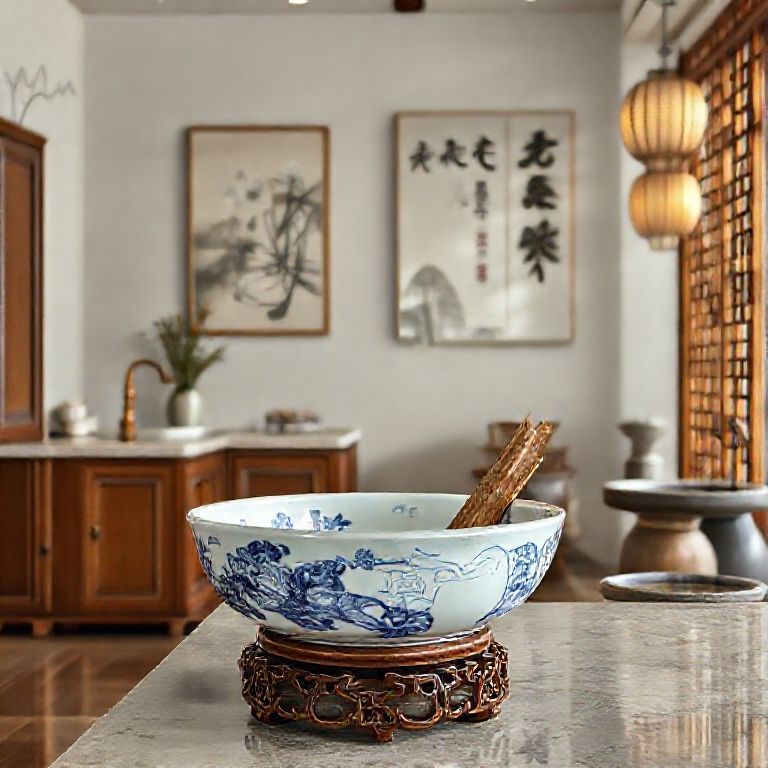
Color Matching: Choose a color palette that complements your existing decor. You can use online color palette tools to help with your selection. Pattern Combinations: Mix and match patterns to create a unique and cohesive look. For example, combine a marble pattern with a sleek, modern color for a striking contrast.
Customization Options
Artificial stone is highly customizable, making it a perfect material for personalized design projects. Here’s how to get creative with your countertop:
1. Color Customization
While artificial stone comes in many pre-mixed colors, you can also create custom colors by mixing your own:
Mixing Colors: Use the color mixing guides provided by the manufacturer to create your own unique shades. Testing: Test your color on a small piece of stone to ensure it meets your expectations before committing to a larger slab.
2. Texture Variations
Artificial stone can mimic various natural stone textures, but you can also create custom textures:
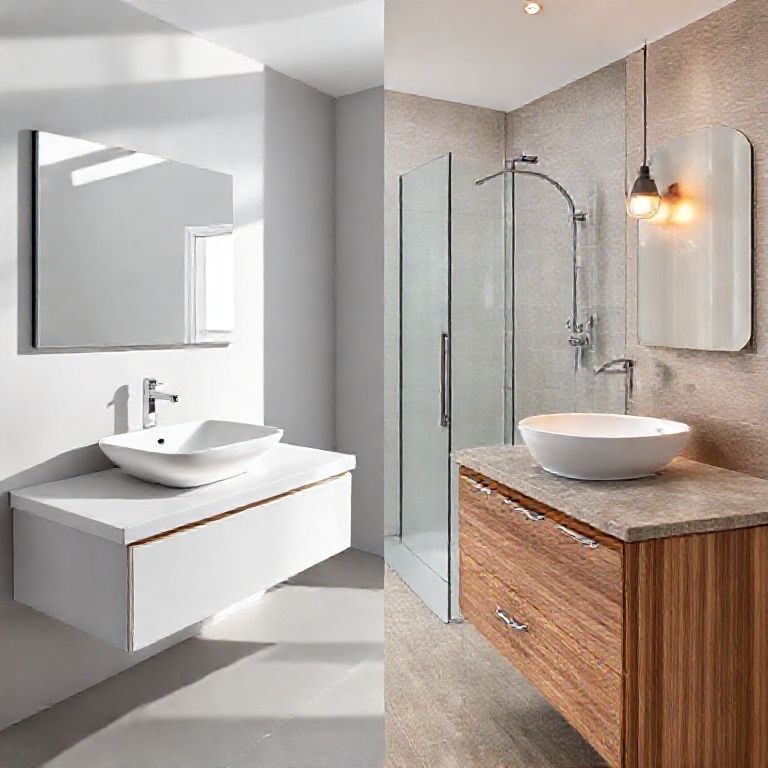
Textured Finishes: Use different finishes such as brushed, honed, or polished to achieve various looks. Special Effects: Add special effects like ombre, where the color fades from one shade to another, or use contrasting textures to highlight certain areas.
3. Special Shapes and Forms
For those who want to go beyond the standard rectangular or square countertops, artificial stone can be shaped into almost anything:
Freeform Shapes: Use freeform saw blades to cut the stone into custom shapes like curves, arcs, or even geometric designs. 3D Elements: Incorporate three-dimensional elements like islands, peninsulas. 或者独特的形状,这样的设计可以为您的空间带来更多的视觉趣味和功能性。
安装技巧和建议
在安装过程中,有一些技巧和建议可以帮助您确保最佳效果:
准备工作: 表面清洁:确保安装表面干净、平整、干燥。任何污垢或油脂都会影响胶水的粘附力。 表面处理:如果表面有不平整或裂缝,需要进行修补和打磨。 胶水选择: 使用专业的石材胶水,确保其具有足够的粘合力和耐久性。 胶水应在阴凉干燥的环境中使用,以确保其性能。
安装过程: 预涂胶水:在石材和表面之间均匀涂抹胶水,避免胶水溢出。 对齐和压实:将石材放置在预涂胶水的表面上,确保对齐,然后轻轻按压以确保胶水充分接触表面。 水平和垂直校正:使用水平尺和量角器,确保石材安装在正确的位置和角度。 密封处理: 安装完成后,等待胶水完全干燥后,使用适当的密封剂对石材进行密封处理。
这不仅能增加耐用性,还能提升美观效果。 清理: 在胶水未干之前,避免让任何物品接触到石材表面,以防止污渍和印记。
维护和保养
日常清洁: 使用温和的清洁剂和水进行日常清洁。避免使用酸性或含有研磨颗粒的清洁剂。 使用柔软的布或海绵擦拭表面,避免划伤。 处理溢出物: 及时处理任何溢出的液体,尤其是酸性或碱性液体,这些物质可能会导致损害。 使用干布迅速擦干溢出物,然后用清水彻底冲洗。
定期维护: 定期使用专业的石材护理产品进行表面保养,这可以帮助保持光泽和防止污渍。 避免重物: 尽量避免在台面上放置过重的物品,这样可以防止压痕和划痕。
通过以上这些技巧和建议,您可以确保您的人造石台面不仅美观,还能长期保持其最佳状态。如果您有任何特殊的设计需求或问题,建议咨询专业人员以获得更具体的指导。