Introduction to Artificial Stone Countertop Repair
Artificial stone countertops are a popular choice in modern kitchens and bathrooms due to their durability, aesthetic appeal, and low maintenance requirements. However, despite their resilience, these countertops can still suffer from scratches, chips, and other forms of damage over time. Knowing how to repair these surfaces can save you money and extend the life of your countertop. In this part of our guide, we will explore the basics of artificial stone, common types of damage, and the essential tools and materials needed for a successful repair.

Understanding Artificial Stone Countertops
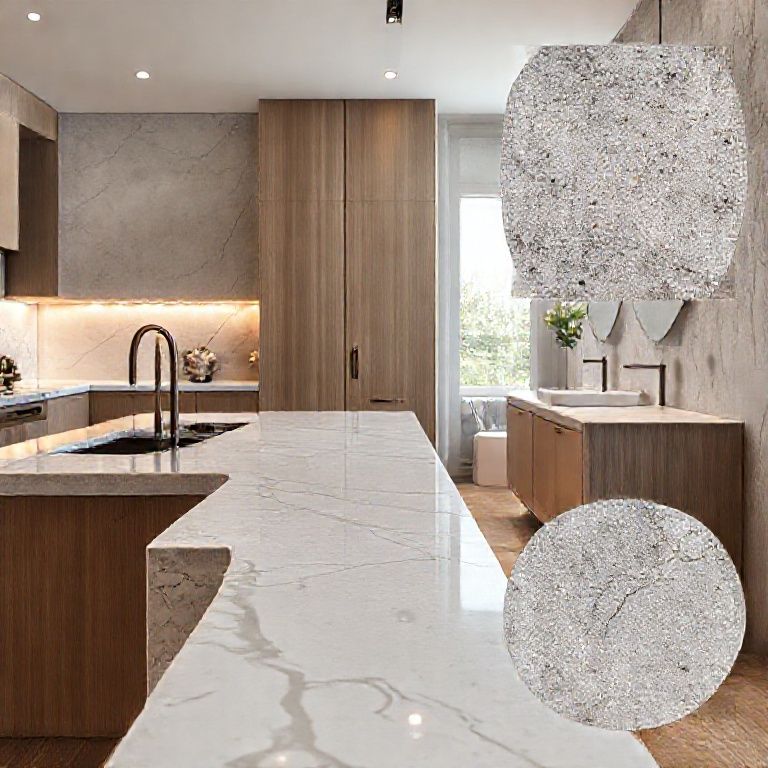
Artificial stone, often composed of materials like quartz, is known for its strength and durability. Unlike natural stone, artificial stone is made from a combination of minerals and resins, giving it a unique composition that mimics the look of natural stone while offering superior resistance to scratches, stains, and impact. Despite this, artificial stone can still be affected by certain types of damage, including:
Scratches: Often caused by metal utensils or hard objects. Chips and Cracks: Resulting from impacts or excessive pressure. Stains: Although less common, stains can occur from certain chemicals or foods.
Common Types of Damage and Their Solutions
To effectively repair your artificial stone countertop, it’s crucial to identify the type of damage present. Here are some common issues and their solutions:
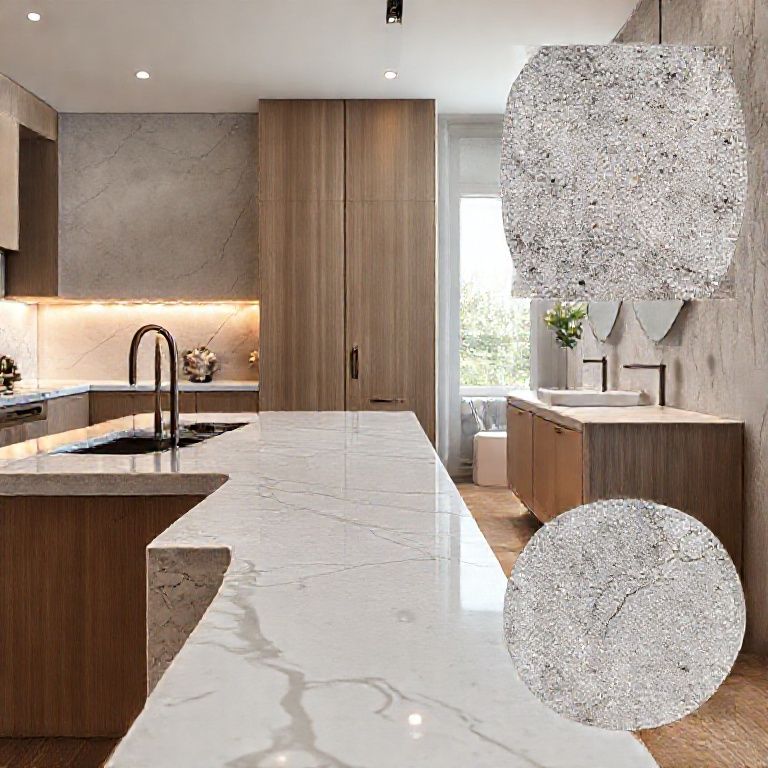
Minor Scratches: Solution: Use a stone countertop repair kit which typically includes polishing compounds and pads. Gently rub the affected area with the polishing compound and then buff it with a clean cloth to restore the surface. Deep Scratches: Solution: For deeper scratches, a more intensive polishing method is required. Start with a coarse polishing compound, followed by a finer one, until the scratch is no longer visible. Chips and Small Cracks: Solution: For small chips, you can use epoxy resin or a countertop repair paste. Apply the resin carefully, fill the chip, and let it cure as per the manufacturer’s instructions. For small cracks, a similar approach with resin can be effective. Stains: Solution: For stubborn stains, a stone cleaner or a specialized stain remover can be used. Always test any cleaner on a small, inconspicuous area first to ensure it doesn’t damage the surface.
Essential Tools and Materials for Repair
Before beginning the repair process, gather the necessary tools and materials:
Stone Repair Kits: These usually contain various polishing compounds and pads. Epoxy Resin or Repair Paste: For filling chips and cracks. Sandpaper: Various grits for sanding down scratches. Cleaning Supplies: Appropriate stone cleaners and cloths.
Safety First: Personal Protective Equipment (PPE)
When working on countertop repair, safety should be your top priority. Use:
Gloves: To protect your hands from chemicals and resins. Safety Glasses: To shield your eyes from dust and debris. Mask: To avoid inhaling any dust or fumes from cleaning products or resins.

Step-by-Step Guide to Preparing for Repair
Clean the Surface: Thoroughly clean the countertop to remove any dirt, grime, or food residue. Use a mild stone cleaner or a mixture of water and vinegar. Identify the Damage: Carefully examine the countertop to determine the extent and type of damage. Gather Materials: Collect all necessary tools and materials for the repair process. Protect Surrounding Areas: Use painter’s tape to protect adjacent surfaces and ensure clean edges.
Conclusion
Repairing artificial stone countertops can be a straightforward process if you have the right knowledge and tools. Understanding the nature of the damage and the appropriate repair techniques is key to achieving a flawless finish. In the next part of our guide, we will delve deeper into the repair process, providing a detailed video tutorial to help you master the art of artificial stone countertop restoration.
In-Depth Repair Techniques and Professional Video Tutorial
In this part of our comprehensive guide, we will take a closer look at the repair techniques for artificial stone countertops, offering detailed steps and insights to ensure a successful repair. We will also introduce a professional video tutorial that demonstrates these techniques in action, making it easier for you to follow along and apply the methods to your own countertop.

Advanced Repair Techniques
Understanding and mastering advanced repair techniques can make a significant difference in the outcome of your countertop restoration. Here’s a deeper dive into the repair methods:
Polishing Deep Scratches:
Step-by-Step Process:
Step 1: Start with a coarse polishing compound. Using a clean cloth or a polishing pad, gently rub the scratch with the compound. This will help to smooth out the scratch. Step 2: Once the scratch is less visible, switch to a finer polishing compound. Repeat the process until the scratch is completely removed. Step 3: Finally, use a high-gloss polish to bring back the shine of the countertop.
Repairing Chips and Cracks:
Step-by-Step Process:
Step 1: Clean the affected area thoroughly to remove any dust or debris. Step 2: Apply epoxy resin or countertop repair paste to the chip or crack. Use a small brush to fill the area completely. Step 3: Smooth the surface with a clean cloth to ensure an even finish. Step 4: Allow the resin to cure as per the manufacturer’s instructions. Step 5: Once cured, polish the area with a fine polishing compound to blend it seamlessly with the rest of the countertop.
Handling Stains:
Step-by-Step Process:
Step 1: Identify the type of stain and select an appropriate cleaner. Test the cleaner on a small, inconspicuous area first. Step 2: Apply the cleaner to the stained area using a soft cloth or sponge. Step 3: Gently scrub the area in a circular motion to avoid spreading the stain. Step 4: Rinse the area with water and dry it thoroughly. Step 5: If necessary, repeat the process until the stain is completely removed.
Professional Repair Video Tutorial
To complement our detailed guide, we have created a professional repair video tutorial that walks you through each step of the repair process. This video provides clear, step-by-step instructions and visual demonstrations, making it easier for you to understand and replicate the techniques.
Watch the Video Here:
[Insert link to the professional repair video]
Key Highlights of the Video:
Introduction to Repair Tools and Materials: The video begins by introducing the essential tools and materials required for the repair process. Cleaning and Preparation: Detailed steps on how to clean and prepare the countertop for repair. Repairing Scratches: Demonstrates how to polish out deep scratches using different polishing compounds. Filling Chips and Cracks: Shows how to use epoxy resin to fill chips and cracks, followed by polishing to blend the repaired area. Handling Stains: Provides a practical demonstration of removing stains using appropriate cleaners and techniques.
Final Touches and Maintenance
After successfully repairing your artificial stone countertop, it’s important to maintain its beauty and longevity. Here are some tips to keep your countertop looking pristine:
Regular Cleaning: Clean the countertop regularly with mild stone cleaners and avoid using harsh chemicals. Protective Coatings: Apply a protective coating or sealant periodically to enhance the durability and resistance of the countertop. Avoiding Damage: Use cutting boards, placemats, and trivets to protect the surface from scratches and heat.
Conclusion
Repairing artificial stone countertops doesn’t have to be a daunting task. With the right knowledge, tools, and techniques, you can restore your countertops to their original beauty. Our detailed guide, combined with the professional repair video tutorial, provides you with all the information you need to tackle common repair issues. Remember, maintaining your countertops with regular cleaning and protective coatings will ensure they remain a stunning feature in your home for years to come.
Final Thoughts
Artificial stone countertops are a remarkable choice for modern homes, offering a blend of aesthetics and functionality. By understanding how to repair these surfaces, you can ensure they remain in excellent condition, enhancing both the beauty and value of your home. Whether you are a DIY enthusiast or a professional, our guide and video tutorial are designed to equip you with the expertise to handle any countertop repair challenge that comes your way.