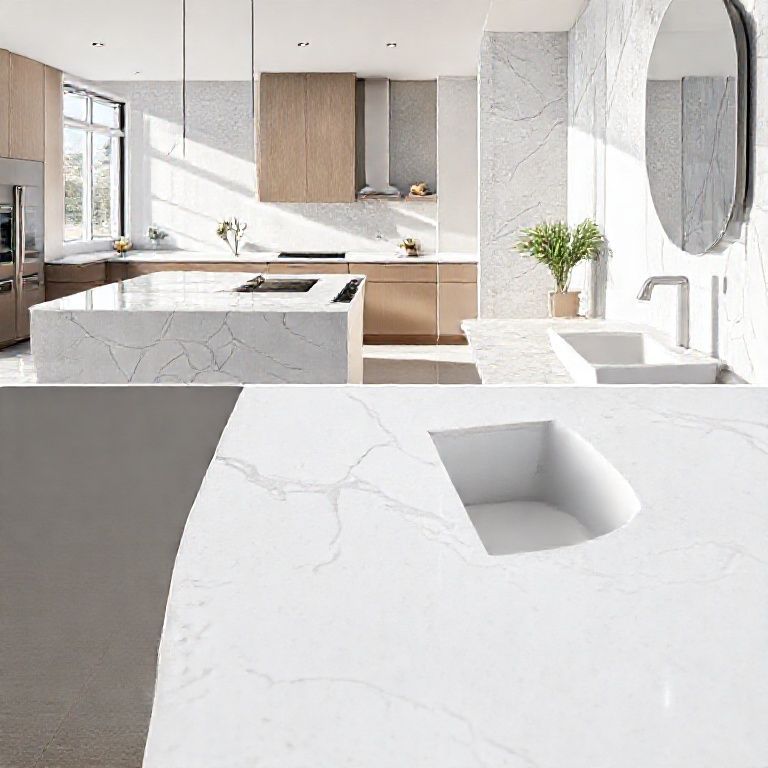
In today’s modern kitchen design, artificial stone countertops have become a popular choice due to their durability, low maintenance, and aesthetic appeal. However, like any surface, they can suffer from wear and tear over time, leading to cracks, chips, or discoloration. If you’re wondering how to restore the pristine look of your artificial stone countertops, look no further. In this first part of our comprehensive guide on “Artificial Stone Countertop Repair: A Complete Video Guide Collection,” we’ll delve into the initial steps, assessment techniques, and fundamental tools necessary for successful repair.
Initial Assessment and Preparation
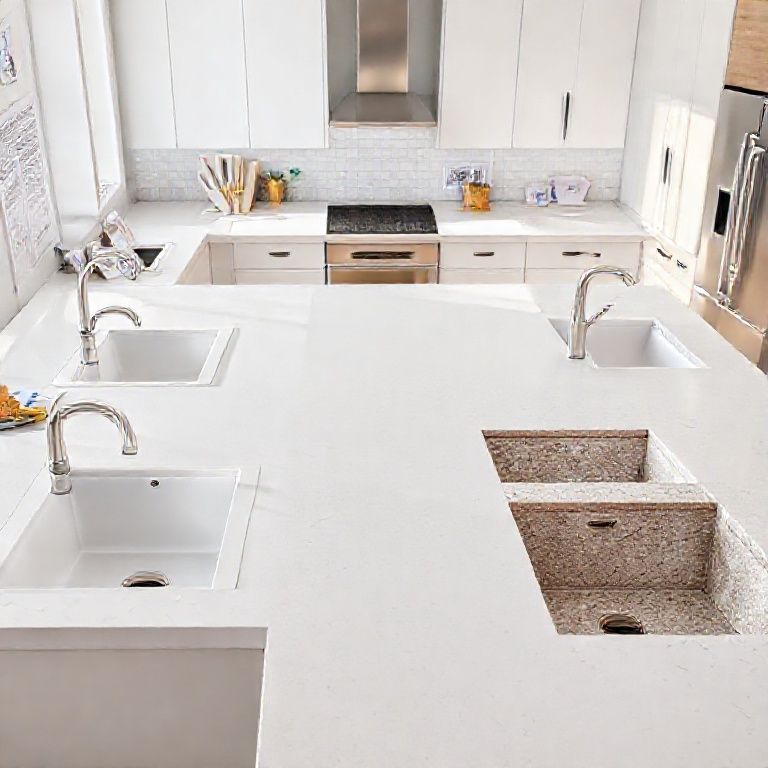
The first step in repairing your artificial stone countertop is a thorough assessment of the damage. Use a magnifying glass to closely inspect the surface for cracks, chips, or other imperfections. Pay special attention to any areas where the countertop has been stained or discolored. Document the damage with photographs to refer back to as you progress through the repair process.
Before you begin the repair, gather all necessary tools and materials. Common tools include a utility knife, sandpaper, a stone polish, and a repair filler that matches the color of your countertop. For a professional finish, consider using a high-quality epoxy or polyurethane filler, which is specifically designed for stone surfaces.
Understanding the Structure of Artificial Stone
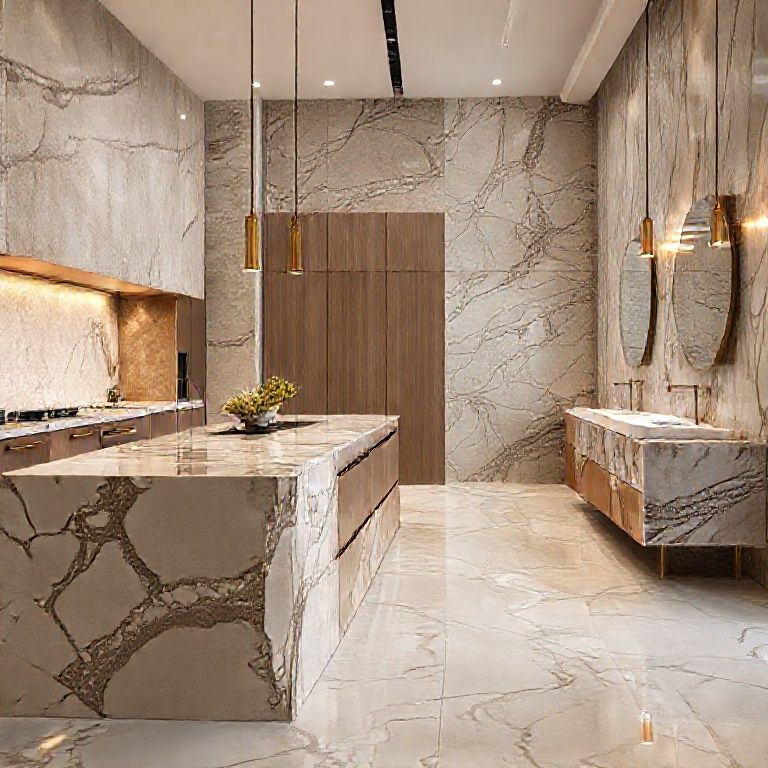
Artificial stone is typically a composite material made from natural stone dust and resin. It’s essential to understand the structure of your specific countertop to choose the appropriate repair method. Some common types of artificial stone include quartz, granite, and composite stone. Each type has unique properties and may require specific repair techniques.
Cleaning and Preparing the Surface
Clean the affected area with a stone-safe cleaner to remove any dirt, grime, or previous repair residues. Use a damp cloth to wipe down the surface, ensuring it’s dry before beginning any repair work. For deep cleaning, a pH-neutral cleaner is recommended to avoid damaging the stone.
Once the surface is clean and dry, lightly sand the damaged area using fine-grit sandpaper. This step is crucial as it helps the repair filler adhere better to the stone surface. After sanding, wipe the area with a clean cloth to remove any dust.
Color Matching and Application of Repair Filler
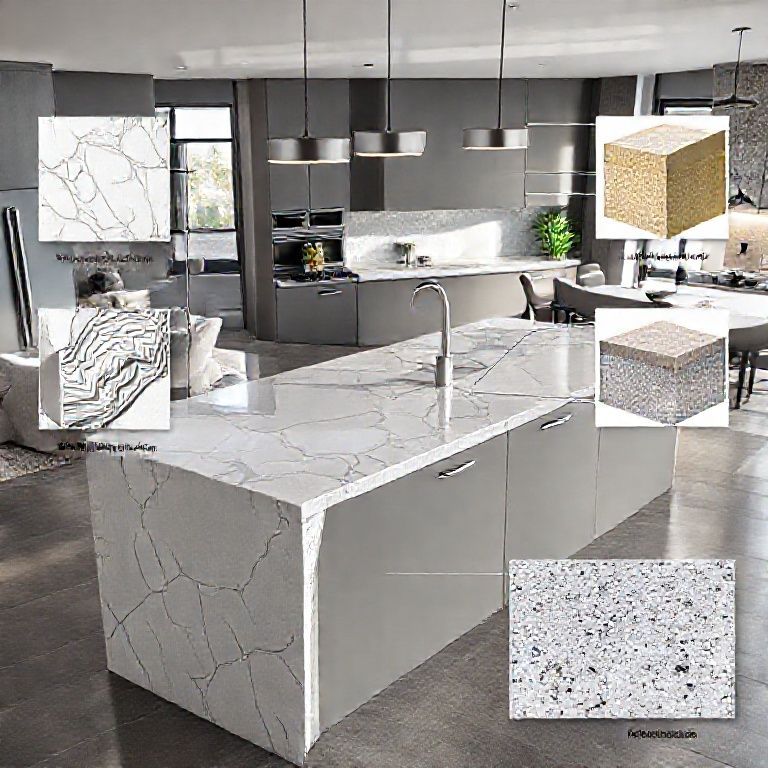
Selecting the correct color for your repair filler is critical to achieving a seamless finish. Many repair fillers come with color matching charts or color cards to help you find the perfect match. Once you’ve chosen the right color, apply a small amount of the filler to a clean, disposable surface.
Using a putty knife or a specialized stone repair tool, spread the filler over the damaged area in a thin, even layer. Smooth the surface to ensure it’s flat and level with the rest of the countertop. Follow the manufacturer’s instructions for curing time, which typically ranges from a few hours to overnight, depending on the product.
Part 1 Conclusion
In this introductory part, we’ve covered the essential steps for assessing and preparing your artificial stone countertop for repair. Understanding the structure of the material, conducting a thorough cleaning, and accurately applying repair filler are foundational steps towards restoring the beauty and functionality of your countertop. Stay tuned for part two, where we’ll explore advanced repair techniques and finishing touches to achieve a flawless finish.
Building on the foundational techniques covered in the first part, this second part of our comprehensive guide on “Artificial Stone Countertop Repair: A Complete Video Guide Collection” will focus on advanced repair methods, intricate finishing touches, and maintenance tips to ensure your countertop remains in top condition for years to come.
Advanced Repair Techniques
Once you’ve completed the initial filler application and allowed it to cure, it’s time to move on to more advanced repair techniques. For deeper cracks or larger areas of damage, consider using a thicker layer of filler or a fiber mesh patch. Fiber mesh patches provide additional support and can help prevent future cracking in structurally compromised areas.
To apply a fiber mesh patch, first cut a piece of mesh that slightly overlaps the damaged area. Apply a layer of repair filler over the patch and press it firmly into place. Smooth the surface and let it cure as per the manufacturer’s guidelines. This method is particularly effective for areas where the stone has been compromised due to heavy use or impacts.
Polishing and Finishing
After the filler has fully cured, it’s time to polish the repaired area to blend it seamlessly with the rest of the countertop. Begin with a medium-grit polish to remove any surface imperfections and smooth out the filler. Follow this with a fine-grit polish to achieve a glossy, professional finish.
Use a stone-specific polish and a polishing pad or buffing tool to apply even pressure across the repaired area. Continue polishing until the surface is smooth and the repaired area blends seamlessly with the rest of the countertop. It’s important to work in small sections to ensure even polishing.
Sealing the Countertop
To protect your repaired countertop and maintain its beauty, sealing the surface is a crucial final step. Use a stone-specific sealer that provides a protective barrier against stains, spills, and daily wear. Apply the sealer using a clean cloth, working it into the surface with circular motions.
Allow the sealer to dry according to the manufacturer’s instructions, then buff the surface with a clean, dry cloth to achieve a high gloss. This step not only protects the countertop but also enhances its appearance by giving it a vibrant, shiny look.
Maintenance Tips for Long-Lasting Results
Proper maintenance is key to ensuring that your artificial stone countertop remains in excellent condition for years to come. Here are some essential tips to keep in mind:
Regular Cleaning: Clean your countertop regularly with a pH-neutral cleaner to remove daily spills and grime. Avoid using abrasive cleaners or scrubbers that can scratch the surface.
Immediate Spill Response: Address spills immediately to prevent stains and damage. Blot up liquids with a clean cloth and clean the area with a stone-safe cleaner.
Use Cutting Boards: Always use a cutting board when preparing food to protect the countertop from scratches and knife marks.
Avoid Heat Sources: Keep open flames and hot pots away from the countertop to prevent discoloration and damage from direct heat.
Periodic Sealing: Reapply the sealer every six months to a year, depending on the level of use and exposure to spills. This will help maintain the protective barrier and keep the countertop looking new.
Part 2 Conclusion
In this advanced segment, we’ve explored intricate repair techniques, including the use of fiber mesh patches for significant damage, as well as detailed polishing and finishing processes to achieve a seamless repair. Additionally, we’ve emphasized the importance of sealing the countertop and provided essential maintenance tips to ensure long-lasting results. By following these comprehensive steps, you can restore your artificial stone countertop to its original beauty and functionality, ensuring it remains a stunning feature in your kitchen for years to come.
Thank you for joining us on this detailed journey through the world of artificial stone countertop repair. Stay tuned for more expert tips and insights on maintaining and enhancing your home’s beauty!