Discover the secrets to achieving a flawless finish on artificial stone countertops with our in-depth guide on sanding and polishing. Learn from experts and elevate your kitchen or bathroom space with professional-grade results. Perfect for DIY enthusiasts and professionals alike!
The Ultimate Guide to Sanding Artificial Stone Countertops
Introduction
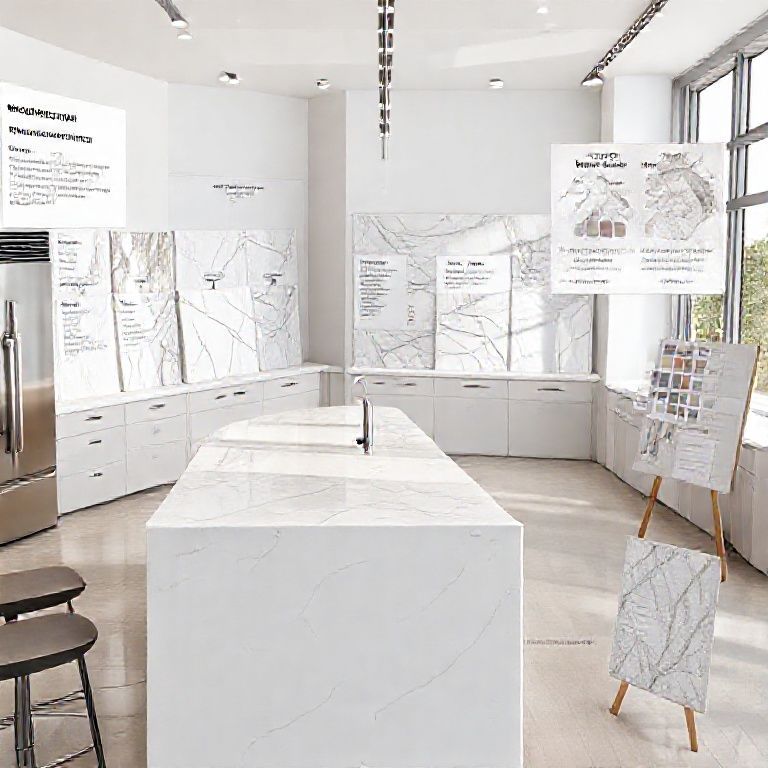
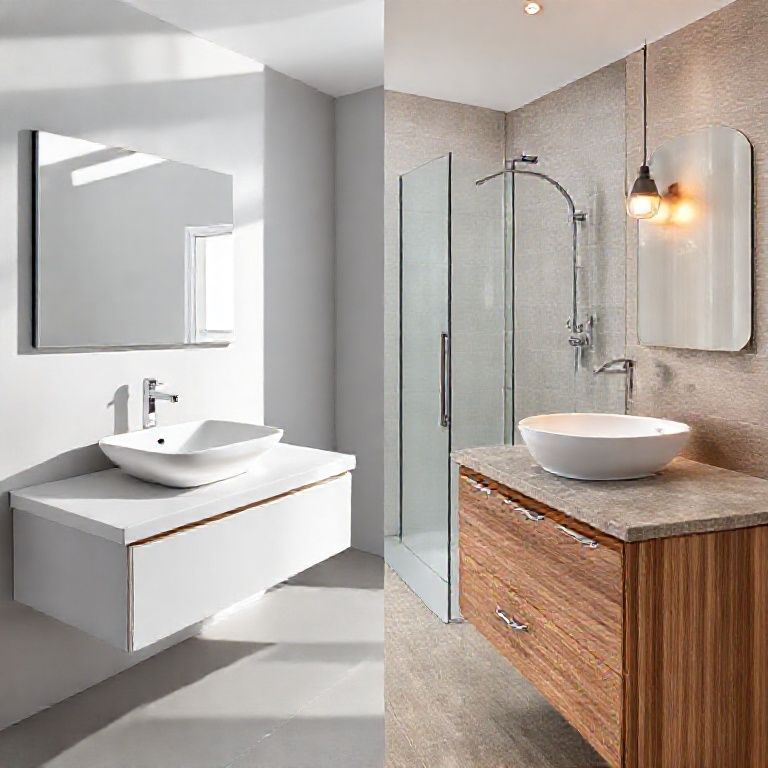
Artificial stone countertops have become a popular choice for modern kitchens and bathrooms, offering durability, aesthetic versatility, and ease of maintenance. However, to ensure these countertops look their best, proper care and finishing techniques are essential. In this part of our guide, we will delve into the art and science of sanding artificial stone countertops, providing you with all the knowledge you need to achieve a professional-looking finish.
Understanding Artificial Stone Countertops
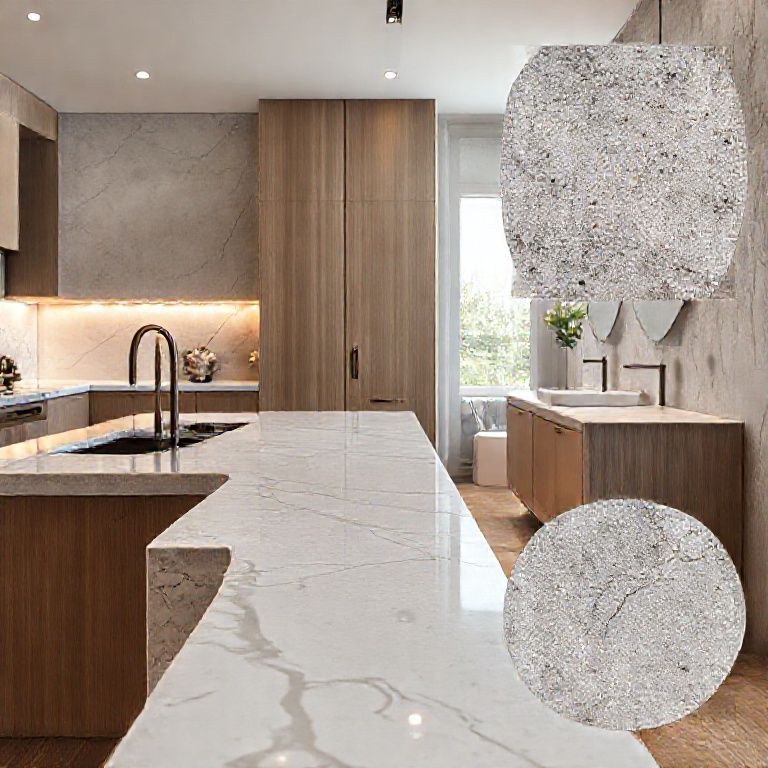
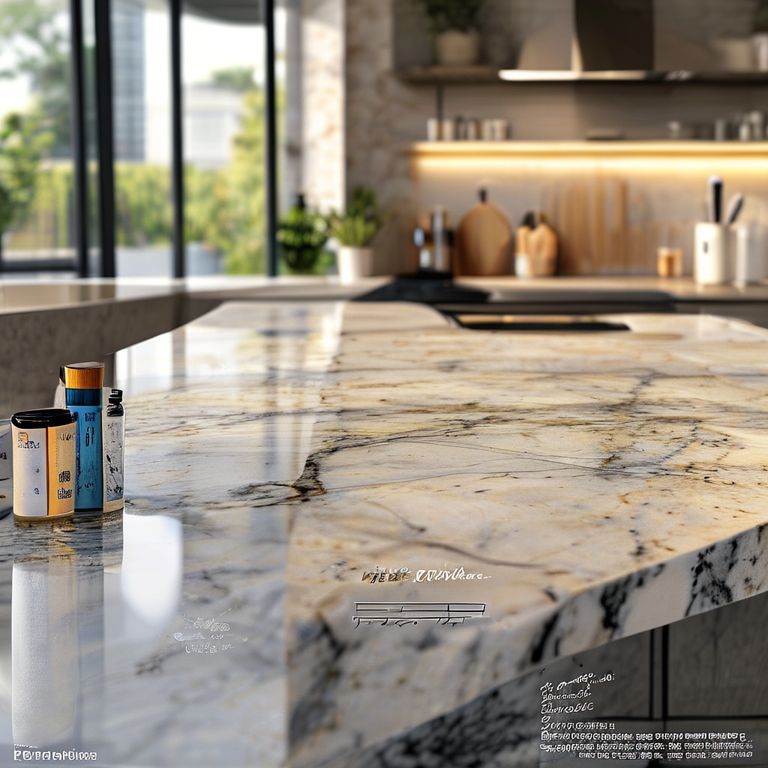
Before diving into the sanding process, it’s important to understand what artificial stone is and how it’s made. Artificial stone, also known as engineered stone, is a composite material made from natural minerals, such as quartz, calcite, and marble, combined with a polymer binder. This combination results in a material that is both durable and visually appealing, mimicking the look of natural stone while being more practical and easier to maintain.
Preparation Before Sanding
Preparation is key to successful sanding and polishing of artificial stone countertops. Here are the steps you should follow:
Clean the Surface: Start by thoroughly cleaning the countertop to remove any dirt, grease, or debris. Use a mild detergent and a soft cloth to wipe down the surface.
Protect Surrounding Areas: Use painter’s tape to cover any adjacent surfaces or fixtures that should not be sanded. This will prevent accidental damage during the sanding process.
Gather Your Tools: You’ll need a selection of sanding tools, starting with a coarse-grit sandpaper for initial sanding, followed by progressively finer grits for a smooth finish. A power sander or sanding block can help make the process more efficient.

Ensure Proper Ventilation: Sanding can produce dust and particles, so it’s important to work in a well-ventilated area. If possible, use a dust mask or a dust extraction system to minimize inhalation of particles.
The Sanding Process
The sanding process involves several stages, each with its own specific grit sandpaper:
Coarse Sanding: Begin with a coarse-grit sandpaper (around 40-60 grit). Use a power sander or sanding block to smooth out any rough spots or uneven areas. Apply even pressure and move the sandpaper in the direction of the grain to avoid scratches.
Medium Sanding: Once the surface is relatively smooth, move to a medium-grit sandpaper (around 80-120 grit). Continue to sand the surface to further refine the finish and remove any remaining imperfections.
Fine Sanding: For a smoother and more polished finish, use a fine-grit sandpaper (around 150-220 grit). This stage will help to blend the surface and prepare it for polishing.
Ultra-Fine Sanding: For the final stage, use an ultra-fine-grit sandpaper (around 240-320 grit). This will provide an ultra-smooth surface that is ready for polishing.
Cleaning After Sanding
After sanding, it’s crucial to clean the surface thoroughly to remove all sanding dust and particles. Use a damp cloth to wipe down the countertop, followed by a dry cloth to ensure the surface is completely clean and dry before proceeding to the polishing stage.
Polishing Artificial Stone Countertops to Shine
Introduction
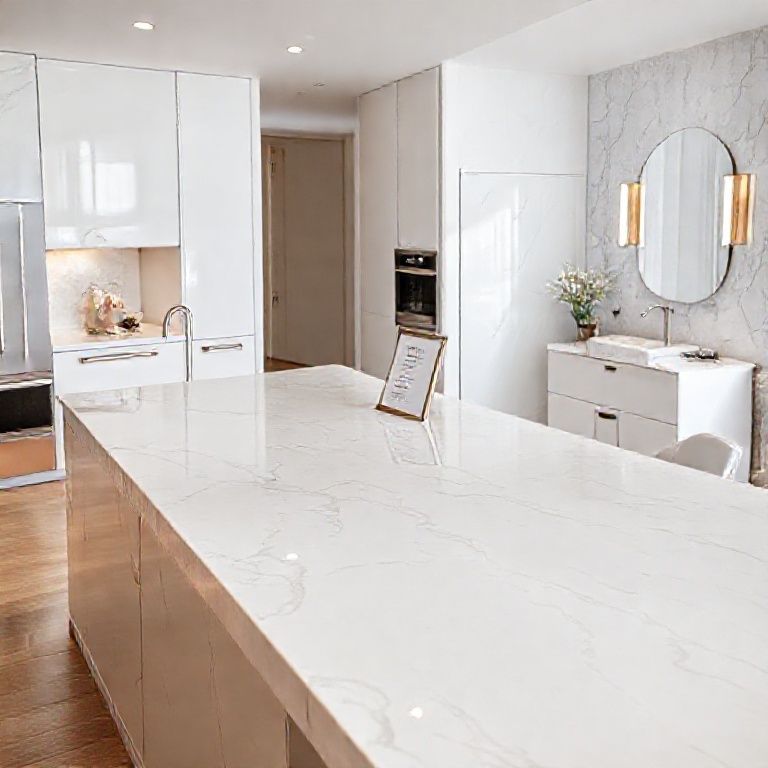
With the sanding process complete, the next step is to polish the artificial stone countertop to achieve that perfect, glossy finish. Polishing not only enhances the aesthetic appeal but also adds a layer of protection to the countertop, making it more resistant to stains and scratches. In this part of our guide, we’ll explore the best techniques and tools for polishing artificial stone countertops to a professional standard.
The Polishing Process
Polishing artificial stone countertops involves several steps to ensure a flawless finish. Here’s a detailed guide to help you through the process:
Select the Right Polishing Compound: Choose a polishing compound specifically designed for artificial stone. These compounds are formulated to safely and effectively polish the surface without causing damage.
Apply the Polishing Compound: Using a soft cloth or a polishing pad, apply a small amount of the polishing compound to the countertop. Ensure the compound is evenly distributed across the surface.
Polishing Technique: Start polishing in small sections. Use a circular motion to evenly distribute the compound and ensure thorough coverage. Apply gentle pressure and avoid using too much compound, as this can cause streaks and uneven finishes.
Buffing the Surface: After polishing a section, use a clean, dry cloth to buff the surface. This removes any residue from the polishing compound and reveals the shine. Buffing also helps to blend the polished areas together seamlessly.
Final Inspection: Once the entire countertop has been polished, inspect the surface for any uneven areas or streaks. If necessary, repeat the polishing and buffing process to achieve a uniform shine.
Cleaning and Maintenance
After polishing, it’s essential to keep your artificial stone countertop looking its best through proper cleaning and maintenance:
Regular Cleaning: Clean the countertop regularly with a mild detergent and a soft cloth to remove any dirt, grease, or spills. Avoid using abrasive cleaners or sponges that can scratch the surface.
Stain Prevention: To prevent stains, use a stone countertop sealant or protective coating. These products form a barrier that repels stains and spills, making it easier to clean and maintain the countertop.
Handling Spills: For spills, act quickly. Wipe up liquid spills immediately with a clean, dry cloth to prevent them from setting in and causing stains.
Deep Cleaning: Occasionally, a deep clean is necessary to remove any buildup of grime or residue. Use a stone countertop cleaner specifically designed for artificial stone and follow the manufacturer’s instructions for application and removal.
Tips for Maintaining a Polished Finish
To keep your artificial stone countertop looking pristine for as long as possible, follow these tips:
Use Cutting Boards and Mats: Place cutting boards and cutting mats on the countertop when preparing food. This prevents scratches and cuts that can mar the surface.
Avoid Abrasive Cleaners: Steer clear of abrasive cleaners and scrubbing pads that can scratch the surface of the artificial stone.
Cover the Countertop: When not in use, cover the countertop with a cloth or place a protective mat to shield it from dust and debris.
Regular Maintenance: Regularly check for any signs of wear or damage and address them promptly to prevent further deterioration.
Conclusion
Mastering the art of sanding and polishing artificial stone countertops is essential for achieving a professional and long-lasting finish. By following the detailed steps outlined in this guide, you can ensure your artificial stone countertop not only looks stunning but also maintains its durability and resistance to wear and tear. Whether you’re a DIY enthusiast or a professional in the field, these techniques will help you achieve a flawless finish that enhances the beauty and functionality of your kitchen or bathroom space.