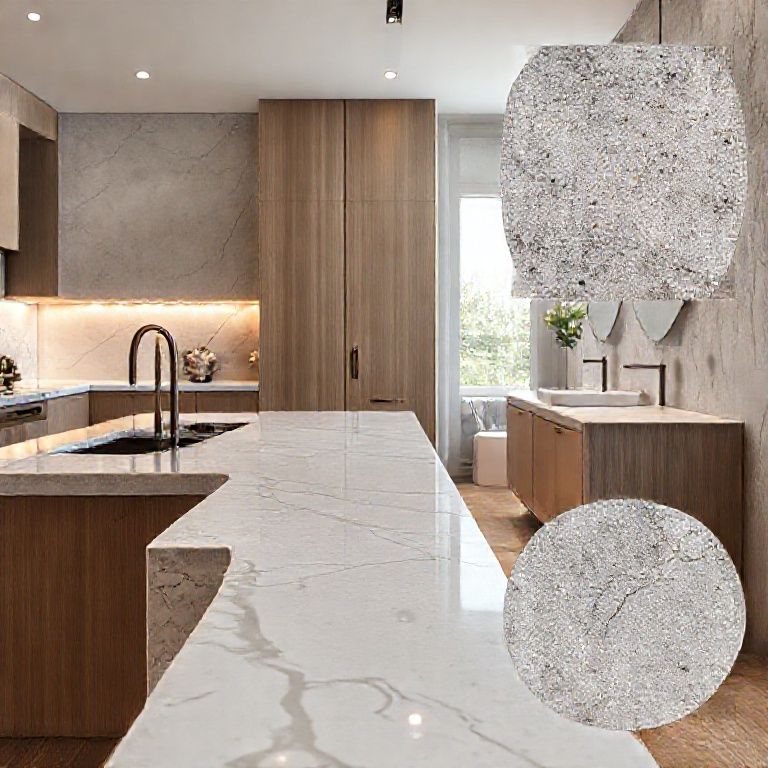
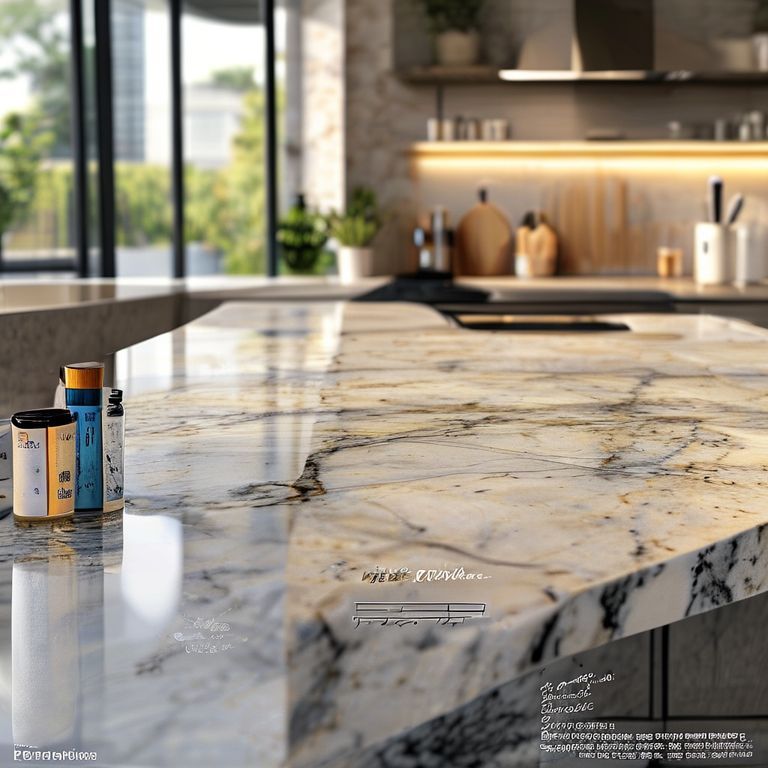
In today’s modern kitchen and bathroom design, artificial marble countertops are a popular choice due to their durability, aesthetic appeal, and cost-effectiveness. However, like any surface, they can suffer from wear and tear over time, leading to scratches, stains, and other imperfections. In this comprehensive guide, we will walk you through the essential steps to restore your artificial marble countertops to their pristine condition.
Understanding Artificial Marble Countertops
Before diving into the repair process, it’s crucial to understand what artificial marble is and how it differs from natural marble. Artificial marble, also known as cultured marble, is a composite material made from a mixture of limestone, marble dust, and resin. It is known for its strength and ability to mimic the look of natural marble at a fraction of the cost. While it is more durable than natural stone, it can still be susceptible to scratches, stains, and chips.
Tools and Materials You Will Need
To repair your artificial marble countertop effectively, you’ll need the following tools and materials:
Fine-grit sandpaper (220-400 grit) Polishing compound Microfiber cloths Safety goggles and gloves A small putty knife or spatula A soft-bristle brush Water A vacuum cleaner with a brush attachment
Having the right tools on hand will make the repair process smoother and more efficient.
Step-by-Step Repair Process
Step 1: Safety First
Before starting the repair, ensure you are working in a well-ventilated area. Put on safety goggles and gloves to protect yourself from dust and chemicals. This is particularly important when sanding and using polishing compounds.
Step 2: Cleaning the Surface
Begin by thoroughly cleaning the countertop surface. Use a vacuum cleaner with a brush attachment to remove any loose dirt or debris. Then, dampen a microfiber cloth with water and wipe down the surface to remove any remaining dust. Dry the surface with a clean microfiber cloth.
Step 3: Sanding the Affected Area
Using fine-grit sandpaper (220-400 grit), gently sand the scratched or stained area. Start with the coarser grit and gradually move to the finer grit to achieve a smooth finish. It’s important to sand gently to avoid further damage to the countertop. Make sure to sand in the direction of the grain to maintain the integrity of the material.
Step 4: Polishing the Surface
Once the surface is sanded, use a soft-bristle brush to apply a polishing compound to the area. The compound will help to fill in any scratches and bring back the shine of the countertop. Allow the compound to sit for a few minutes as per the manufacturer’s instructions.
Step 5: Buffing the Surface
Using a clean microfiber cloth, buff the area to remove the polishing compound and reveal a smooth, polished surface. Buffing will help to blend the repaired area with the rest of the countertop and restore its original luster. Ensure you buff in the direction of the grain.
Step 6: Final Clean
Finally, give the countertop a thorough cleaning with water and a microfiber cloth to remove any residual dust and polish. Allow the countertop to dry completely before using it again.
Tips for Maintaining Your Artificial Marble Countertops
To keep your artificial marble countertops looking their best, follow these maintenance tips:
Use only non-abrasive cleaning products to avoid scratches. Wipe up spills immediately to prevent stains. Use cutting boards and other heavy objects on protective pads to avoid chips and scratches. Regularly clean the surface to prevent build-up of grime and dirt.
By following these simple maintenance tips, you can extend the life of your artificial marble countertops and avoid the need for extensive repairs.
Advanced Techniques for Artificial Marble Countertop Repair
While the basic repair process outlined above should address most minor scratches and stains, there are instances where more advanced techniques are necessary. This part of the guide will delve into more complex repairs and provide additional tips to ensure your artificial marble countertops remain in top condition.
Repairing Larger Chips and Cracks
Larger chips or cracks in your artificial marble countertop can be more challenging to repair. Here’s how to handle these more severe damages:
Step 1: Assess the Damage
Carefully examine the chipped or cracked area to determine the extent of the damage. If the crack is small and superficial, the basic repair process may suffice. However, larger cracks or chips may require more extensive work.
Step 2: Clean the Area
Clean the damaged area thoroughly using the same method described in the basic repair process. Ensure that the surface is free of dust and debris before proceeding.
Step 3: Fill the Crack
For larger cracks, you may need to fill the gap with a suitable filler. A two-part epoxy resin designed for stone surfaces works well for this purpose. Apply the filler into the crack using a small putty knife or spatula, then smooth it out to blend with the surrounding surface.
Step 4: Sand and Polish
Once the filler has cured as per the manufacturer’s instructions, lightly sand the filled area with fine-grit sandpaper (400-600 grit) to smooth it out. Follow up with a polishing compound and buffing cloth to restore the shine and blend the repaired area with the rest of the countertop.
Using a Color Matching Technique
Artificial marble often comes in various colors and patterns. If your countertop has discoloration or a patch that no longer matches the surrounding area, a color matching technique may be required:
Step 1: Identify the Color
Identify the color and pattern of the surrounding countertop to ensure an accurate match. You can do this by taking a sample of the surrounding area to a color matching service or using a color matcher tool.
Step 2: Prepare the Area
Clean the area where the color needs to be matched. Sand the area lightly if necessary to create a smooth surface for applying the matching product.
Step 3: Apply the Matching Product
Use a color-matching product designed for artificial marble. Apply the product to the area using a brush or sponge, following the manufacturer’s instructions. Ensure even application to avoid streaks or uneven coloring.
Step 4: Polish the Area
Once the color-matching product has dried, buff the area with a clean microfiber cloth to blend it with the surrounding countertop. This will help to create a seamless and professional finish.
Preventing Future Damage
Preventing future damage to your artificial marble countertops can save you from the hassle of repairs and prolong the life of your kitchen or bathroom design. Here are some preventive measures:
Use cutting boards and heavy objects on protective pads. This will prevent scratches and chips from daily use. Clean spills immediately to avoid stains and discoloration. Avoid using abrasive cleaners or harsh chemicals. Opt for non-abrasive cleaners designed for stone surfaces. Regularly inspect your countertops for any signs of wear or damage and address them promptly before they worsen.
Conclusion
Artificial marble countertops are a fantastic choice for their beauty and durability. With the right care and maintenance, you can keep them looking pristine for years to come. Whether you’re dealing with minor scratches and stains or more significant repairs, following the steps outlined in this guide will help you restore your countertops to their former glory.
Remember, the key to successful repair is patience and precision. Taking the time to follow the proper techniques will ensure that your efforts yield the best possible results. With these comprehensive repair tips and preventive measures, you’re well-equipped to keep your artificial marble countertops in top condition and enjoy their beauty and functionality for a long time to come.