Preparation and Initial Steps in Polishing Artificial Stone Countertops
In this first part of our comprehensive guide on polishing artificial stone countertops, we will focus on the essential preparation and initial steps that set the foundation for a successful and professional finish. Whether you are a DIY enthusiast or a professional contractor, following these steps carefully will ensure that your artificial stone countertops achieve a stunning, polished look.

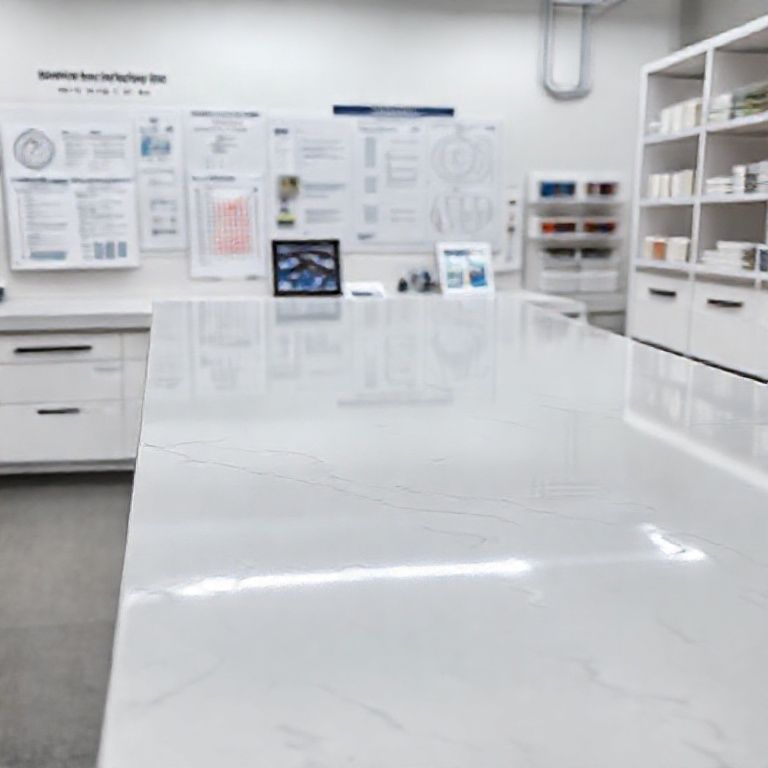
Understanding Your Artificial Stone Countertops
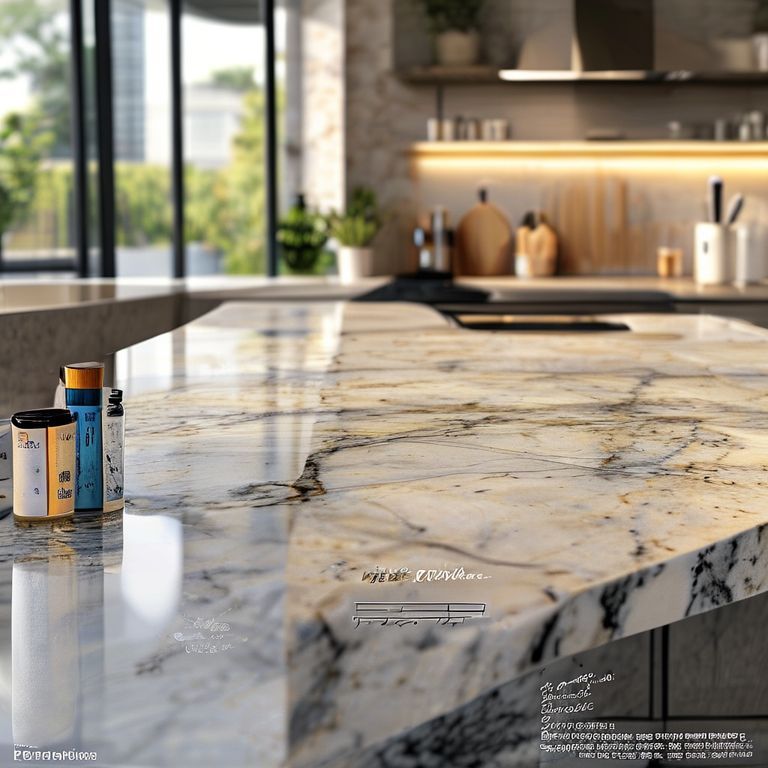
Before diving into the polishing process, it’s crucial to understand the type of artificial stone you are working with. Artificial stone, also known as cultured stone, is a composite material made from natural stone, resin, and color pigments. This material is known for its durability and aesthetic appeal but requires specific care during maintenance and polishing.
Gathering Your Tools and Materials
To polish artificial stone countertops effectively, you’ll need a few specific tools and materials. Here’s a checklist to ensure you have everything you need:
Sanding Tools: Orbital sander Sandpaper (various grits: 80, 120, 220) Sanding blocks (optional) Sanding pads (optional) Polishing Tools: Polishing machine or buffer Polishing pads (various grits) Polishing compounds Safety Gear: Safety goggles Dust mask or respirator Ear protection Miscellaneous Supplies: Clean cloths Bucket of water Cleaning solution suitable for artificial stone

Safety First
Working with tools and chemicals requires attention to safety. Always wear safety goggles to protect your eyes from dust and debris. Use a dust mask or respirator to avoid inhaling fine particles. Additionally, ear protection is a good practice when using loud machinery like sanders and polishers.
Initial Cleaning
Begin with a thorough cleaning of the artificial stone countertop. Use a cleaning solution appropriate for artificial stone to remove any dirt, grime, or previous polish residue. Pay special attention to areas with heavy use or stains. After cleaning, allow the surface to dry completely before proceeding to sanding.
Sanding Preparation
Before you start sanding, it’s important to prepare your surface. Ensure the countertop is clean and free of any debris. If you notice any chips, cracks, or imperfections, address these issues first. For minor imperfections, a finer grit sandpaper can be used to smooth out the area. For larger areas, start with a coarser grit (around 80) to achieve a level surface before moving to finer grits (up to 220).

Sanding Process
Coarse Sanding: Start with an 80-grit sandpaper or a coarse sanding pad. Use an orbital sander to cover the entire surface uniformly. Apply light pressure and move the sander in a circular motion to avoid streaks. Pay extra attention to edges and corners where polish can accumulate. Medium Sanding: Switch to a 120-grit sandpaper. Continue sanding in a circular motion. Check for any remaining imperfections and smooth out the surface. Fine Sanding: Use a 220-grit sandpaper for the final sanding. Ensure the surface is smooth and free from any sanding marks. Wipe down the countertop with a clean cloth to remove dust.
Final Preparations
Once the sanding process is complete, the countertop should be ready for polishing. Wipe the surface one more time with a clean, dry cloth to remove any dust left from sanding. This step is crucial as any residual dust can interfere with the polishing process and result in an uneven finish.
Advanced Techniques and Finishing Touches
Building on the foundation laid in the initial preparation and sanding phase, this second part of our comprehensive guide focuses on advanced techniques and finishing touches to polish artificial stone countertops to perfection. With careful application and the right tools, your countertops will achieve a stunning, professional finish.
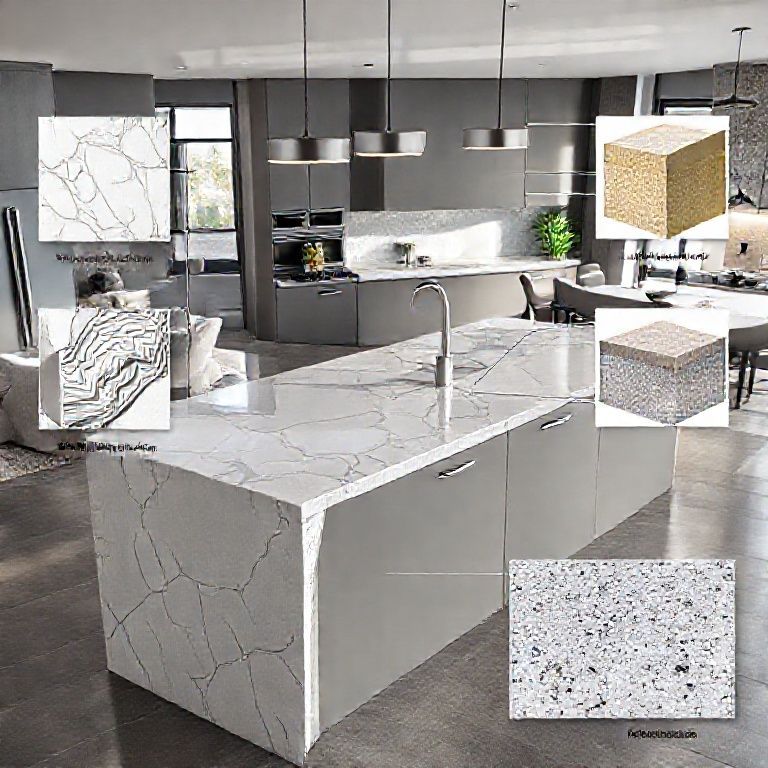
Choosing the Right Polishing Compound
Selecting the appropriate polishing compound is crucial for achieving the desired finish. Polishing compounds come in various grits and formulations, each suited for different stages of the polishing process. For artificial stone, a medium to fine-grit polish is typically recommended.
Coarse Polishing Compound: Use a coarse compound to remove sanding marks and achieve an even surface. Apply lightly to avoid over-polishing. Fine Polishing Compound: Switch to a fine compound for a smoother, more refined finish. This compound helps to bring out the natural beauty of the stone.
Polishing Techniques
Manual Polishing: Apply the coarse polishing compound to a polishing pad. Use a circular motion to evenly spread the compound over the surface. Wipe off excess compound with a clean cloth. For fine polishing, repeat the process with the fine compound. Machine Polishing: Attach the polishing pad with the coarse compound to a buffer or polishing machine. Set the machine to a low speed to avoid overheating the stone. Apply gentle pressure and move the machine in a consistent, circular motion. Switch to the fine polishing pad and repeat the process.
Polishing Tips
Test in an Inconspicuous Area: Before applying polish to the entire surface, test the compound in an inconspicuous area to ensure compatibility and desired finish. Avoid Over-Polishing: Over-polishing can dull the stone’s surface and remove any color pigments. Stick to the recommended application time for each compound. Wipe Down Regularly: During the polishing process, regularly wipe down the countertop with a clean, dry cloth to remove excess polish and dust. Follow the Grain: Always polish in the direction of the stone’s grain to avoid scratches and ensure an even finish.
Final Inspection and Touch-Ups
After polishing, inspect the surface for any remaining imperfections or uneven areas. If necessary, perform touch-ups using finer grit sandpaper or polish to achieve a flawless finish. Pay special attention to edges, corners, and areas prone to staining.
Sealing the Countertop
To protect your polished artificial stone countertops and maintain their shine, consider applying a protective sealant. A high-quality, food-safe sealant will provide a durable barrier against stains, scratches, and everyday wear.
Choose a Sealant: Select a sealant specifically formulated for artificial stone countertops. Ensure it is non-yellowing and provides a durable, long-lasting finish. Application: Apply the sealant using a clean cloth or brush, following the manufacturer’s instructions. Wipe off any excess sealant with a clean cloth. Allow the sealant to dry completely before using the countertop.
Maintaining Your Polished Countertops
To keep your artificial stone countertops looking their best, regular maintenance is key. Here are some tips to ensure longevity and shine:
Daily Cleaning: Wipe down the countertop with a damp cloth and mild detergent to remove spills and grime. Avoid using abrasive cleaners or scouring pads. Regular Inspection: Check for any signs of wear, scratches, or stains regularly. Address minor imperfections promptly to prevent further damage. Avoid Harsh Chemicals: Use only recommended cleaning products to avoid damaging the stone’s surface. Avoid placing hot pots or pans directly on the countertop to prevent thermal shock.
By following these advanced techniques and finishing touches, your artificial stone countertops will not only look stunning but also maintain their beauty and durability for years to come. Whether you are a DIY enthusiast or a professional contractor, this comprehensive guide equips you with the knowledge and skills to achieve professional-quality results.
This detailed guide aims to provide you with the expertise needed to polish artificial stone countertops effectively, ensuring they look impeccable and last long. Happy polishing!