Discover the secrets to achieving a flawless finish on your artificial stone countertops through the right choice of sandpaper grit. From understanding the fundamentals to practical tips, this comprehensive guide covers everything you need to know to polish your stone surfaces to perfection.

artificial stone countertops, sandpaper grit, polishing, finish, surface texture, sanding techniques, fineness, abrasive tools, countertop maintenance, home renovation, DIY countertop polishing
Mastering the Art of Polishing Countertops: How Fine Should Your Sandpaper Grit Be?
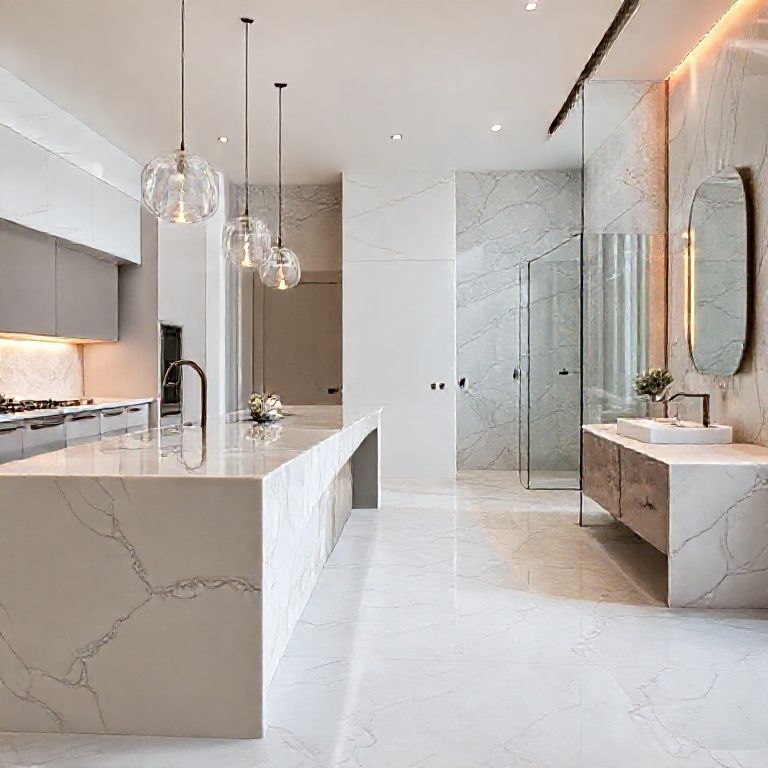
When it comes to home renovation, one of the most crucial elements in achieving a high-quality finish is the polishing of artificial stone countertops. A beautifully polished surface not only enhances the aesthetic appeal but also ensures the longevity and durability of your countertops. However, the secret to a flawless finish lies in understanding the right choice of sandpaper grit. In this part of our comprehensive guide, we will delve into the fundamentals of sanding, the types of sandpaper available, and the importance of selecting the right grit for polishing your artificial stone surfaces.
Understanding the Fundamentals of Sanding
Sanding is an essential step in preparing artificial stone countertops for polishing. It involves smoothing the surface to remove imperfections, scratches, and to create a uniform texture that is ready for the final polishing stage. To achieve the best results, it’s important to understand the basic principles of sanding:

Types of Sandpaper: Sandpaper comes in various grades, each with a different grit size. The grit size determines the coarseness or fineness of the sandpaper. A higher grit number indicates a finer and smoother surface, while a lower number signifies a coarser sandpaper.
Sanding Technique: The technique for sanding artificial stone is similar to that of other materials but requires a gentle touch to avoid damaging the surface. Always sand in the direction of the grain to ensure an even finish.
Safety First: Always wear appropriate safety gear, including gloves and safety goggles, to protect yourself from dust and debris generated during the sanding process.
Types of Sandpaper and Their Uses
When it comes to polishing artificial stone countertops, selecting the right type of sandpaper is crucial. Here are some commonly used sandpapers and their ideal applications:
Coarse Sandpaper (20-40 Grit): This type of sandpaper is ideal for the initial stages of sanding. It helps remove significant imperfections and heavy stains from the surface. While it gets the job done quickly, it can leave a rough texture that requires further refining.
Medium Sandpaper (80-120 Grit): After using coarse sandpaper, medium-grit sandpaper is the next step. It smooths out the surface created by the coarse sandpaper and reduces the roughness, preparing the surface for finer sanding.
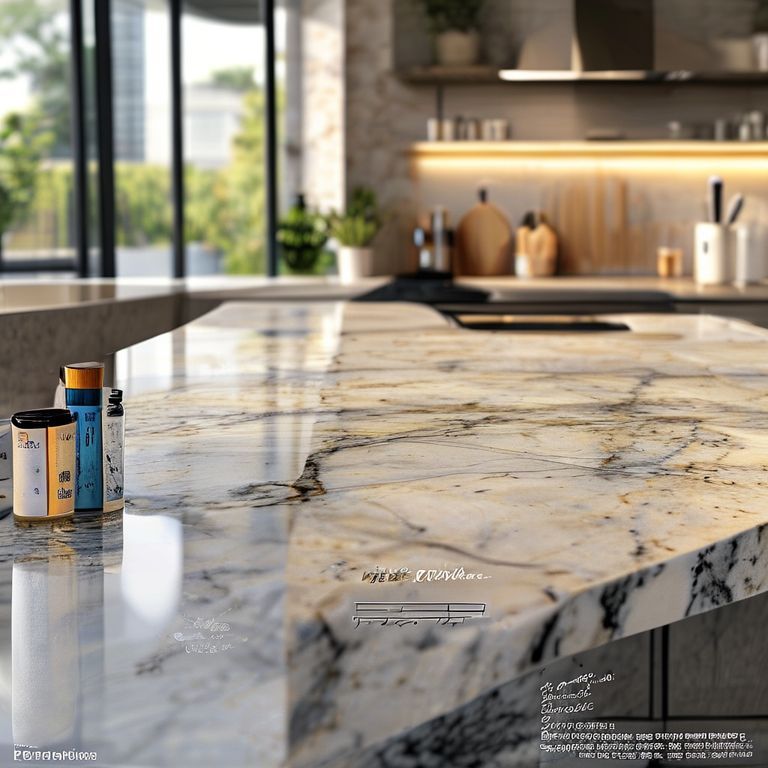
Fine Sandpaper (180-240 Grit): Fine sandpaper is used to further smooth the surface and eliminate minor imperfections. It is a crucial step before polishing, as it ensures that the surface is nearly perfect.
Extra Fine Sandpaper (320-400 Grit): This sandpaper is used in the final stages of sanding to achieve a very smooth surface. It is the precursor to polishing, as it ensures that the surface is ready for the high-gloss finish.
The Importance of Selecting the Right Grit
Choosing the correct sandpaper grit is essential for achieving a polished, professional finish on your artificial stone countertops. Here’s why selecting the right grit is important:
Avoiding Damage: Using a grit that is too coarse can scratch and damage the stone surface. It is essential to start with a coarser grit and gradually move to finer grits to avoid unnecessary wear and tear.
Ensuring Smoothness: The right grit ensures that the surface is smooth enough to achieve a high-gloss polish. Each stage of sanding refines the surface, making it progressively smoother and more ready for polishing.
Time Efficiency: Using the appropriate grit saves time in the long run. Starting with a coarser grit and gradually moving to finer grits means fewer sanding passes are required, making the process more efficient.
Practical Tips for Polishing Artificial Stone Countertops
To ensure you achieve the best possible finish on your artificial stone countertops, here are some practical tips:
Start Coarse, Finish Fine: Always begin sanding with a coarse grit and progressively move to finer grits. This gradual approach ensures a smooth and polished surface.
Use a Sanding Block: Using a sanding block rather than sanding by hand ensures that pressure is applied evenly across the surface, preventing uneven sanding.
Sand in the Direction of the Grain: Always sand in the direction of the stone grain to avoid scratches and ensure an even finish.
Clean as You Go: Regularly clean the surface with a damp cloth to remove dust and debris. This prevents the sandpaper from clogging and ensures an even finish.
Test on a Small Area First: Before starting on the entire countertop, test your sanding technique on a small, inconspicuous area to ensure you’re using the right grit and technique.
Conclusion
In conclusion, achieving a flawless finish on artificial stone countertops through proper sanding and polishing is a meticulous process that requires attention to detail and the right tools. Understanding the different types of sandpaper and selecting the appropriate grit for each stage of sanding is crucial to ensure a smooth, polished surface. By following the practical tips and techniques outlined in this guide, you can confidently polish your artificial stone countertops to perfection, enhancing both their beauty and durability.
Unlock the secrets to a flawless finish on your artificial stone countertops with our ultimate guide on selecting the right sandpaper grit. From the initial sanding stages to the final polishing, this comprehensive guide covers everything you need to know to achieve professional-quality results at home.
artificial stone countertops, sandpaper grit, polishing, finish, surface texture, sanding techniques, fineness, abrasive tools, countertop maintenance, home renovation, DIY countertop polishing
Achieving Flawless Polish: The Ultimate Guide to Sandpaper Grit for Artificial Stone Countertops
In this final part of our comprehensive guide, we will explore in greater detail the stages of sanding and polishing artificial stone countertops, providing you with expert tips and tricks to achieve a professional-quality finish. Whether you are a DIY enthusiast or a professional contractor, this guide will equip you with the knowledge you need to polish your artificial stone countertops to perfection.
The Stages of Sanding Artificial Stone Countertops
To achieve a flawless finish, it’s important to follow a structured sanding process. Here are the detailed stages:
Initial Sanding (Coarse Grit – 20-40 Grit): Purpose: The primary goal of this stage is to remove any significant imperfections, heavy stains, or rough spots on the surface of the artificial stone. Technique: Use a coarse sandpaper (20-40 grit) and a sanding block for even pressure application. Sand in the direction of the grain, ensuring that you cover the entire surface uniformly. Intermediate Sanding (Medium Grit – 80-120 Grit): Purpose: This stage aims to smooth out the surface created by the coarse sanding and reduce the roughness. Technique: Switch to medium-grit sandpaper (80-120 grit). Again, use a sanding block for even pressure and sand in the direction of the grain. This will prepare the surface for finer sanding. Final Sanding (Fine Grit – 180-240 Grit): Purpose: Fine sanding smooths out minor imperfections and prepares the surface for polishing. Technique: Use fine sandpaper (180-240 grit). Employ a sanding block to ensure even pressure and sand in the direction of the grain. Pay close attention to corners and edges where imperfections often hide. Ultra-Fine Sanding (Extra Fine Grit – 320-400 Grit): Purpose: This final stage ensures a nearly flawless, smooth surface ready for polishing. Technique: Use extra-fine sandpaper (320-400 grit). Employ a sanding block for even pressure and sand in the direction of the grain. Clean the surface with a damp cloth to remove dust and debris.
The Polishing Process
Once the surface is adequately sanded, it’s time to polish it to achieve that high-gloss finish. Here’s how to proceed:
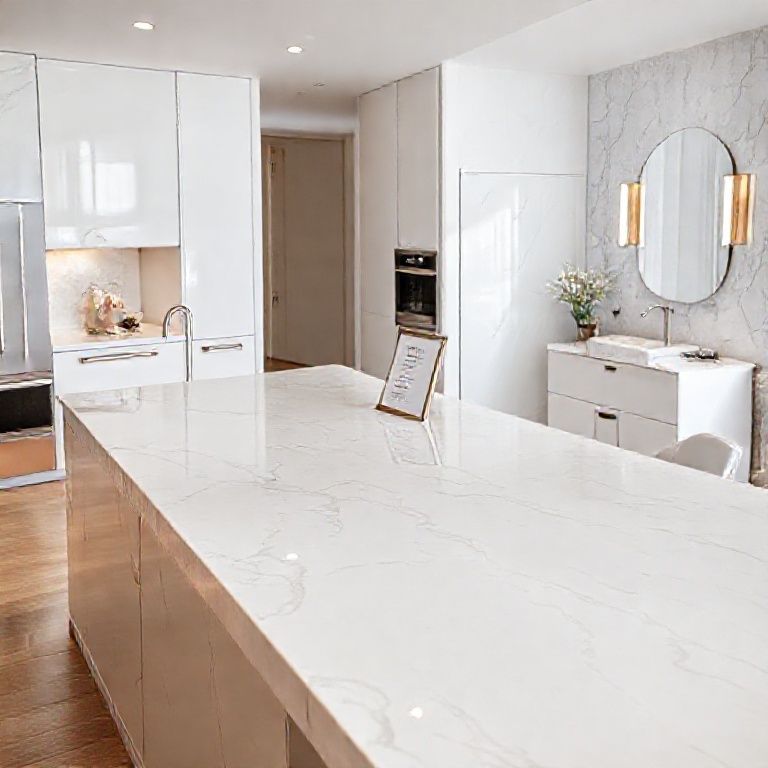
Select the Right Polishing Compound: Choose a high-quality, stone-specific polishing compound. These compounds are designed to give artificial stone that glossy, professional finish. Application: Apply the polishing compound to the surface using a clean, soft cloth. Spread it evenly over the entire surface, ensuring that no areas are missed. Buffing: Use a soft, clean cloth or a polishing machine to buff the surface. Buffing involves rubbing the surface in a circular motion to remove the compound and create a shine. Start with light pressure and gradually increase as the surface begins to shine. Cleaning: Once the polishing compound has been buffed off, clean the surface with a damp cloth to remove any remaining residue. Wipe the surface with a dry cloth to reveal the polished finish.
专家建议
检查表面: 在开始任何砂光或抛光工作之前,先用干净的布仔细检查石台面,确保没有明显的裂缝、刮痕或其他瑕疵。如果发现,可能需要采取额外的修复步骤。
均匀的压力: 无论使用哪种砂纸,都要确保施加的压力是均匀的。使用砂块可以帮助你保持一致的压力,避免局部过度打磨。
多角度检查: 在每一阶段的砂光之后,用不同的角度检查台面,确保没有未处理的区域。特别是在角落和边缘处,这些地方常常被忽略。
避免重复: 不要在同一阶段使用太多次,以免过度打磨。每一次砂光应该是为了显著改善表面质量。
适当的湿度: 在砂光过程中,可以适量洒水,这有助于减少灰尘和增加砂纸的效果。但要注意不要让水渍停留在表面,以防损坏石材。
注意事项
安全装备: 始终戴上安全眼镜和手套,以保护自己免受灰尘和可能的划伤。
通风良好: 确保工作区域通风良好,这有助于快速清除灰尘和提高工作效率。
适当的清洁: 在每一步过渡时,用湿布擦拭台面,去除灰尘和碎屑,以便下一步砂光更有效。
抛光液选择: 使用专门为人造石设计的抛光液。普通的抛光剂可能无法提供最佳效果,甚至可能损害石材表面。
保存时间: 抛光后的石台面需要适当的时间来完全干燥,通常建议等待24小时后再进行清洁和使用。
常见问题解答
为什么砂光和抛光需要多次阶段? 每一次砂光和抛光都有特定的作用。从粗糙的表面到光滑的表面,多阶段的过程确保每一次的处理都能显著改善前一阶段的结果,从而达到最终的高光泽效果。 如何处理重大划痕或瑕疵? 如果台面上有深刻的划痕或瑕疵,可能需要更高的砂纸号(更细的砂纸)来处理,甚至可能需要专门的修复膏。
抛光后如何维护石台面? 定期用中性清洁剂和软布擦拭,避免使用含酸或碱的清洁剂。建议使用石材保护剂进行定期保养。
希望这些信息能帮助你更好地完成石台面的砂光和抛光工作。如果有更多问题,随时提问!