In today’s fast-paced world, maintaining the pristine look of your kitchen or bathroom countertops is crucial. Artificial stone countertops are popular for their durability and aesthetic appeal, but like any material, they can develop cracks over time. Whether it’s from a heavy object or a minor accident, a crack in your artificial stone countertop can be a significant concern. Fear not, as we have put together an extensive video tutorial to guide you through the process of repairing artificial stone countertop cracks. Let’s dive into the first part of our comprehensive guide on how to fix those unsightly cracks.

Understanding Artificial Stone Countertops
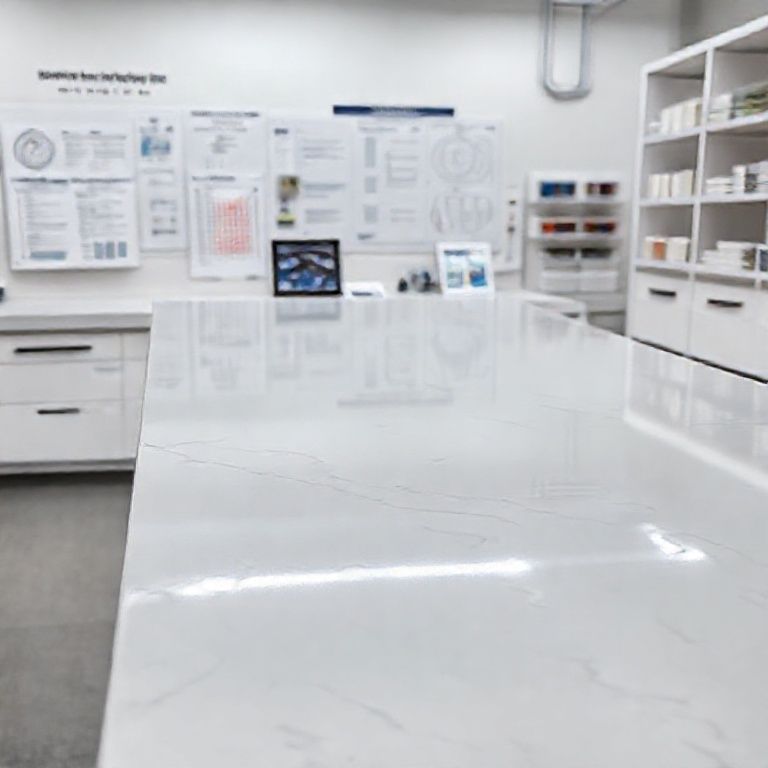
Artificial stone, often referred to as engineered stone, is a composite material made from natural stone powder, water, and a polymer binder. This combination produces a durable, high-quality surface that mimics the look of natural stone. While it is robust, it is not invincible. Cracks can occur due to various factors, including physical impact, thermal stress, or even improper installation.
Why Repairing is Essential
Cracks in artificial stone countertops, if left unaddressed, can worsen over time, leading to more significant damage. Repairing cracks not only restores the appearance of your countertop but also maintains its structural integrity. A well-executed repair job will save you from the hassle and expense of replacing the entire countertop.
Tools and Materials Needed
Before we delve into the repair process, it’s important to gather all the necessary tools and materials:
Epoxy resin or polyester resin: These are the primary materials used for repairing cracks. Mixing tools: Small spatulas or stir sticks. Sandpaper: Various grits (start with a coarser grit and finish with a finer one). Masking tape: To protect surrounding areas. Cleaning supplies: Soap and water or a mild cleaner. Sanding block or electric sander: For smoothing the repaired area. Paintbrushes: For applying epoxy or resin.
Step-by-Step Repair Process
Step 1: Preparation
Clean the Area: Begin by thoroughly cleaning the cracked area with soap and water to remove any dirt, grease, or debris. This ensures the epoxy or resin adheres properly to the surface.
Dry Completely: Allow the area to dry completely before proceeding. Moisture can interfere with the curing process, leading to ineffective repairs.

Mask Off Surrounding Areas: Use masking tape to protect surrounding areas from getting resin or epoxy on them. This is particularly important if the crack is near edges or other surfaces.
Step 2: Mix the Resin
Combine Resin and Hardener: Follow the manufacturer’s instructions to mix the epoxy or polyester resin with its hardener. This is a crucial step, as the ratio and mixing time can significantly impact the repair’s strength.
Check Consistency: Ensure the mixture has the right consistency – it should be thick enough to adhere to the crack but not so thick that it won’t flow properly.

Step 3: Apply the Resin
Fill the Crack: Using a brush, fill the crack with the mixed resin. Apply enough material to ensure it extends beyond the crack on both sides. This ensures a strong bond when the resin cures.
Smooth the Surface: Once the resin is in place, use a brush or a small spatula to smooth the surface. This helps in creating a seamless finish once the resin has cured.
Step 4: Allow to Cure
Initial Cure Time: Allow the resin to cure as per the manufacturer’s instructions. This usually involves leaving it undisturbed for several hours.
Final Cure: For optimal strength, let the resin cure fully, which might take up to 24-48 hours.
Step 5: Finishing Touches
Sand the Area: Once the resin is fully cured, use sandpaper to smooth out the repaired area. Start with a coarser grit and gradually move to a finer grit for a polished finish.
Clean Again: Wipe the area with a damp cloth to remove any sanding dust.
Seal the Repair: To enhance durability, apply a countertop sealant over the repaired area. This step protects the repair from future damage and maintains its appearance.
Preventing Future Cracks
While repairs can fix existing cracks, preventing future ones is equally important. Here are some tips to prolong the life of your artificial stone countertop:
Use Coasters: Always use coasters for hot drinks and heavy objects. Avoid Sharp Objects: Do not slide sharp objects across the surface. Prompt Repairs: Address small cracks immediately to prevent them from worsening.
By following these steps, you can restore your artificial stone countertop to its original beauty and ensure it remains in top condition for years to come.
Continuing with our detailed guide on repairing artificial stone countertop cracks, this second part will delve deeper into advanced techniques and additional tips to ensure your repair job is flawless. Whether you’re a DIY enthusiast or a professional, these insights will help you achieve professional-quality results.
Advanced Repair Techniques
Step 6: Color Matching
Color Matching: Artificial stone countertops often come in a variety of colors and finishes. Matching the color of the resin to the countertop is essential for a seamless repair.
Use Color Additives: If the resin color does not match the countertop, use color additives provided by the resin manufacturer. Follow the instructions to mix the additive with the resin to achieve the exact match.
Step 7: Repairing Larger Cracks
For Larger Cracks: If the crack is extensive, it might be necessary to use a thicker layer of resin. Apply the resin in layers, allowing each layer to cure before applying the next.
Reinforcement: For very large or deep cracks, consider using fiberglass mesh or reinforcement tape. This adds additional strength to the repair.
Step 8: Using a Dye Pen
Dye Pen: After filling the crack with resin, use a dye pen to match the countertop’s color. Apply the dye pen in small circular motions to blend it into the resin.
Blending: Once the dye is applied, use a small, clean brush to blend the dye into the resin for a seamless finish.
Tips for a Perfect Repair
Precision Matters
Precision in Application: Precision is key when applying resin to a crack. Ensure that the resin fills the crack completely and extends slightly beyond the crack on both sides.
Avoid Overfilling: While it’s important to fill the crack completely, avoid overfilling as excess resin can cause bubbling or peeling during the curing process.
Sanding Techniques
Sanding Tips: When sanding the cured resin, start with a coarse grit to remove any unevenness and gradually move to a finer grit for a smooth finish.
Sanding Block: Using a sanding block can provide more control compared to a handheld sander, especially for larger areas.
Sealing for Longevity
Sealant Application: Applying a high-quality countertop sealant to the repaired area is crucial. This not only protects the repair but also enhances the durability of the entire countertop.
Sealant Types: Choose a sealant that is compatible with artificial stone. Some sealants are specifically designed for stone surfaces and offer superior protection.
Professional Tips
Safety Precautions
Personal Protective Equipment (PPE): Always wear appropriate PPE, such as gloves, safety glasses, and a dust mask, when working with resin and sanding.
Ventilation: Ensure the work area is well-ventilated to avoid inhaling fumes from the resin and sanding dust.
Curing Environment
Temperature and Humidity: Curing resin requires specific conditions. Avoid repairing in areas with extreme temperatures or high humidity, as these can affect the curing process.
Room Temperature: Ideally, repairs should be done in a room with a stable temperature (around 70°F or 21°C) and low humidity.
Maintenance After Repair
Regular Cleaning
Cleaning Routine: Maintain a regular cleaning routine to keep the countertop looking pristine. Use a mild cleaner and a soft cloth to wipe the surface.
学习技巧和时间管理
健康与健身
职业发展和技能提升
科技与创新
心理健康与个人成长
假设我们现在继续讨论学习技巧和时间管理,这是一个非常实用且广泛适用的主题。
学习技巧和时间管理
学习技巧
主动学习 积极参与课堂讨论,提出问题并思考答案。 主动查找与课程相关的额外资源,如书籍、视频和论文。 有效的笔记技巧 关键词笔记法:提取主要概念和关键词,用简洁的方式记录。 思维导图:将信息以图形方式连接起来,以便更好地理解和记忆。 复习策略 间隔复习法:逐渐延长复习间隔时间,以增强记忆的持久性。
自我测试:通过做练习题或模拟考试来检验自己的理解。
时间管理
优先级管理 四象限法则:根据任务的紧急性和重要性将任务分为四类,并优先处理重要且紧急的任务。 任务清单 每天开始时列出待办事项清单,并在完成任务后勾掉。 使用“三大任务”法则:每天确定三项最重要的任务,并优先完成它们。 时间块法 将一天分成不同的时间块,每个时间块专注于特定任务,避免多任务处理。
避免拖延 设定明确的截止日期和里程碑。 使用“2分钟法则”:如果一个任务可以在2分钟内完成,就立即去做。
综合实践
每周反思:每周花一些时间反思一周的学习和工作效率,调整下周的计划。 设定SMART目标:确保目标是具体的(Specific)、可衡量的(Measurable)、可实现的(Achievable)、相关的(Relevant)和有时限的(Time-bound)。