Mastering the Art of Synthetic Stone Countertop Crack Repair: Expert Techniques Unveiled
When it comes to maintaining the aesthetic appeal and functionality of synthetic stone countertops, cracks can be a significant concern. These modern surfaces are known for their durability and beauty, but even they are not immune to the wear and tear of everyday use. If you’ve noticed cracks forming on your synthetic stone countertop, it’s essential to address them promptly to prevent further damage and maintain the integrity of your surface. In this part of our guide, we’ll delve into the initial steps and techniques used by a seasoned professional to effectively repair cracks in synthetic stone countertops.

Understanding Synthetic Stone Countertops
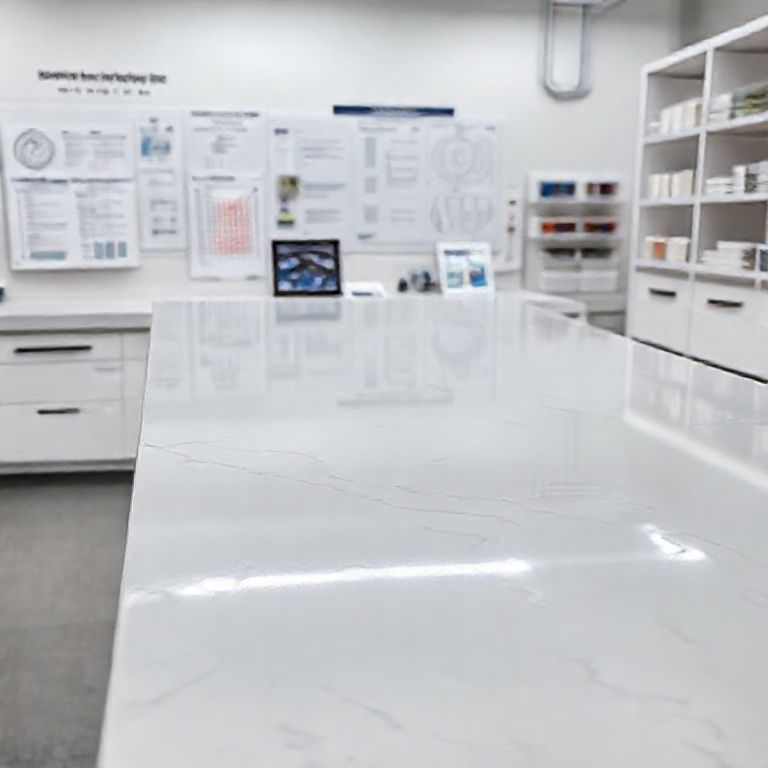
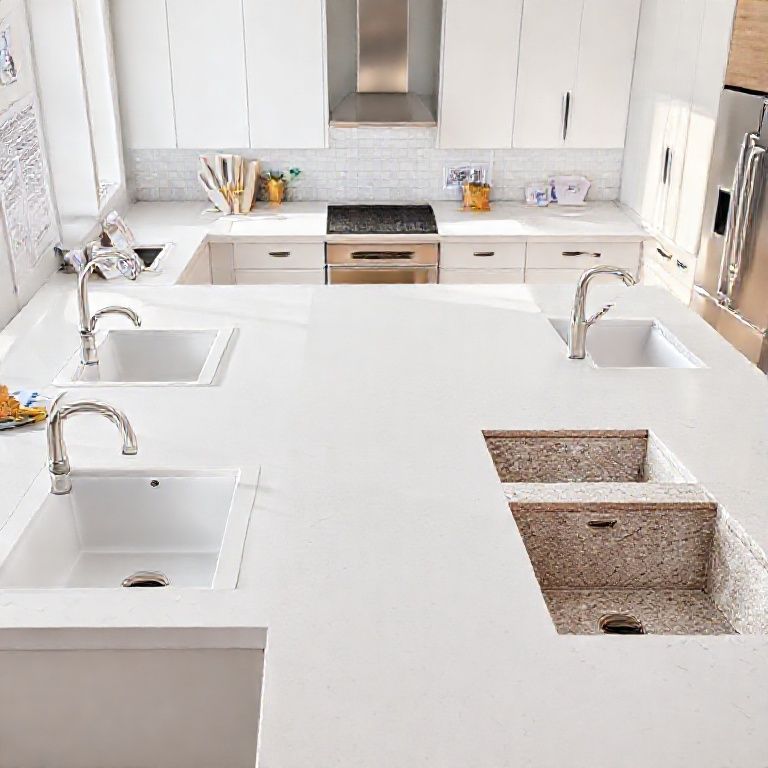
Before we dive into the repair process, it’s important to understand what synthetic stone is and why it’s favored in both residential and commercial kitchens. Synthetic stone, also known as quartz, is a man-made composite material made from a mixture of quartz sand, polymers, and other additives. It offers a combination of the natural beauty of stone with the durability and low maintenance of man-made materials.
Identifying the Type of Crack
The first step in repairing a synthetic stone countertop is to accurately identify the type of crack present. Cracks can vary in size, depth, and location, and this will determine the specific repair technique required. Here are common types of cracks you might encounter:
Hairline Cracks: Fine, thin cracks that are often superficial and can be easily repaired. Medium Cracks: Cracks that are deeper but still within the surface layer of the countertop. Deep Cracks: Significant cracks that may extend through multiple layers of the countertop, requiring more extensive repair.

Initial Assessment and Preparation
Once you have identified the type of crack, the next step is a thorough assessment. Here’s a detailed process for preparing your countertop for repair:
Clean the Area: Start by cleaning the area around the crack thoroughly. Use a mild detergent and a soft cloth to remove any dirt, grease, or debris. This ensures that the repair materials adhere properly to the surface.
Dry the Surface: Ensure that the cleaned area is completely dry before proceeding. Moisture can interfere with the adhesion of the repair materials.

Inspect the Crack: Examine the crack closely to determine its depth and width. This will help you choose the appropriate repair method and materials.
Choosing the Right Repair Materials
Selecting the right materials is crucial for a successful repair. Here are the essential materials you’ll need:
Epoxy Resin: A high-quality two-part epoxy resin specifically designed for synthetic stone repairs. This provides a strong and durable bond.

Sandpaper or Abrasive Pad: Fine-grit sandpaper (around 400-600 grit) or an abrasive pad to smooth the edges of the crack.
Mixing Tools: A spatula or mixing stick to blend the epoxy resin properly.
Protective Gear: Gloves, safety goggles, and a dust mask to protect yourself from harmful chemicals.
Step-by-Step Repair Process
Now that you’re prepared, let’s walk through the step-by-step process of repairing a synthetic stone countertop crack:
Prepare the Crack: Using fine-grit sandpaper, lightly sand the edges of the crack to create a rough surface. This helps the epoxy resin adhere better to the countertop.
Mix the Epoxy Resin: In a clean container, thoroughly mix the epoxy resin according to the manufacturer’s instructions. Ensure a uniform consistency.
Apply the Epoxy: Using a spatula or mixing stick, apply a generous amount of the epoxy resin to the crack. Press the epoxy into the crack, ensuring it fills the entire space.
Smooth the Surface: Once the epoxy is applied, use a clean, damp cloth to smooth the surface. This removes any excess epoxy and ensures a seamless finish.
Cure the Epoxy: Allow the epoxy to cure according to the manufacturer’s recommendations. This usually involves letting it sit for several hours or overnight to achieve full strength.
Final Touches: Once cured, inspect the repair area. If needed, use a fine-grit sandpaper to smooth any uneven areas and blend the repaired section with the surrounding countertop.
By following these expert techniques, you can effectively repair cracks in your synthetic stone countertop, restoring its beauty and functionality. In the next part of our guide, we’ll explore advanced repair methods, troubleshooting tips, and maintenance strategies to ensure your synthetic stone countertop remains in pristine condition for years to come.
Mastering the Art of Synthetic Stone Countertop Crack Repair: Expert Techniques Unveiled
In the previous section, we covered the initial steps and techniques for repairing cracks in synthetic stone countertops. Now, we’ll delve deeper into advanced repair methods, troubleshooting tips, and maintenance strategies to ensure your synthetic stone countertop remains flawless and functional for years to come.
Advanced Repair Techniques
While the basic repair process we discussed in Part 1 is effective for most cracks, some situations may require more advanced techniques. Here’s how a seasoned professional handles more complex repairs:
Large, Deep Cracks:
For larger and deeper cracks, a more robust approach is needed. Here’s a step-by-step guide:
Reinforce the Area: If the crack is extensive, it may be necessary to reinforce the surrounding area to provide additional support. Use a strong adhesive to secure any loose fragments.
Fill the Crack: Apply a high-quality epoxy resin or a specialized stone repair compound. Use a larger spatula or putty knife to fill the crack completely.
Smooth and Cure: Smooth the filled area with a damp cloth and allow it to cure fully. For deep cracks, multiple layers of epoxy may be required, with each layer allowed to cure before applying the next.
Edge and Corner Cracks:
Cracks at the edges or corners of the countertop can be particularly challenging. Here’s how to address them:
Support the Edges: Use a sturdy backing material, such as a piece of wood or plastic, to support the edge of the countertop. This prevents further separation as you repair the crack.
Repair with Epoxy: Apply the epoxy resin carefully, ensuring it fills the crack without creating bulges. Smooth the surface once the epoxy has cured.
Troubleshooting Common Issues
Even with the best techniques, issues can arise during the repair process. Here are some common problems and how to troubleshoot them:
Epoxy Not Adhering:
If the epoxy resin does not adhere properly to the countertop, it may be due to an unclean surface or the use of a low-quality product. Ensure the surface is thoroughly cleaned and dry before applying the epoxy. Use a high-quality epoxy resin specifically designed for synthetic stone repairs.
Epoxy Curing Incompletely:
If the epoxy does not cure completely, it may be due to insufficient mixing or environmental factors such as temperature and humidity. Follow the manufacturer’s instructions for mixing and curing times. Ensure the repair area is in a stable environment with proper ventilation.
Visible Repair Lines:
If the repaired area appears uneven or has visible lines, it may be due to improper smoothing or excess epoxy. Use fine-grit sandpaper to smooth the surface and blend the repair with the surrounding countertop. Avoid over-application of epoxy to prevent bulges.
Maintenance Strategies for Longevity
To ensure your synthetic stone countertop remains in pristine condition, proper maintenance is key. Here are some expert tips for extending the life of your countertop:
Regular Cleaning:
Daily Maintenance: Wipe the countertop daily with a damp cloth to remove spills and debris. Use a mild detergent for routine cleaning.
Deep Cleaning: Once a month, use a stone-safe cleaner and a soft cloth to clean the countertop thoroughly. Avoid abrasive cleaners that can scratch the surface.
Avoiding Damage:
Use Cutting Boards: Always use a cutting board or a protective mat when cutting food on the countertop to prevent scratches.
Heat Protection: Avoid placing hot pots, pans, or other heated items directly on the surface. Use pot holders or trivets to protect the countertop from thermal shock.
Immediate Repair: Address Cracks Promptly: As soon as you notice a crack, address it promptly to prevent further damage. Delaying repairs can lead to larger, more extensive cracks that are harder to fix.
Expert Tips for DIY Repairs
For those looking to perform repairs themselves, here are some additional expert tips to ensure a successful DIY project:
修复和维护技巧
小裂缝修复: 清洁:用清水和软布将裂缝周围的灰尘和污垢清洁干净。 填充:使用专用的人造石填充剂,将其涂抹在裂缝上,确保填充剂进入裂缝的全部深度。 抛光:使用抛光轮或砂纸轻轻打磨填充区域,使其与台面表面平齐。 清洁:最后用湿布擦拭干净,确保没有多余的填充剂。
大裂缝修复: 清洁:同样,先将裂缝区域彻底清洁。 填充:使用更大的填充剂,可能需要多次涂抹,确保填充剂完全填满裂缝。 嵌合:如果裂缝很大,可能需要使用填充剂嵌合法,即将填充剂放入裂缝,然后用滚筒或硬质工具压实。 抛光:打磨填充区域,使其与台面表面平齐。
颜色不均: 染色剂:使用专门的染色剂,将台面颜色均匀化。按照染色剂说明进行操作,通常包括涂抹、擦拭和清洁步骤。 抛光:最后用抛光机或抛光轮进行轻微打磨,使染色更均匀。
预防措施
使用保护垫: 在厨房台面上使用切菜板、锅盖等物品时,应该在物品下面放置保护垫,以防止划伤。 避免放置热物品: 切勿将热锅、热水壶等直接放置在人造石台面上,应使用热垫或锅垫。 清洁和保养: 定期使用中性清洁剂清洁台面,避免酸碱性强的清洁剂,以免损害台面表面。
避免使用钢丝球: 切勿使用钢丝球或其他钢制工具擦拭人造石台面,以免划伤台面。 定期检查: 定期检查台面是否有细小裂缝或损坏,及时进行修复,防止问题恶化。
专业维护
如果你的人造石台面出现较大问题或你不确定如何修复,建议联系专业人造石维护公司。他们拥有专业工具和经验,能够提供更高质量的修复服务。
选购人造石台面
品牌选择: 选择知名品牌,这些品牌通常质量更有保障,售后服务也更完善。 观察表面: 在购买前仔细检查台面表面是否有划痕、气泡等瑕疵。 了解材质: 了解人造石的不同种类,如花岗岩、石英石等,每种材质有不同的耐用性和维护需求。 价格和保修: 比较不同供应商的价格,同时了解保修政策,以确保在需要时能得到售后支持。
希望这些信息对你有帮助,如果你有其他具体问题或需要进一步的建议,请随时提出。