Rejuvenating Your Kitchen: Expert Tips for Repairing Cracks in Your Countertop
In today’s fast-paced world, the kitchen often stands as the heart of our homes, a place where families gather, meals are prepared, and countless memories are made. One of the most visually prominent features in any kitchen is the countertop, often made from artificial stone for its durability and aesthetic appeal. However, even the best-quality countertops are not immune to the wear and tear of daily use, which can result in unsightly cracks. Don’t worry! With the right approach, your artificial stone countertop can look as good as new. In this first part of our comprehensive guide, we will delve into identifying the right materials, understanding the repair process, and ensuring a lasting fix.

Understanding Artificial Stone Countertops
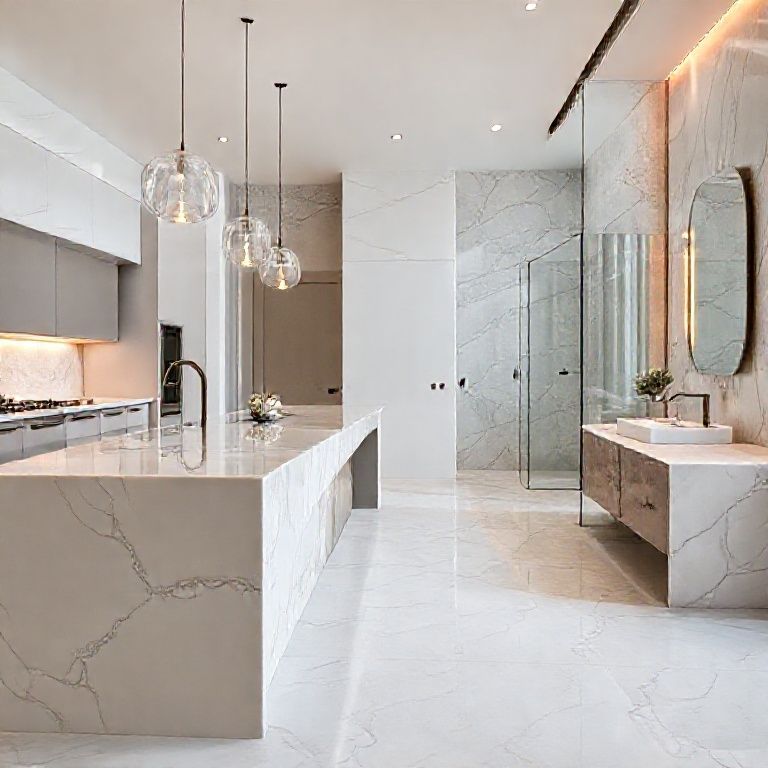
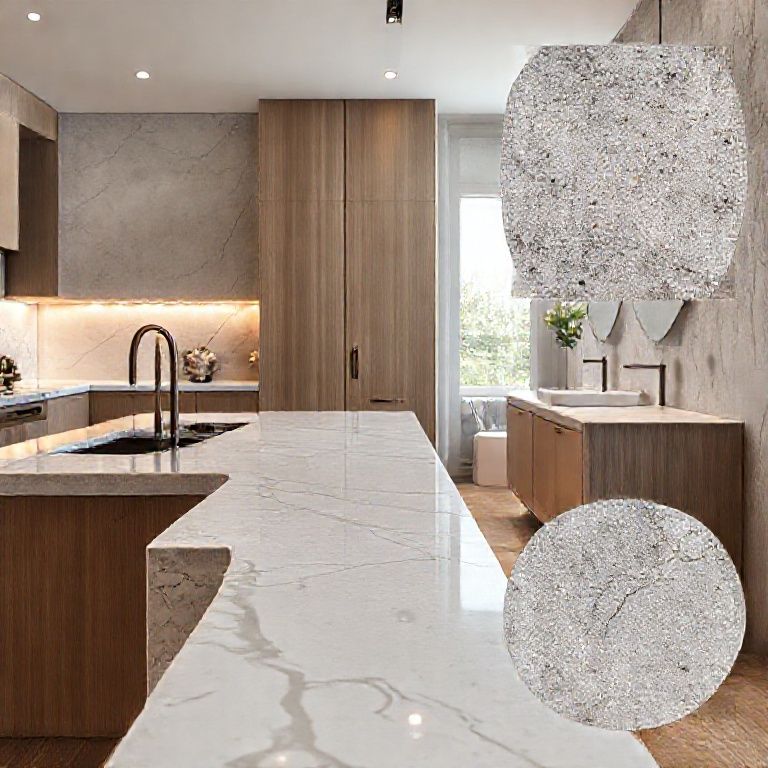
Artificial stone, also known as quartz, is a composite material made from 93% natural stone powder and 7% resin binder. Its composition makes it incredibly durable, resistant to stains, and easy to clean. Despite its robustness, it is not invincible. Over time, drops, heavy objects, or even minor impacts can cause cracks. Knowing how to properly repair these cracks is essential to maintaining the integrity and appearance of your countertop.
Identifying the Right Materials
Choosing the correct materials is crucial for a successful repair. Here’s what you’ll need:
Epoxy Resin: This is the most common material used for repairing cracks in artificial stone. It’s available in two parts: a resin and a hardener. The mixture forms a strong, durable bond that fills the crack completely.
Silicone Sealant: If the crack is very small and does not penetrate deeply, a silicone sealant can be used. It’s easier to apply and is suitable for surface cracks.

Fine Sandpaper: For prepping the area, fine sandpaper is essential to smooth out any rough edges and ensure the epoxy or sealant adheres well.
Cleaning Supplies: Isopropyl alcohol or a mild detergent to clean the countertop surface before starting the repair process.
Step-by-Step Repair Process
Preparation: Begin by cleaning the area around the crack with isopropyl alcohol to remove any grease, dust, or debris. Let it dry completely.
Cleaning the Crack: Use fine sandpaper to gently sand the edges of the crack. This will create a rough surface that allows the repair material to bond better.
Applying Epoxy Resin: Mix the epoxy resin and hardener according to the manufacturer’s instructions. Apply the mixture into the crack using a putty knife or a small brush. Fill the crack completely, then smooth the surface with a spatula or a damp cloth.
Curing: Allow the epoxy to cure as per the instructions provided by the manufacturer. This usually takes a few hours to a day, depending on the product.
Finishing Touches: Once the epoxy has cured, you can sand the repaired area again with fine sandpaper to ensure a smooth finish. Clean the surface with a damp cloth to remove any dust.
Preventive Measures
While repairs are essential, preventive measures can save you a lot of hassle in the long run. Here are some tips to maintain your artificial stone countertop:
Use cutting boards and heavy objects on pads to prevent direct impact. Clean spills immediately to avoid stains and damage. Use coasters to protect the surface from hot mugs and glasses. Regularly clean the countertop with mild detergent and water.
In the next part, we will explore advanced repair techniques, including how to blend the repaired area seamlessly with the rest of the countertop, ensuring it looks flawless and lasts long.
Advanced Techniques and Long-Term Maintenance for Artificial Stone Countertop Repair
Welcome back to our comprehensive guide on repairing cracks in artificial stone countertops. By now, you’ve learned the basics of identifying the right materials and the step-by-step process for a standard repair. In this second part, we will delve into advanced techniques to ensure your repair is not only functional but also aesthetically pleasing. We’ll also cover long-term maintenance tips to keep your countertop looking pristine for years to come.
Advanced Repair Techniques
Color Matching and Blending
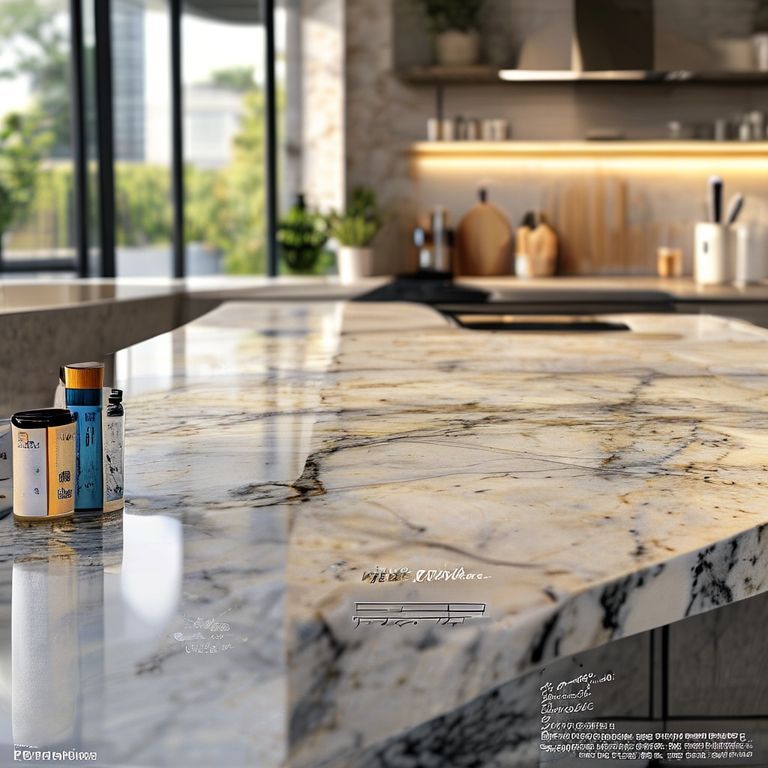
Artificial stone countertops come in a variety of colors and finishes. Matching the color of the repaired area with the surrounding surface can be challenging but crucial for a seamless repair. Here’s how to do it:
Color Selection: Choose an epoxy resin that closely matches the color of your countertop. Some brands offer a color selection guide or even custom colors.
Blending: After the epoxy has cured, use fine sandpaper to lightly sand the area. This will create a smooth transition between the repaired and original surfaces. Apply a matching sealant to blend the edges further.
Using a UV Light
For intricate repairs or to enhance the appearance, a UV light can be used to cure the epoxy resin more effectively. This ensures a harder, more durable finish. Follow these steps:
Apply the epoxy resin to the crack. Use a UV light to cure the epoxy according to the manufacturer’s instructions. This will harden the epoxy more uniformly and make it less prone to future damage. Hiring a Professional
If the crack is extensive or if you’re not confident in your ability to perform the repair, consider hiring a professional. Professionals have the right tools and expertise to ensure the repair is seamless and durable.
Long-Term Maintenance Tips
Maintaining your artificial stone countertop ensures it remains in excellent condition and extends its lifespan. Here are some long-term maintenance tips:
Regular Cleaning
Regular cleaning is essential to keep your countertop looking its best. Use a mild detergent mixed with water to clean the surface. Avoid using harsh chemicals that can damage the artificial stone.
Immediate Spill Management
Clean up spills immediately to prevent stains and damage. Use a damp cloth or paper towel to wipe up spills, and for tougher stains, use a mild detergent solution.
Use Coasters and Pads
To prevent scratches and cracks, always use coasters under hot mugs and glasses and pads under cutting boards and other heavy objects.
Avoid Sharp Objects
Avoid using sharp objects like knives or scissors directly on the surface of the countertop. Instead, use cutting boards to protect the surface.
Regular Inspections
Regularly inspect your countertop for any signs of damage or wear. Early detection can prevent small cracks from becoming larger issues.
Final Thoughts
Repairing cracks in artificial stone countertops doesn’t have to be a daunting task. With the right materials, techniques, and preventive measures, you can restore your kitchen’s countertop to its original beauty. Remember, regular maintenance is key to ensuring that your countertop remains durable and aesthetically pleasing for years to come. Whether you choose to tackle the repair yourself or opt for professional help, the end result will be a kitchen countertop that not only looks great but also functions perfectly.
By following these expert tips, you’re well on your way to rejuvenating your kitchen’s centerpiece and ensuring it remains a space of beauty and functionality for many years to come.