Understanding and Preparing for Repair
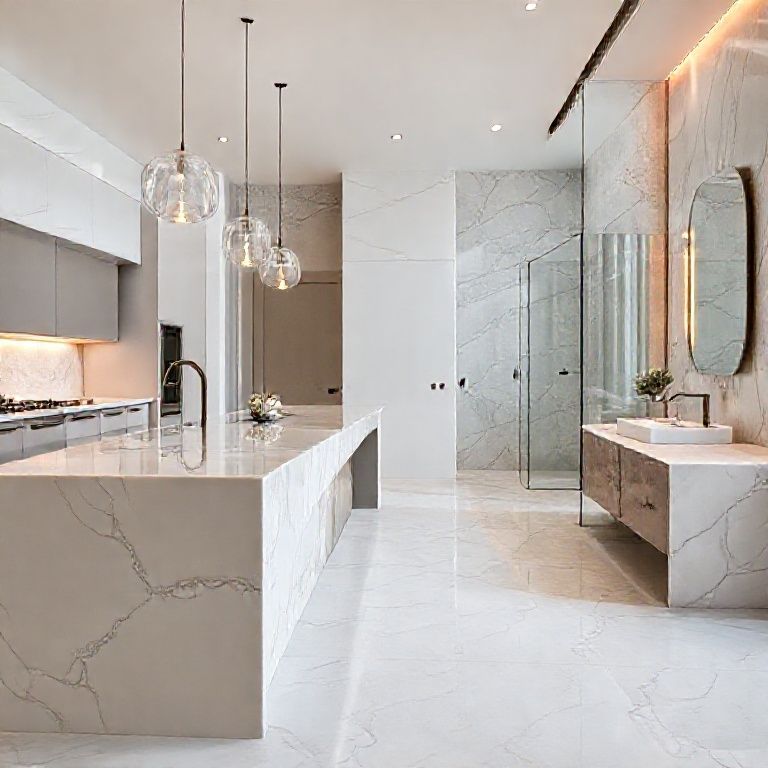
Artificial stone countertops have revolutionized modern kitchen and bathroom design due to their stunning aesthetic and practical benefits. However, like any material, they can be susceptible to scratches, dents, and other forms of damage. Understanding the nature of the material and how to prepare for the repair process is crucial to achieving a successful outcome.
Understanding Artificial Stone
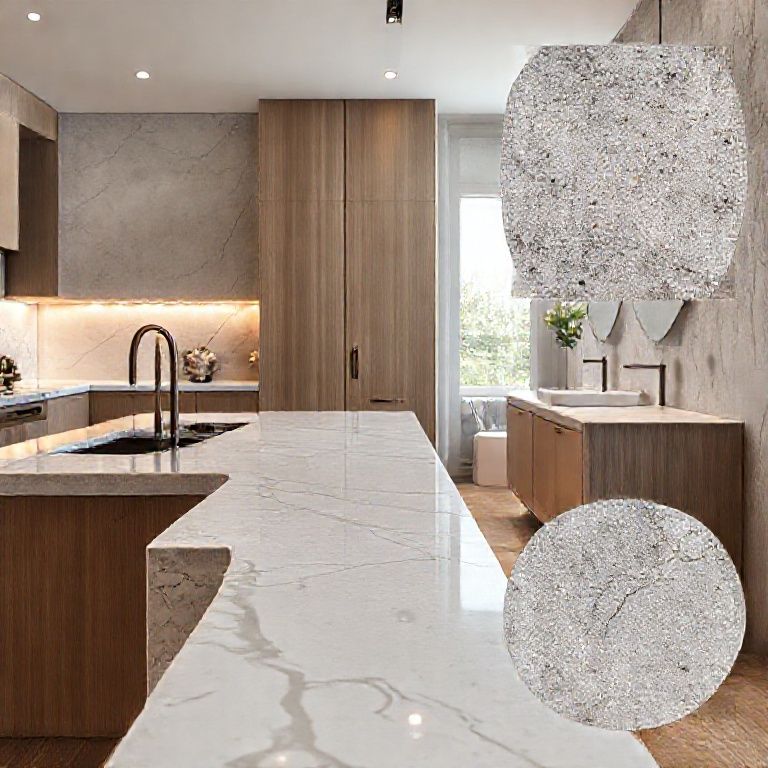
Artificial stone, often referred to as quartz, is a composite material made from a combination of minerals, pigments, and polymers. It is crafted in a factory and then cut to size for installation. Unlike natural stone, it is significantly more resistant to stains, scratches, and chips. Despite its durability, artificial stone is not invulnerable. With proper care and maintenance, minor damages can be repaired, maintaining the beauty and functionality of your countertop.
Identifying the Damage
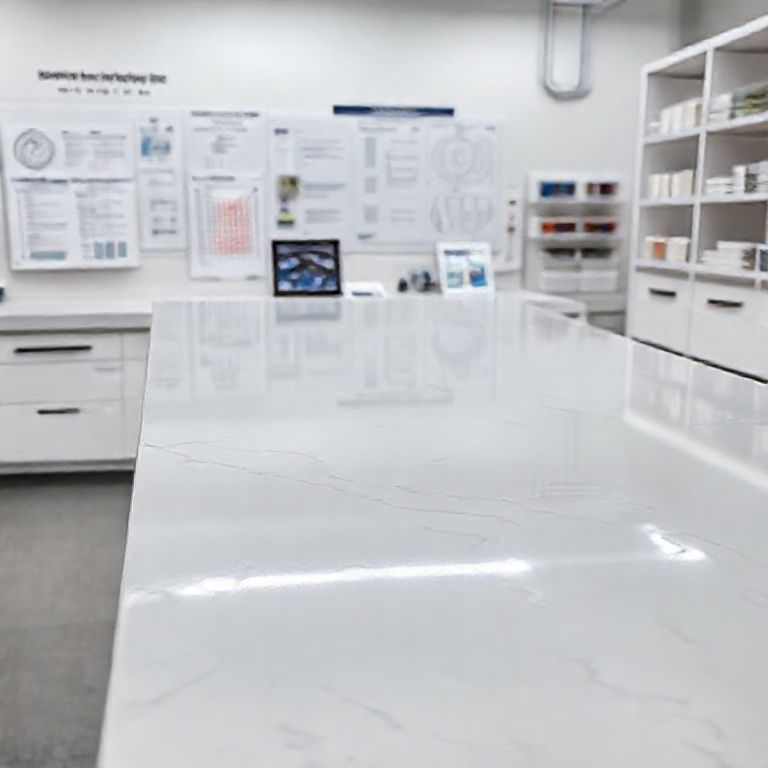
Before diving into the repair process, it’s essential to identify the type and extent of damage to your artificial stone countertop. Here are some common types of damage:
Scratches: Small scratches can often be buffed out with polishing compounds. Deeper scratches might require more intensive methods. Chips and Dents: These can be more challenging to repair but are still manageable with the right techniques. Surface Cracks: These might indicate more severe damage and could necessitate professional intervention.
Gathering Repair Tools and Materials
To repair your artificial stone countertop, you’ll need several specific tools and materials:
Polishing Compounds and Pads: For light scratches and surface smoothing. Diamond Polishing Kits: These are ideal for deeper scratches and can be used with a drill or rotary tool. Fillers and Sealant: To repair chips and dents, and to seal the surface after repairs. Microfiber Cloths: For cleaning and polishing. Safety Gear: Gloves, goggles, and a mask to protect yourself during the repair process.
Preparing the Repair Area
Preparation is key to a successful repair job. Here’s how to prepare the area:
Clean the Surface: Start by thoroughly cleaning the countertop with a mild detergent and water. Dry it completely to avoid any moisture interfering with the repair process. Isolate the Area: If possible, isolate the damaged area to minimize the risk of cross-contamination or further damage. Wear Safety Gear: Put on gloves, goggles, and a mask to protect yourself from dust and chemicals.
Initial Repair Steps
Now that you’re prepared, let’s start with the initial repair steps.
Light Scratches
For minor scratches, you can use a polishing compound and pad. Follow these steps:
Apply the Compound: Using a polishing pad, apply the compound to the scratched area in a circular motion. Buff the Surface: Continue to buff until the scratch is no longer visible. Wipe away any residue with a microfiber cloth. Polish the Entire Surface: To ensure the repaired area blends seamlessly with the rest of the countertop, polish the entire surface.
Deeper Scratches
For deeper scratches, a diamond polishing kit is more effective. Here’s how to use it:
Attach the Diamond Polishing Pad: Attach the pad to your drill or rotary tool. Apply Polishing Compound: Apply the polishing compound to the damaged area. Polish the Area: Use the diamond pad to polish the scratch in a consistent, circular motion until it’s smooth. Clean the Surface: Wipe away any remaining compound and polish the entire surface.
Advanced Repair Techniques and Final Touches
In the first part of this guide, we covered the basics of understanding and preparing for the repair of artificial stone countertops. Now, let’s dive into more advanced techniques to address deeper scratches, chips, dents, and other forms of damage.
Repairing Chips and Dents
Chips and dents can be more challenging to repair, but with the right materials and methods, you can restore the countertop to its former glory.
Using Fillers
Fillers are essential for repairing chips and dents in artificial stone. Here’s how to apply them:
Clean the Area: Thoroughly clean the damaged area and allow it to dry completely. Mix the Filler: Follow the manufacturer’s instructions to mix the filler. It typically involves combining a base paste with a hardener. Apply the Filler: Using a small spatula or filler applicator, apply the filler to the damaged area. Make sure to fill in the chip or dent completely. Smooth the Surface: Use a damp cloth to smooth the filler and blend it with the surrounding surface. Allow to Cure: Let the filler cure as per the manufacturer’s instructions. This might take several hours.
Sanding and Polishing
After the filler has cured, you’ll need to sand and polish the area to ensure it’s smooth and blends seamlessly with the rest of the countertop.
Sand the Area: Use fine-grit sandpaper to lightly sand the filled area. Be careful not to sand too deeply, as this could damage the countertop. Polish the Surface: Use a polishing compound and pad to buff the area until it’s smooth and blends in with the rest of the countertop.
Sealing the Repaired Area
Once the repairs are complete, it’s important to seal the countertop to protect it from future damage.
Clean the Surface: Thoroughly clean the countertop and allow it to dry. Apply a Sealant: Use a high-quality sealant designed for artificial stone countertops. Follow the manufacturer’s instructions for application. Wipe Off Excess: Use a microfiber cloth to wipe off any excess sealant.
Addressing Surface Cracks
Surface cracks can indicate more severe damage and may require professional intervention. However, if the crack is minor, you can try the following:
Clean the Area: Clean the cracked area thoroughly and allow it to dry. Apply a Crack Filler: Use a crack filler designed for artificial stone. Follow the manufacturer’s instructions for application. Smooth and Cure: Smooth the filler and allow it to cure as per the manufacturer’s instructions.
Final Touches and Maintenance
After completing the repairs and sealing the countertop, there are a few final touches and maintenance tips to ensure the longevity of your artificial stone countertop.
Regular Cleaning
Regular cleaning is crucial to maintaining the beauty and functionality of your countertop.
Use Mild Detergents: Avoid using harsh chemicals that can damage the surface. Use a mild detergent and water solution. Wipe with a Microfiber Cloth: Wipe the countertop with a microfiber cloth to remove any spills and stains promptly.
Avoiding Sharp Objects
To prevent future damage, avoid placing sharp objects directly on the countertop.
Use Cutting Boards: Always use cutting boards or pads when cutting food. Protect the Surface: Place coasters and hot pots on trivets or pads to prevent scratches and dents.
Professional Repairs
For extensive damage or if you’re unsure about performing repairs yourself, it’s best to seek professional help.
Consult a Professional: If the damage is severe, consult a professional for repair to ensure it’s done correctly. Regular Maintenance: Regular maintenance by professionals can help identify and address potential issues before they become severe.
Conclusion
Repairing artificial stone countertops may seem daunting, but with the right tools, techniques, and a bit of patience, you can restore your countertop to its original beauty. Whether it’s a minor scratch or a more significant chip, following these steps will help you achieve a professional-looking repair. Remember, regular maintenance and proper usage can prevent many types of damage, ensuring your countertop remains in excellent condition for years to come.