Understanding Cracks in Artificial Stone Countertops
Artificial stone, a popular choice for modern kitchen and bathroom countertops, is known for its durability, aesthetic appeal, and resistance to stains and scratches. However, despite its resilience, artificial stone can develop cracks due to various factors, including manufacturing defects, heavy impacts, or improper installation. Recognizing and addressing these cracks promptly is crucial to maintaining the integrity and appearance of your countertop.
Identifying Cracks in Artificial Stone Countertops
The first step in repairing cracks in artificial stone countertops is to identify the signs of damage. Here are some common indicators of cracks:
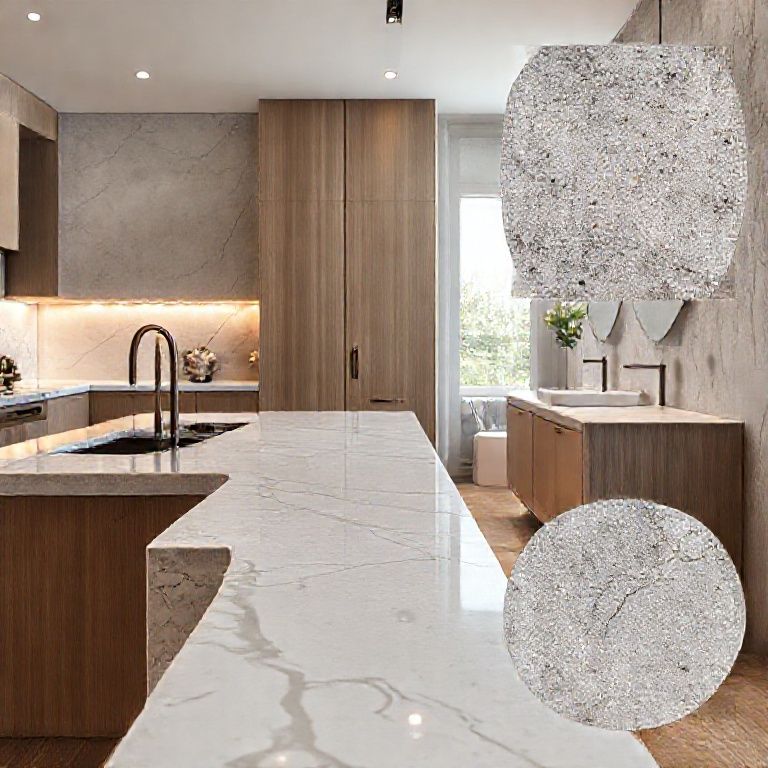
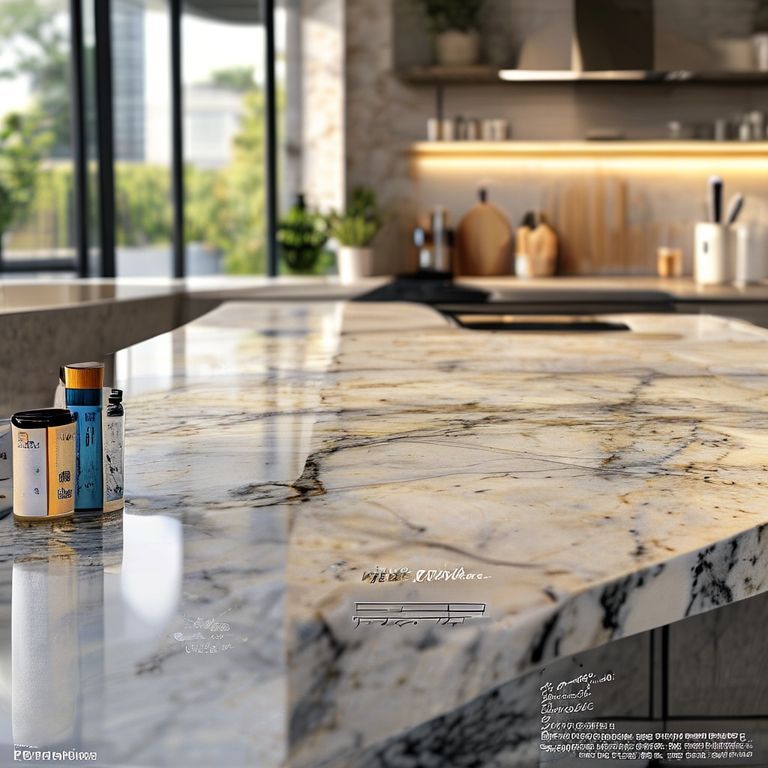
Visible Fissures: The most apparent sign of a crack is a visible line or fissure on the surface of the countertop. Chipping: Small pieces of stone may break off from the main surface, indicating underlying cracks. Uneven Surface: A crack may cause an uneven surface, affecting the countertop’s smooth texture. Water Stains: Cracks can allow water to seep through, causing discoloration and stains.
Causes of Cracks in Artificial Stone Countertops
Understanding the root causes of cracks helps in preventing future occurrences and choosing the appropriate repair method:
Manufacturing Defects: Some cracks can originate during the manufacturing process, especially if the stone was not mixed or cut correctly. Heavy Impacts: Dropping heavy objects or using sharp tools on the surface can cause cracks. Improper Installation: Incorrect installation techniques, such as uneven support or excessive pressure during installation, can lead to cracks.
Assessing the Damage
Before starting the repair process, it’s important to assess the extent of the damage. A minor crack may only require a simple fix, while a larger, more severe crack might necessitate more extensive repair work. Visual inspection is often the first step, but sometimes professional tools or techniques may be needed to determine the depth and severity of the crack.
Preparation for Repair
Once the cracks have been identified and assessed, preparation for repair can begin. Here are the key steps:
Clean the Area: Thoroughly clean the cracked area to remove any dirt, grease, or debris. This ensures that the repair materials adhere properly. Dry the Surface: Ensure the surface is completely dry before proceeding with the repair. Moisture can interfere with the bonding process and weaken the repair. Gather Materials: Collect the necessary materials for repair, such as epoxy resin, fillers, and a mixing tool. High-quality materials ensure a durable and aesthetically pleasing repair.
Understanding these fundamentals sets the stage for a successful repair process, ensuring that the cracks are fixed without leaving visible traces of the repair.
Repairing Cracks in Artificial Stone Countertops
Once you have identified and prepared for the repair process, it’s time to delve into the actual repair techniques. This section will cover the step-by-step methods for fixing cracks in artificial stone countertops, ensuring a seamless and invisible repair.
Choosing the Right Repair Material
Selecting the appropriate repair material is crucial for achieving a flawless finish:
Epoxy Resin: Epoxy resin is a popular choice for repairing cracks in artificial stone. It provides strong adhesion and can be color-matched to the stone to blend seamlessly. Stone Fillers: For minor cracks, stone fillers can be used. These are typically available in various colors and can be applied directly to the crack. Polyurethane Sealant: A polyurethane sealant can be used to fill larger cracks and provide a protective layer over the repaired area.
Step-by-Step Repair Process
Here’s a detailed guide to repairing cracks in artificial stone countertops using epoxy resin:
Mixing the Epoxy Resin: Follow the manufacturer’s instructions to mix the epoxy resin. This usually involves combining the resin and hardener in a specific ratio. Applying the Epoxy: Using a mixing tool, apply the epoxy resin to the crack. Ensure that the epoxy fills the crack completely, reaching the sides and bottom. Use a steady hand and avoid overfilling to prevent excess resin from oozing out. Smoothing the Surface: Once the epoxy has been applied, use a spatula or a scraper to smooth the surface. This helps in ensuring that the epoxy blends seamlessly with the countertop. Cure Time: Allow the epoxy to cure according to the manufacturer’s instructions. This typically involves leaving it undisturbed for a specific period to achieve full strength. Final Touches: After the epoxy has cured, inspect the repaired area. If needed, use a fine-grit sandpaper to smooth any rough edges or uneven surfaces.
Tips for a Flawless Repair
To achieve a repair that is virtually invisible, follow these tips:
Color Matching: Use epoxy resin that closely matches the color of your artificial stone. This ensures that the repair blends seamlessly with the original surface. Thin Layers: Apply the epoxy in thin layers rather than one thick layer. This helps in achieving a smooth and even finish. Proper Ventilation: Ensure the repair area is well-ventilated to allow the epoxy to cure properly. Inadequate ventilation can result in a weaker bond and an uneven finish. Avoid Moisture: Keep the repair area dry and free from moisture during the curing process. Moisture can weaken the epoxy bond and cause the repair to fail.
Aftercare and Maintenance
Proper aftercare and maintenance are essential to prolong the life of your repaired artificial stone countertop:
Regular Cleaning: Clean the countertop regularly with a mild soap and water solution to remove any dirt or grime. Avoid using abrasive cleaners that can scratch the surface. Avoiding Impacts: Be cautious when placing heavy objects or sharp tools on the countertop. Even repaired areas can be susceptible to cracks if subjected to excessive pressure. Routine Inspections: Periodically inspect the countertop for any signs of new cracks or damage. Early detection allows for prompt repair and prevents larger issues.
By following these detailed steps and tips, you can repair cracks in artificial stone countertops effectively, ensuring a flawless finish that restores the countertop’s original beauty and integrity.
In conclusion, repairing cracks in artificial stone countertops is a manageable task with the right approach and materials. By understanding the causes, assessing the damage, and using high-quality repair techniques, you can achieve a seamless repair that leaves no visible traces. Regular maintenance and care will further ensure the longevity of your repaired countertop, maintaining its aesthetic appeal and functionality.