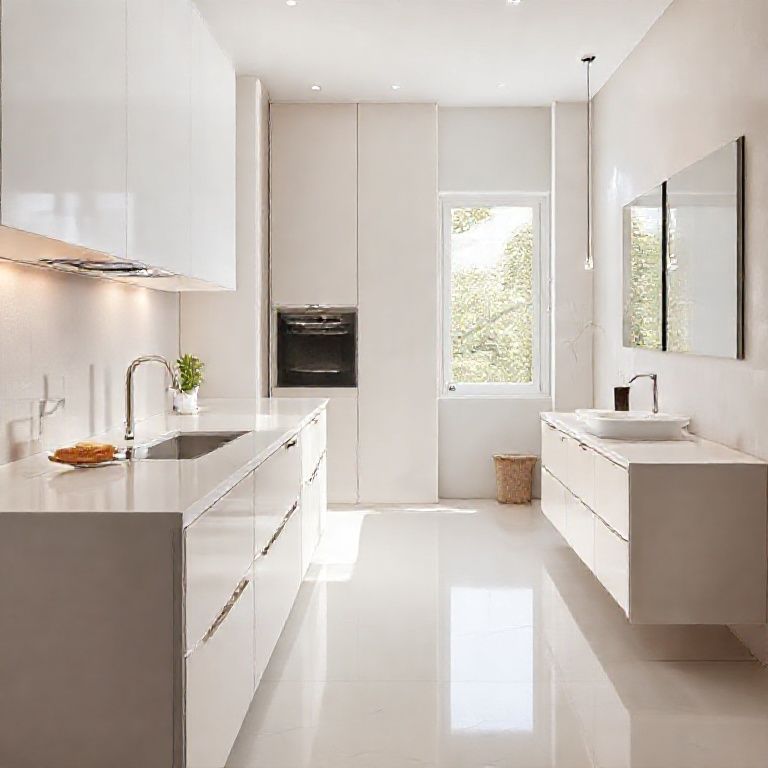
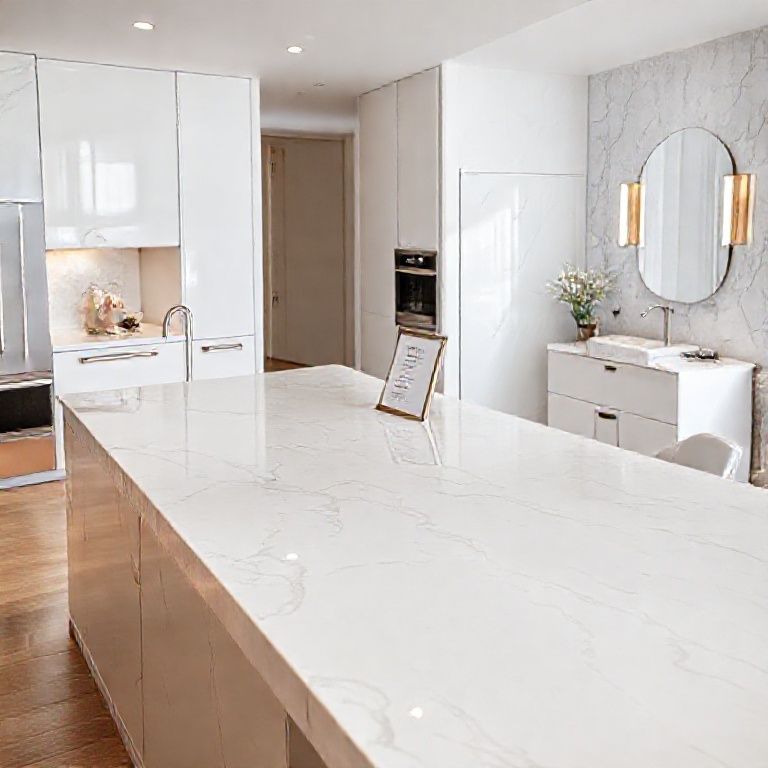
Understanding and Identifying Artificial Stone Countertop Damage
Artificial stone countertops have become a popular choice for kitchens due to their durability, easy maintenance, and aesthetic appeal. However, like any material, they can sustain damage over time. Understanding the types of damage and how to identify them is the first step in restoring your countertops to their original beauty.

Common Types of Damage:
Scratches and Chips: Artificial stone is relatively resistant to scratches and chips compared to natural stone. However, abrasive materials or careless use can still cause these issues. Discoloration: Over time, spills and stains can cause discoloration on artificial stone countertops. This could range from minor smudging to more pronounced staining. Crazing: Though less common, crazing can occur due to exposure to chemicals or extreme temperature changes, creating a network of fine cracks on the surface. Surface Peeling: In rare cases, artificial stone may experience surface peeling due to chemical reactions or improper maintenance.
Identifying the Damage:
To accurately identify the damage on your artificial stone countertop, follow these steps:
Visual Inspection: Examine the countertop under good lighting, preferably natural light, to spot any scratches, chips, discoloration, or peeling. Touch Test: Gently run your finger over the surface to detect any rough spots or uneven areas. Magnification: Use a magnifying glass to zoom in on small areas of damage that may not be visible to the naked eye.
Understanding the nature of the damage is crucial before proceeding with any restoration methods. Each type of damage may require a different approach to ensure the best possible outcome.
Visual Guides for Damage Identification:
To make it easier to identify the different types of damage, here are some visual examples:
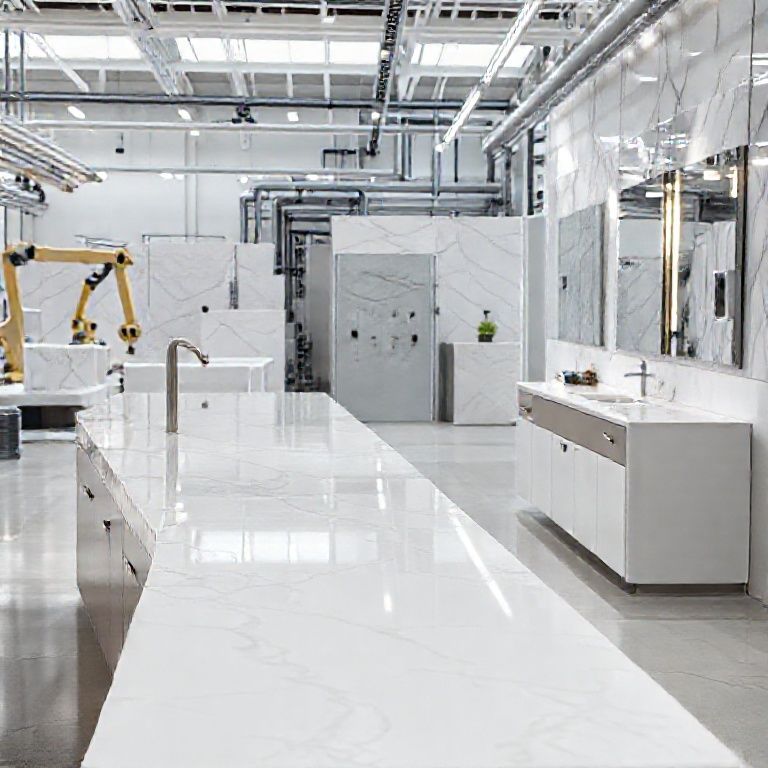
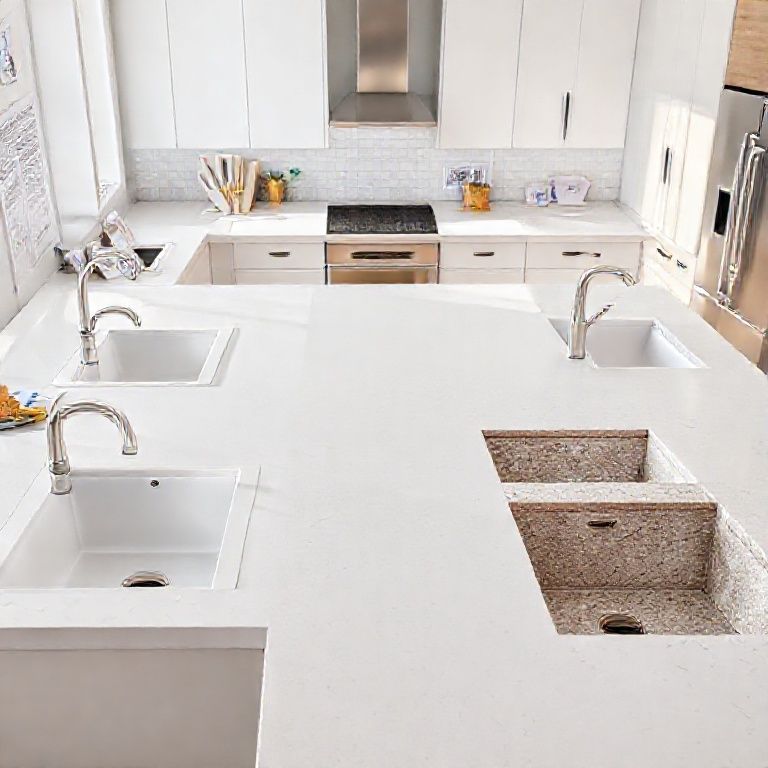
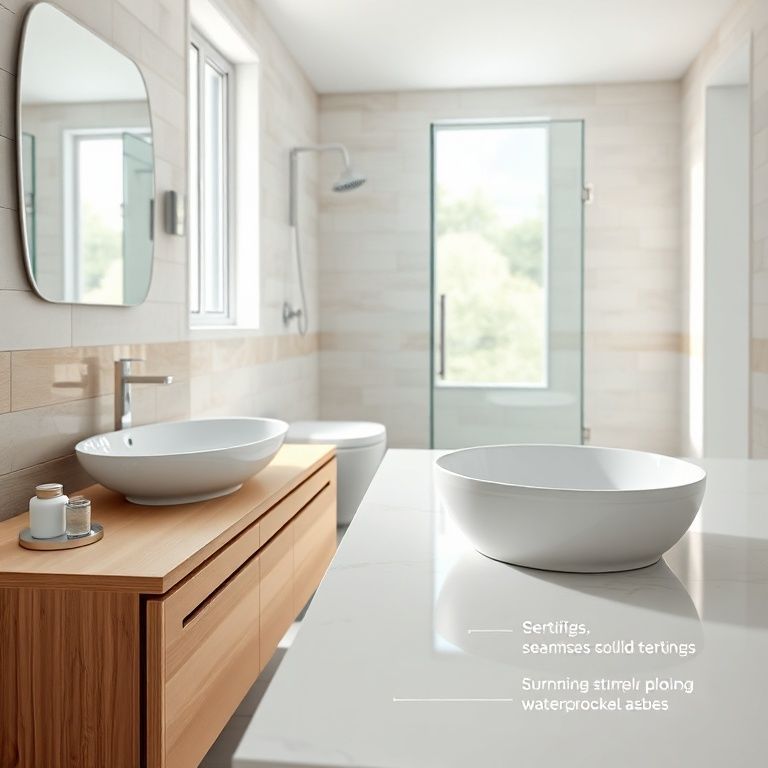
Scratches and Chips: [Insert Image 1] Discoloration: [Insert Image 2] Crazing: [Insert Image 3] Surface Peeling: [Insert Image 4]
These images will help you compare and identify the damage on your countertop more accurately.
Expert Tips for Initial Assessment:
Document the Damage: Take clear photographs of the damaged areas to keep a record of the extent of the damage before starting any restoration process. Consult the Manufacturer: If you are unsure about the type of damage or unsure about the restoration method, consult the manufacturer’s guidelines or contact a professional for advice.
By understanding and identifying the damage, you are well-prepared to move on to the restoration methods that will bring your artificial stone countertop back to its pristine condition.
Step-by-Step Restoration Methods for Artificial Stone Countertops
Once you’ve identified the type of damage on your artificial stone countertop, it’s time to move on to the restoration process. This comprehensive guide will walk you through the step-by-step methods to repair your countertops, ensuring they look as good as new.
Restoration Method for Scratches and Chips:
Surface Cleaning: Start by thoroughly cleaning the countertop to remove any dirt, grease, or grime that could interfere with the repair process. Use a mild soap and water solution, and a non-abrasive sponge to clean the surface.
Sanding: For minor scratches, you can use fine-grit sandpaper (320-400 grit) to gently sand the damaged area. Always sand in the direction of the grain to avoid further scratches.
Filling the Scratch: Apply a stone countertop repair filler or a matching stone resin to the sanded area. Follow the product instructions for application and curing times.
Polishing: Once the filler has cured, use a stone countertop polish or a specialized stone countertop restoration kit to smooth out the filled area and blend it with the surrounding surface.
Restoration Method for Discoloration:
Surface Cleaning: Begin with a thorough cleaning of the countertop to remove any surface dirt and grime.
Bleach or Vinegar Treatment: For minor discoloration, a mixture of bleach and water or a vinegar solution can help lighten the stain. Apply the solution to the stained area using a cloth and let it sit for a few minutes before wiping it off.
Stone Cleaner and Polisher: Use a commercial stone cleaner and polisher designed for artificial stone to restore the countertop’s original color and shine.
Restoration Method for Crazing:
Surface Cleaning: Clean the countertop to remove any dirt that may interfere with the repair process.
Crack Filling: For crazing, use a stone filler or epoxy resin that matches the color of your countertop. Carefully fill the cracks and let it cure as per the manufacturer’s instructions.
Sanding and Polishing: Once the filler has cured, lightly sand the filled areas with fine-grit sandpaper and then polish the surface to blend it seamlessly with the rest of the countertop.
Restoration Method for Surface Peeling:
Surface Cleaning: Clean the affected area to remove any loose particles and dirt.
Surface Preparation: If the peeling is extensive, you may need to lightly sand the area to create a smooth surface for the repair.
Epoxy Resin Repair: Use a high-quality epoxy resin to repair the peeled area. Follow the application and curing instructions carefully.
Finishing Touches: Once the repair has cured, use a stone countertop polisher to blend the repaired area with the rest of the surface.
Visual Guides for Restoration Methods:
To make the restoration process easier to follow, here are some visual guides:
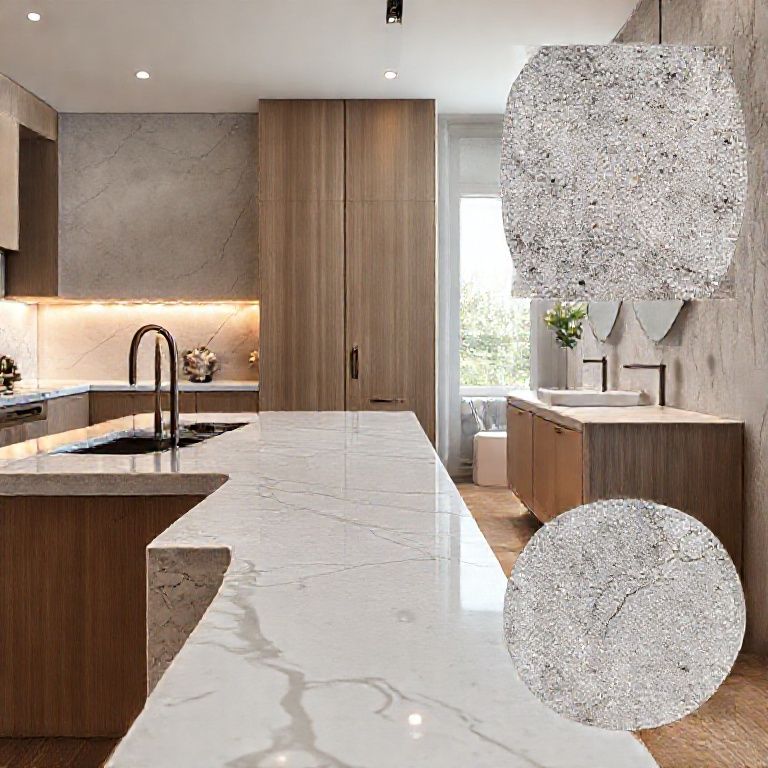
Step-by-Step Scratch Repair: [Insert Image 1] Discoloration Treatment: [Insert Image 2] Crazing Repair: [Insert Image 3] Peeling Repair: [Insert Image 4]
These images will help you visualize each step of the restoration process.
Expert Tips for Effective Restoration:
Test First: Always test any repair product on a small, inconspicuous area to ensure it matches the color and texture of your countertop. Follow Instructions: Adhere strictly to the product instructions for application and curing times to achieve the best results. Professional Help: For extensive damage or if you’re unsure about the process, consider hiring a professional stone countertop restoration service.
By following these detailed restoration methods, you can effectively bring your artificial stone countertops back to their original beauty. Regular maintenance and careful use will also help prolong the life of your countertops, ensuring they remain a stunning feature in your kitchen for years to come.