Understanding Artificial Stone Countertop Repair
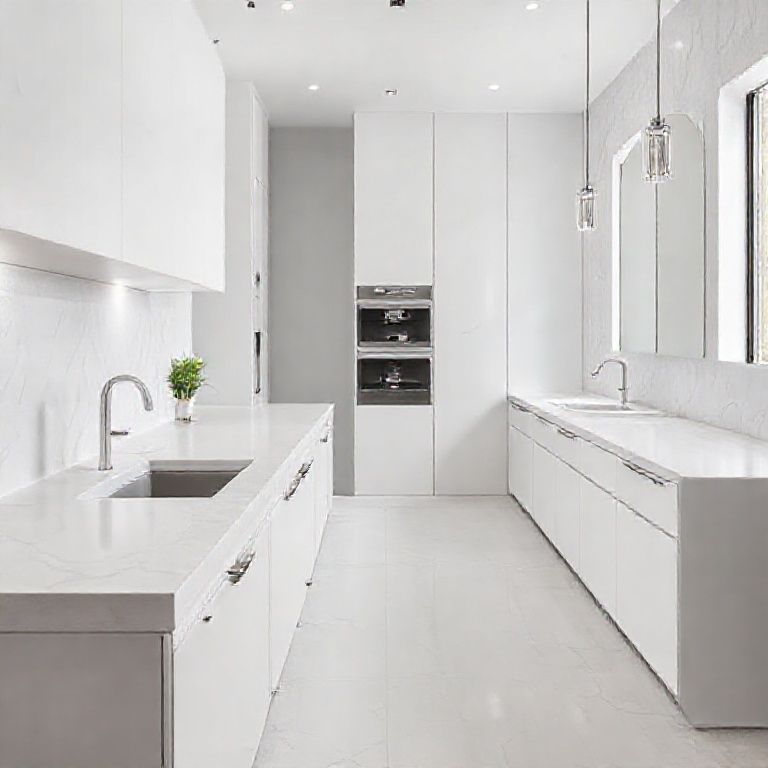
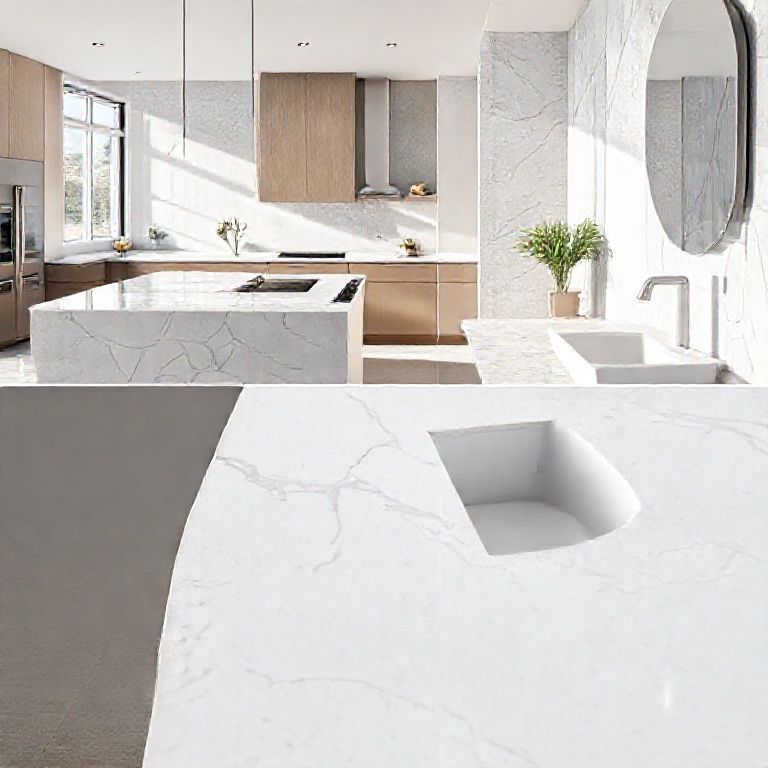
Artificial stone countertops have revolutionized modern kitchen and bathroom design, offering an elegant and durable alternative to traditional materials. Composed of a mixture of minerals, resins, and pigments, these countertops provide a stunning, natural-looking surface that is both resilient and easy to maintain. However, despite their durability, artificial stone countertops can still suffer damage over time due to various factors. This guide will delve into the nuances of “artificial stone countertop repair,” ensuring that your countertops remain a centerpiece of beauty and functionality in your home.
Why Repair Matters
Artificial stone countertops, while robust, are not impervious to wear and tear. Over time, they can develop scratches, chips, or stains that diminish their aesthetic appeal. Addressing these issues promptly is essential for several reasons:
Preservation of Aesthetics: Regular maintenance and timely repairs can prolong the life of your countertops, preserving their visual appeal and ensuring they match the overall design of your kitchen or bathroom.
Preventing Further Damage: Ignoring minor issues can lead to more significant damage. For instance, a small chip can quickly become a larger crack if left unattended.

Maintaining Functionality: A well-maintained countertop ensures that your kitchen or bathroom remains functional and safe. Flawed surfaces can become slip hazards or harbor bacteria if not properly addressed.
Common Issues with Artificial Stone Countertops
Understanding the common problems that affect artificial stone countertops can help you address them more effectively. Here are some prevalent issues:
Scratches and Chips: Daily use and accidental drops can result in minor scratches or chips. These imperfections can detract from the countertop’s appearance.

Stains: Spills and stains, especially from acidic or alkaline substances, can permanently mar the surface of the stone.
Surface Damage: Abrasive cleaners or improper maintenance tools can cause surface etching, dulling the countertop’s shine.
Basic Maintenance Tips
To extend the life of your artificial stone countertops, follow these basic maintenance tips:
Use Proper Cleaning Tools: Always use non-abrasive cleaning tools and mild detergents to clean your countertops. Avoid steel wool, harsh chemicals, or abrasive pads that can scratch the surface.
Immediate Spill Management: Wipe up spills immediately to prevent stains and damage. For spills containing acidic or alkaline substances, use a mild, non-abrasive cleaner.
Regular Inspections: Regularly inspect your countertops for any signs of damage or wear. Early detection can prevent minor issues from escalating.
When to Seek Professional Help
While minor repairs can often be handled at home, certain issues require professional expertise. Here are some scenarios where you should consider hiring a professional:
Deep Cracks or Chips: If you notice deep cracks or significant chips, it’s best to seek professional help to ensure the repair is done correctly and safely.
Stain Removal: Stains caused by acidic or alkaline substances may require specialized cleaning techniques. Professionals have the tools and expertise to remove these stains without damaging the surface.
Surface Etching: If your countertop has been damaged by abrasive cleaners, professional resurfacing may be necessary to restore its original appearance.
Step-by-Step Guide to Artificial Stone Countertop Repair
Having established the importance of maintaining your artificial stone countertops and knowing when to seek professional help, it’s time to dive into the practical aspects of “artificial stone countertop repair.” This step-by-step guide will walk you through the process of addressing common issues and restoring the beauty of your countertops.
Tools and Materials Needed
Before you begin any repair work, gather the necessary tools and materials. Here’s a list to get you started:
Non-Abrasive Cleaner: A mild, non-abrasive cleaner suitable for stone surfaces.
Soft Cloths: Soft, lint-free cloths for cleaning and polishing.
Dish Soap: A gentle dish soap for cleaning spills.
Hydrogen Peroxide: For stain removal, particularly from organic spills.
Toothbrush: For scrubbing small areas or stains.
Epoxy Resin: For repairing minor chips or cracks.
Sandpaper: Fine-grit sandpaper (if needed for surface smoothing).
Polishing Compound: For restoring shine to the surface.
Repairing Minor Chips and Scratches
Minor chips and scratches can often be repaired at home. Here’s how:
Clean the Area: Start by thoroughly cleaning the affected area with a non-abrasive cleaner and a soft cloth. Ensure the surface is completely dry.
Inspect the Damage: Examine the chip or scratch to determine the best repair method. For small chips, use an epoxy resin; for scratches, you might need to sand the area lightly.
Epoxy Repair:
Mix the epoxy resin according to the manufacturer’s instructions. Apply the epoxy to the chip using a small brush or applicator. Smooth the epoxy with a cloth until it is level with the surface. Allow the epoxy to cure as per the instructions. Sanding: For scratches, lightly sand the area with fine-grit sandpaper. Be gentle to avoid further damage. Wipe the area clean and polish with a soft cloth.
Addressing Stains
Stains can be a more challenging issue, but with the right approach, they can be effectively removed. Here’s a method to tackle stains:
Identify the Stain: Determine the nature of the stain (e.g., oil, coffee, wine) to choose the appropriate cleaning agent.
Hydrogen Peroxide Method:
Apply a small amount of hydrogen peroxide directly to the stain. Let it sit for a few minutes to break down the stain. Gently scrub the area with a toothbrush. Wipe the area clean with a soft cloth and allow it to dry. For Stubborn Stains: If the stain persists, consider using a commercial stone cleaner designed for artificial surfaces. Follow the manufacturer’s instructions carefully.
Resurfacing the Surface
In cases where the surface has been dulled or etched, resurfacing can restore its original shine. Here’s how:
Preparation: Clean the countertop thoroughly to remove any dirt, grease, or residues. Dry completely.
Sanding: Lightly sand the affected area with fine-grit sandpaper. Ensure the area is clean and dry before proceeding.
Polishing: Apply a polishing compound using a soft cloth. Work in small sections, ensuring even coverage. Buff the area until it shines.
Final Cleaning: Wipe the surface with a clean, dry cloth to remove any residue from the polishing compound.
Hiring a Professional
If your repair needs exceed your DIY capabilities, it’s time to consider professional help. Here’s what to expect:
Assessment: Professionals will assess the damage and recommend the best course of action. They can provide an estimate for the repair work.
Repair Techniques: Depending on the issue, professionals may use techniques such as epoxy resin for cracks, chemical treatments for stains, or even full resurfacing for extensive damage.
Quality Assurance: Reputable professionals ensure high-quality repairs, using specialized tools and materials to restore your countertops to their original condition.
Preventive Measures
To keep your artificial stone countertops in top condition, follow these preventive measures:
Use Coasters and Trivets: Protect your countertops from heat and spills by using coasters, trivets, and cutting boards.
Regular Cleaning: Maintain cleanliness by regularly cleaning the surface with mild, non-abrasive cleaners.
Avoid Harsh Chemicals: Refrain from using harsh chemicals or abrasive cleaners that can damage the surface.
By understanding the intricacies of “artificial stone countertop repair” and implementing these practical tips, you can ensure that your countertops remain a stunning feature in your kitchen or bathroom for years to come. Regular maintenance and timely repairs will not only enhance the aesthetics of your space but also extend the lifespan of your investment.