The Art and Science of Installing Artificial Stone Countertops: A Comprehensive Guide
Artificial stone countertops have become a popular choice for modern kitchens and bathrooms due to their durability, aesthetic appeal, and relatively low maintenance. But how exactly is this beautiful material installed? This article will delve into the art and science of artificial stone countertop installation, providing you with detailed insights to ensure you achieve the best results whether you’re a DIY enthusiast or a professional contractor.

Understanding Artificial Stone
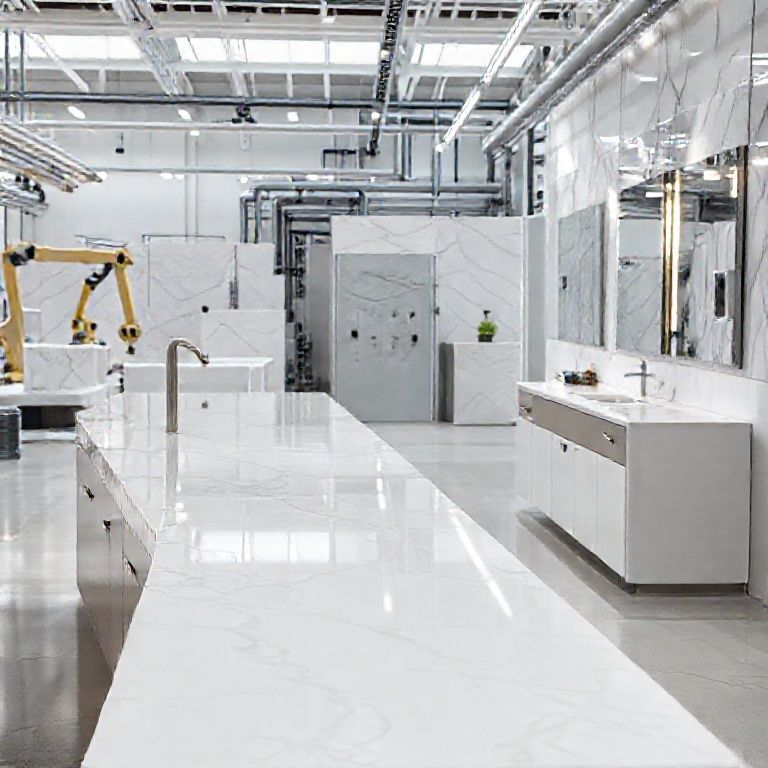
Before diving into the installation process, it’s crucial to understand what artificial stone is. Unlike natural stone, artificial stone is a composite material made from various minerals and resins. This combination results in a product that is both strong and versatile, capable of mimicking the appearance of natural stone while offering superior durability and easier maintenance.
Essential Tools and Materials
To install artificial stone countertops, you’ll need a range of tools and materials. Here’s a list of what you’ll need:
Artificial stone slabs: Choose high-quality slabs that suit your design needs. Wet saw or tile saw: For cutting the stone to fit your countertop space. Concrete mixer: To prepare the stone adhesive. Trowel: For applying the adhesive. Level: To ensure your installation is even. Sealer: To protect the surface from stains and moisture. Safety equipment: Gloves, goggles, and a dust mask to protect yourself during installation.

Preparing the Surface
The first step in installing an artificial stone countertop is preparing the surface where it will be placed. Whether it’s a kitchen island, bathroom vanity, or any other surface, it needs to be clean, dry, and even. Here’s how to do it:
Clean the surface: Use a degreasing cleaner to remove any grease, oil, or dirt. Scrub the surface thoroughly and allow it to dry completely. Repair any imperfections: Fill in any holes or cracks with a suitable filler and let it dry before sanding the surface smooth. Check the level: Use a level to ensure the surface is even. If there are any uneven areas, you might need to use a self-leveling compound to correct them.
Cutting the Stone
Once the surface is ready, it’s time to cut the artificial stone to fit your space. Here’s how to do it:
Measure and mark: Measure the space where the countertop will be installed and mark the stone slabs accordingly. Use a pencil to mark your cuts. Cut the stone: Use a wet saw with a diamond blade to cut the stone along the marked lines. Make sure to wear a dust mask to protect yourself from the dust generated during cutting.
Applying the Adhesive
Next, you’ll need to apply the stone adhesive to the surface. This adhesive will bond the stone to the surface securely.
Mix the adhesive: Follow the manufacturer’s instructions to mix the adhesive in a concrete mixer. Spread the adhesive: Use a trowel to spread the adhesive evenly over the surface. Ensure that you cover the entire area where the stone will be placed. Spread evenly: Use a leveling trowel to ensure the adhesive is spread evenly and to the correct thickness.
Placing the Stone
Now comes the critical step of placing the stone on the adhesive.
Position the stone: Carefully place the stone slab onto the adhesive. Use a level to ensure it’s positioned straight and even. Press down: Gently press down on the stone to ensure a good bond with the adhesive. Use weights or other heavy objects to keep the stone in place while the adhesive cures.
Curing Time
Allow the adhesive to cure according to the manufacturer’s instructions. This usually takes several hours. During this time, avoid moving or disturbing the stone to ensure a strong bond.
Sealing the Surface
Once the stone is securely bonded and the adhesive has cured, it’s time to seal the surface to protect it from stains and moisture.
Choose a sealer: Select a high-quality stone sealer suitable for artificial stone. Apply the sealer: Use a brush or spray to apply the sealer evenly over the surface. Follow the manufacturer’s instructions for drying times.
Finishing Touches
The final step in installing an artificial stone countertop is to make any necessary finishing touches.
Clean the surface: After the sealer has dried, clean the surface with a mild detergent and water to remove any residue. Inspect the installation: Ensure that the installation is secure and that there are no gaps or uneven areas.
Tips for a Perfect Installation
To ensure a flawless installation, here are some professional tips:
Work in a well-ventilated area: Artificial stone adhesives can release fumes, so it’s important to work in a well-ventilated space. Use high-quality materials: Invest in high-quality artificial stone and adhesive to ensure durability and a beautiful finish. Follow manufacturer’s instructions: Always follow the manufacturer’s instructions for mixing adhesives and curing times. Practice on a small piece first: If you’re new to installing artificial stone, practice on a small piece first to get a feel for the process.
The Art and Science of Installing Artificial Stone Countertops: A Comprehensive Guide
In this second part of our detailed guide, we’ll delve deeper into the nuances of installing artificial stone countertops, offering more advanced techniques and additional tips to help you achieve professional-looking results.
Advanced Cutting Techniques
While cutting artificial stone slabs is straightforward, there are advanced techniques that can help you achieve precise cuts and perfect edges.
Using a tile nippers: For small, intricate cuts, tile nippers can provide more control and precision. This tool is particularly useful for cutting around obstacles like sink drains or pipes. Score and snap method: For straight cuts, use a scoring tool to score the stone along the cut line. Then, snap the stone along the scored line for a clean, straight edge. Edge trimming: For rounded or curved edges, use a specialized edge trimmer or a fine-grit sandpaper to smooth out the edges.
Advanced Adhesive Application
Applying adhesive in an advanced manner can ensure a stronger bond and a smoother surface.
Dry fit: Before applying adhesive, do a dry fit of the stone to ensure it fits perfectly. Adjust as necessary before applying adhesive. Adhesive thickness: Maintain an even adhesive thickness. Too thin can result in gaps, and too thick can cause the stone to float or create uneven surfaces. Adhesive bed: For larger surfaces, use an adhesive bed rather than applying adhesive directly to the surface. This involves spreading adhesive over a larger area and placing the stone on top, ensuring full contact.
Handling Edges and Corners
Installing artificial stone at edges and corners requires special attention to ensure a seamless finish.
Edge trims: Use edge trims to cover the edges of the stone. These are available in various profiles and can be cut to size to fit your countertop. Miter saw: For precise corner cuts, use a miter saw to cut the stone at a 45-degree angle. This allows for a tight fit in corners and ensures a clean, professional appearance. Custom cuts: For unique shapes, consider using a laser cutter or a CNC machine to make custom cuts. This can be particularly useful for complex designs or when integrating with existing cabinetry.
Advanced Sealing Techniques
Sealing your artificial stone countertop properly is crucial for longevity and appearance. Here are advanced techniques to ensure the best results.
Multiple coats: Apply multiple coats of sealer for maximum protection. Allow each coat to dry completely before applying the next. Wipe-on sealers: For a more durable seal, consider using a wipe-on sealer. These provide a thicker barrier and are easier to apply to textured surfaces. Professional cleaning: After sealing, clean the surface with a professional-grade cleaner to remove any sealer residue and to ensure the sealer penetrates the stone properly.
Troubleshooting Common Issues
Even with careful installation, issues can arise. Here are some common problems and how to troubleshoot them.
Stone not adhering properly: If the stone doesn’t adhere well, it could be due to an insufficient adhesive bed or improper curing. Ensure the adhesive is spread evenly and allowed to cure completely. Uneven surface: If the stone countertop appears uneven, check the surface it was installed on. Use a self-leveling compound if necessary and ensure the adhesive is spread to the correct thickness. Gaps between stone and edges: If there are gaps, recheck the fit before applying adhesive. Use edge trims or custom cuts to cover the gaps.
Custom Design Integration
Artificial stone countertops can be designed to fit custom cabinetry and unique architectural features. Here’s how to integrate them seamlessly.
Custom molds: For intricate designs or unique shapes, create custom molds to shape the stone before installation1. Integration with Built-in Cabinets: For countertops integrated into built-in cabinets, carefully measure the space and cut the stone to fit precisely. Use edge trims to cover the edges where the stone meets the cabinet.
Curved and Rounded Edges: For countertops with curved or rounded edges, consider using a specialized stone cutter or a CNC machine for precision cuts. If making the cut by hand, use a scoring tool and a straight edge to guide the cut.
Multi-surface Installations: When installing over multiple surfaces such as a sink or stovetop, use appropriate sealants or adhesives to ensure a secure bond without damaging the underlying materials.
Maintenance and Longevity
To ensure your artificial stone countertop remains beautiful and durable, follow these maintenance tips:
Regular Cleaning: Use a mild detergent and water to clean the surface regularly. Avoid using abrasive cleaners or harsh chemicals that can damage the stone.
Immediate Stain Treatment: For any spills or stains, treat them immediately with a suitable cleaner. Delaying can allow stains to set and become harder to remove.
Periodic Sealing: Depending on the level of use and exposure to liquids, periodically reseal the countertop to maintain its protective barrier.
Professional Installation
For those who prefer professional installation or want to ensure the best results, here are some tips for hiring a professional:
Research and Reviews: Look for professionals with good reviews and experience in artificial stone installations. Check online reviews and ask for references.
Consultation: Have a consultation to discuss your project details, materials, and any specific design requirements.
Contract and Pricing: Ensure you have a detailed contract outlining the scope of work, pricing, and timelines. Clarify any additional costs that may arise during the project.
Follow-up: After installation, ask for a follow-up to ensure the countertop is installed correctly and to address any concerns.
Creative Design Options
Artificial stone countertops offer a wide range of design possibilities. Here are some creative options to consider:
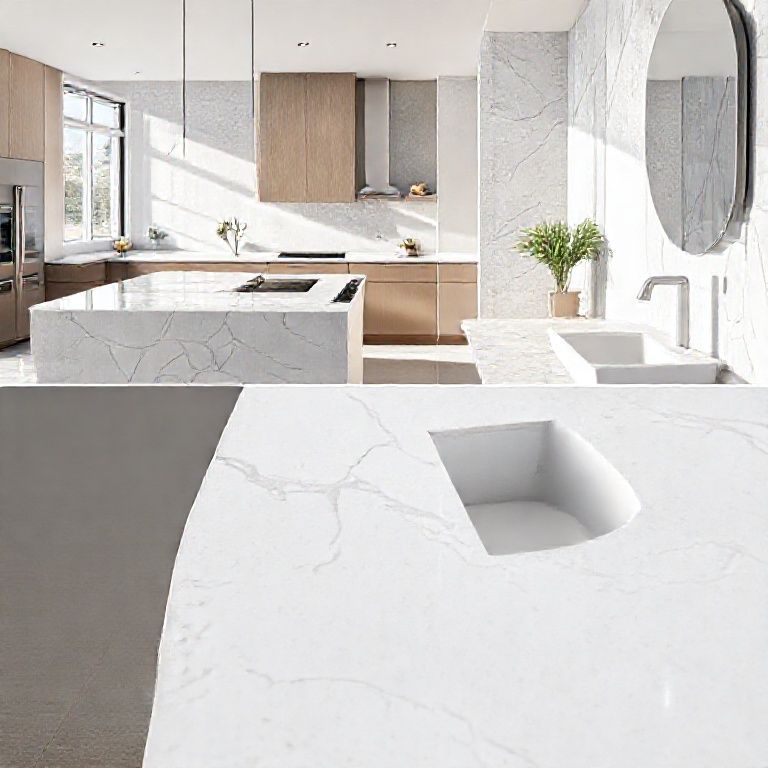
Color and Pattern Combinations: Use different colors and patterns to create a unique design. Layering different types of stone can add depth and visual interest.
Textured Surfaces: Experiment with textured finishes to add a tactile element to your countertop.
Incorporation of Lighting: Integrate LED lighting beneath the countertop for a modern, illuminated look. This can enhance the visual appeal, especially in low-light environments.
Custom Shapes: Don’t hesitate to go for custom shapes that match your kitchen or bathroom design. Whether it’s a hexagonal, circular, or any other unique shape, it can make a statement piece.
Conclusion
Artificial stone countertops are a versatile and durable choice for modern kitchens and bathrooms. By understanding the installation techniques, maintenance tips, and creative design options, you can ensure a beautiful and long-lasting countertop that complements your space. Whether you choose to do it yourself or hire a professional, the key is in the preparation, execution, and ongoing care to maintain its pristine appearance.